


实战教程:笔记本电脑如何升级内存、硬盘扩容、更换硬盘及无损快速迁移windows系统
使用笔记本电脑,随着时间的推移,可能会遇到需要升级内存,升级硬盘的需求,如果是笔记本电脑只有一个硬盘位,可能还需要迁移系统,毕竟重新安装太费事了,而且上面还有资料和文件。今天就给大家来讲解下,如何升级更换内存,如何更换和升级硬盘,如何无损快速迁移系统。
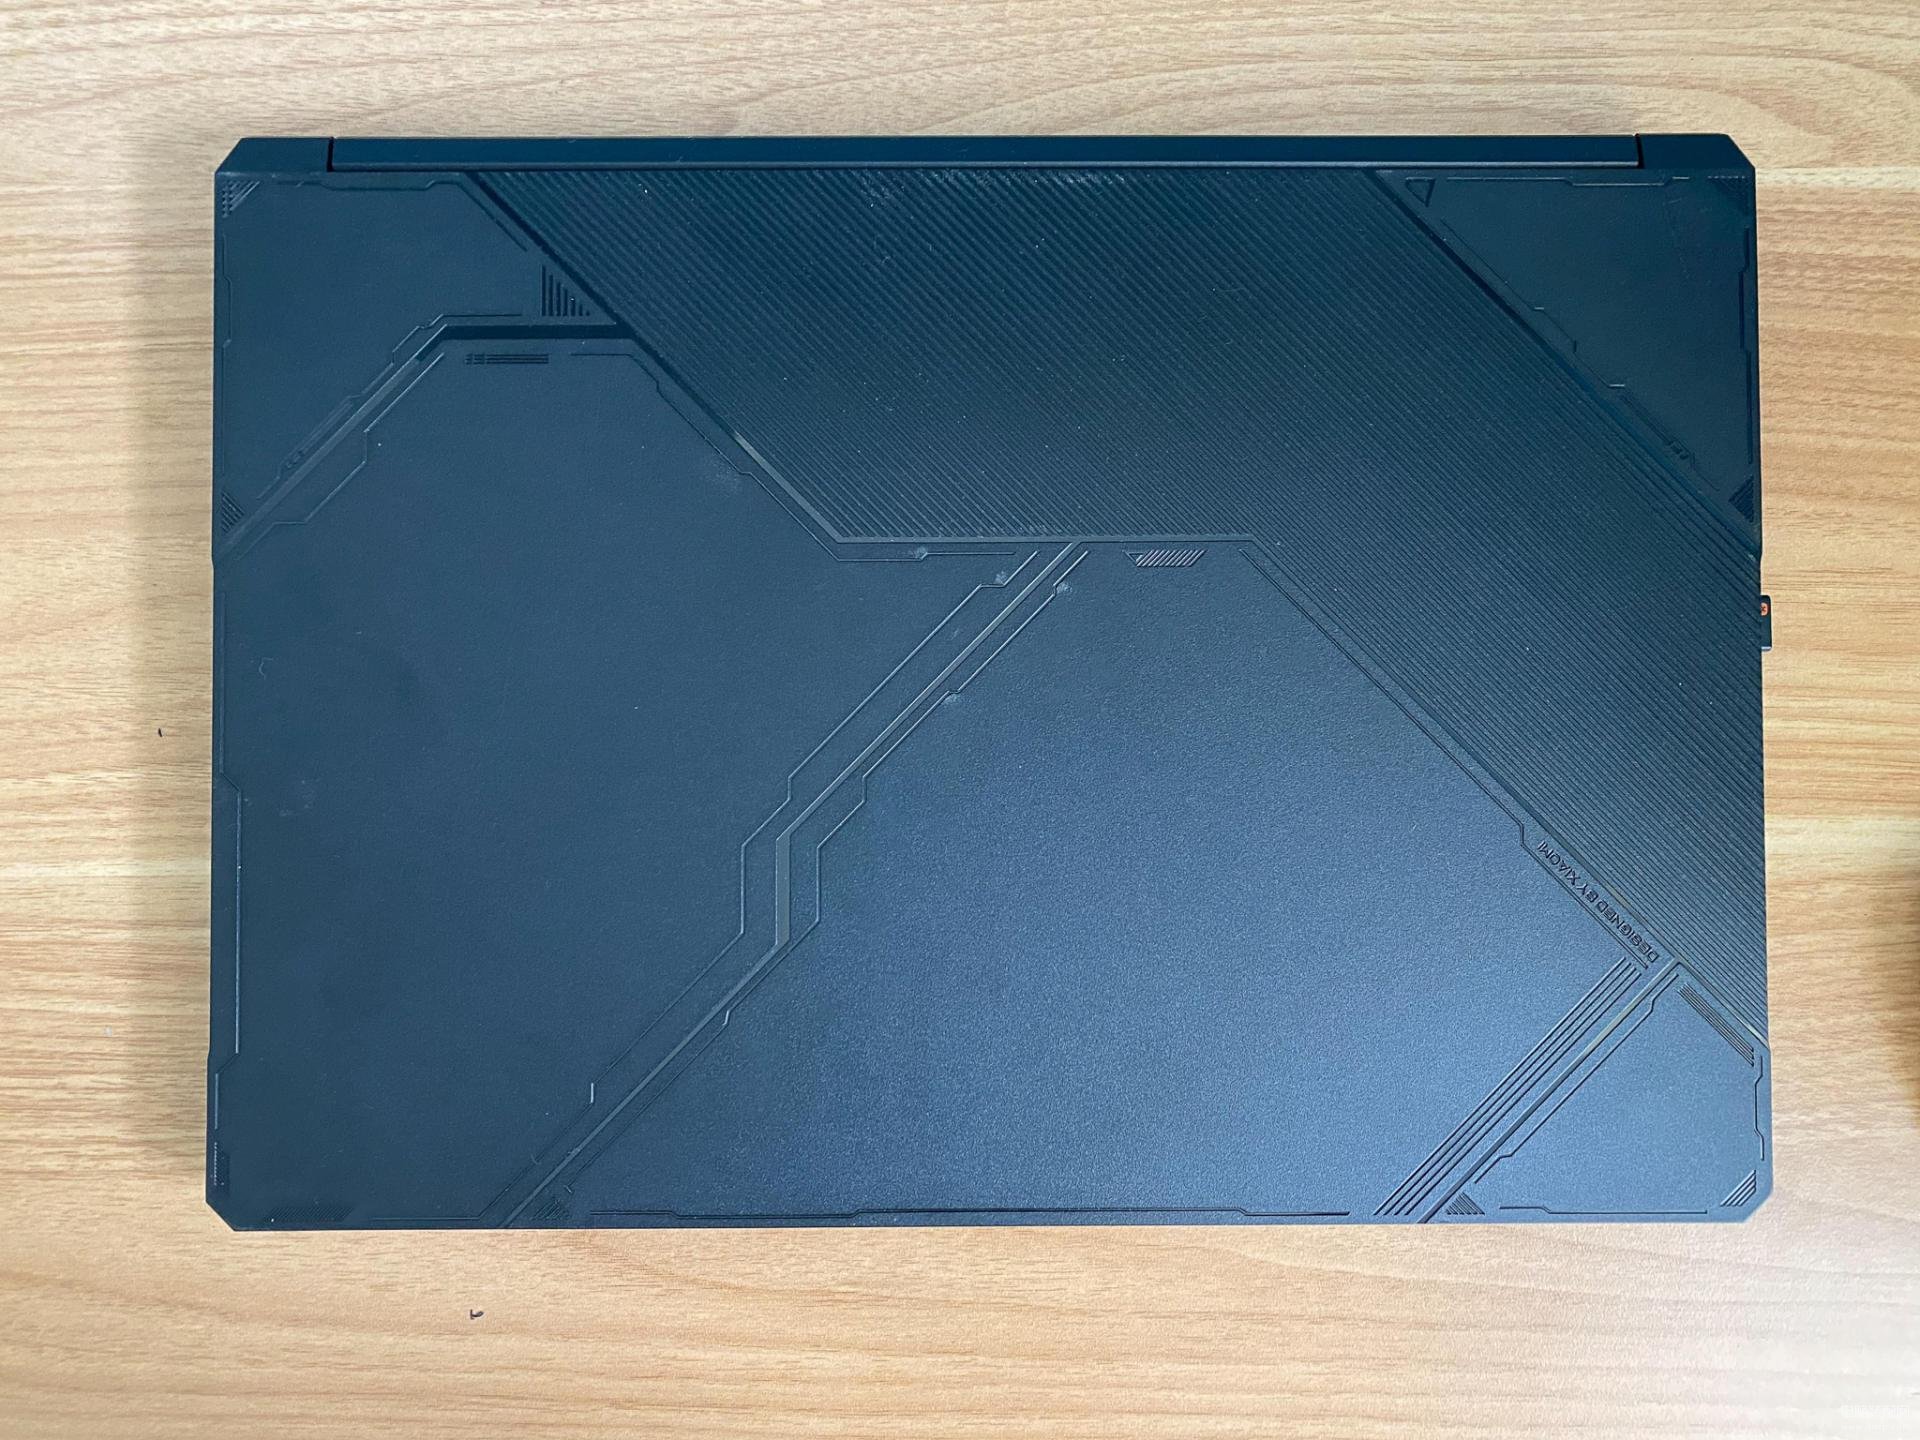
本次教程使用的笔记本电脑是Redmi G 2021,其他的笔记本更换大同小异。是否能更换笔记本电脑升级,需要同客服或者官网查询资料,还有网上可以搜教程、经验一类的。主要是能不能开启后盖,这个每个笔记本电脑都可能是不一样的,并不是单纯拧开螺丝那么简单。
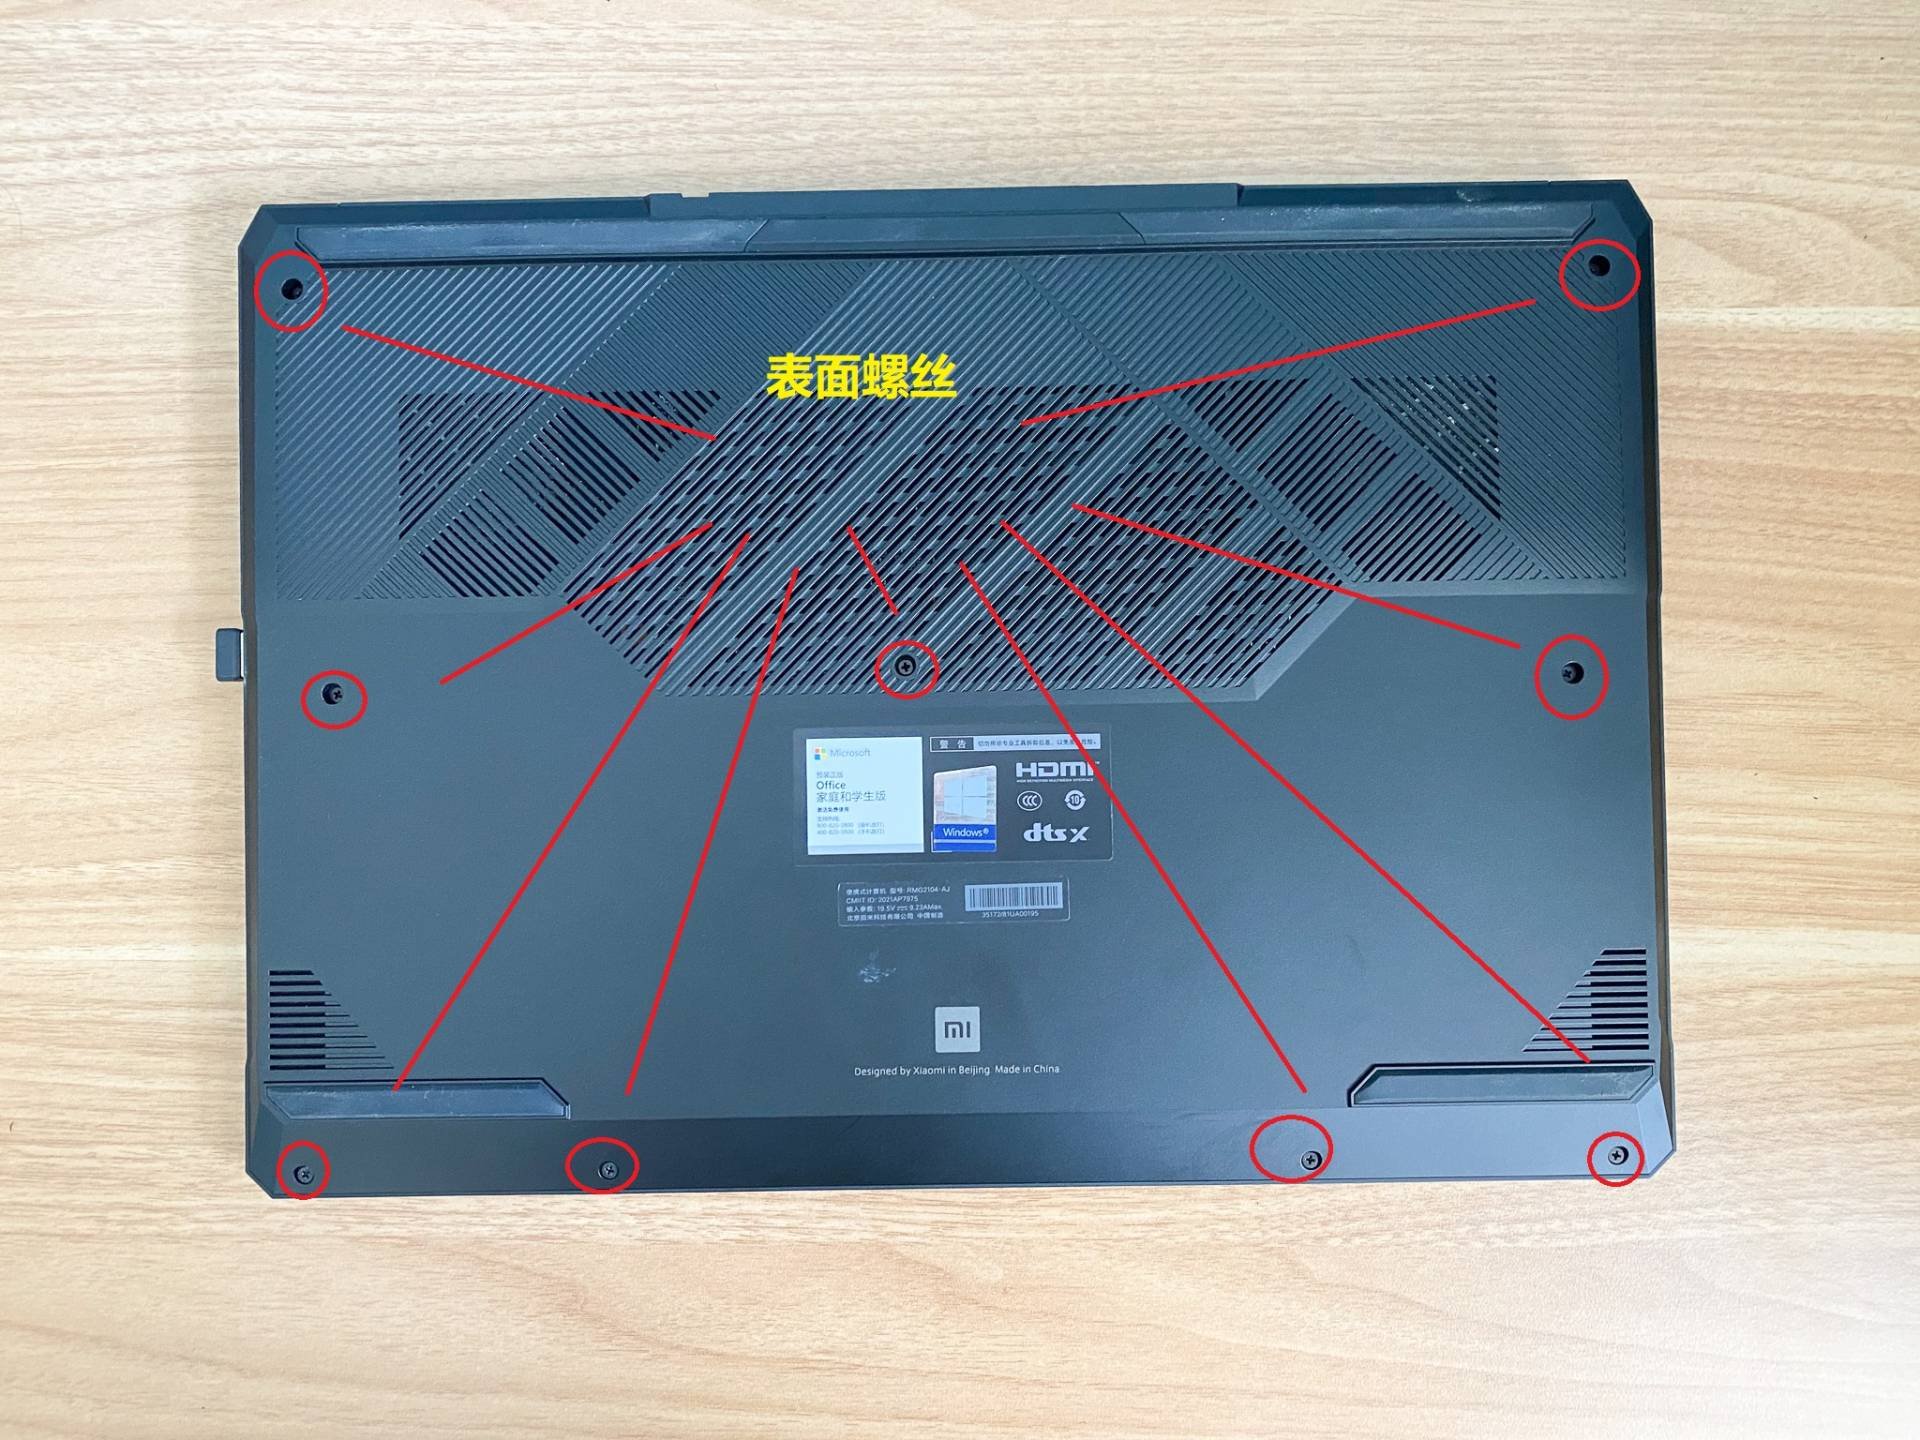
以我的这台Redmi G202笔记本电脑来说,首先我们看底面,可以发现有9个螺丝,那么这些螺丝是需要拧下的。
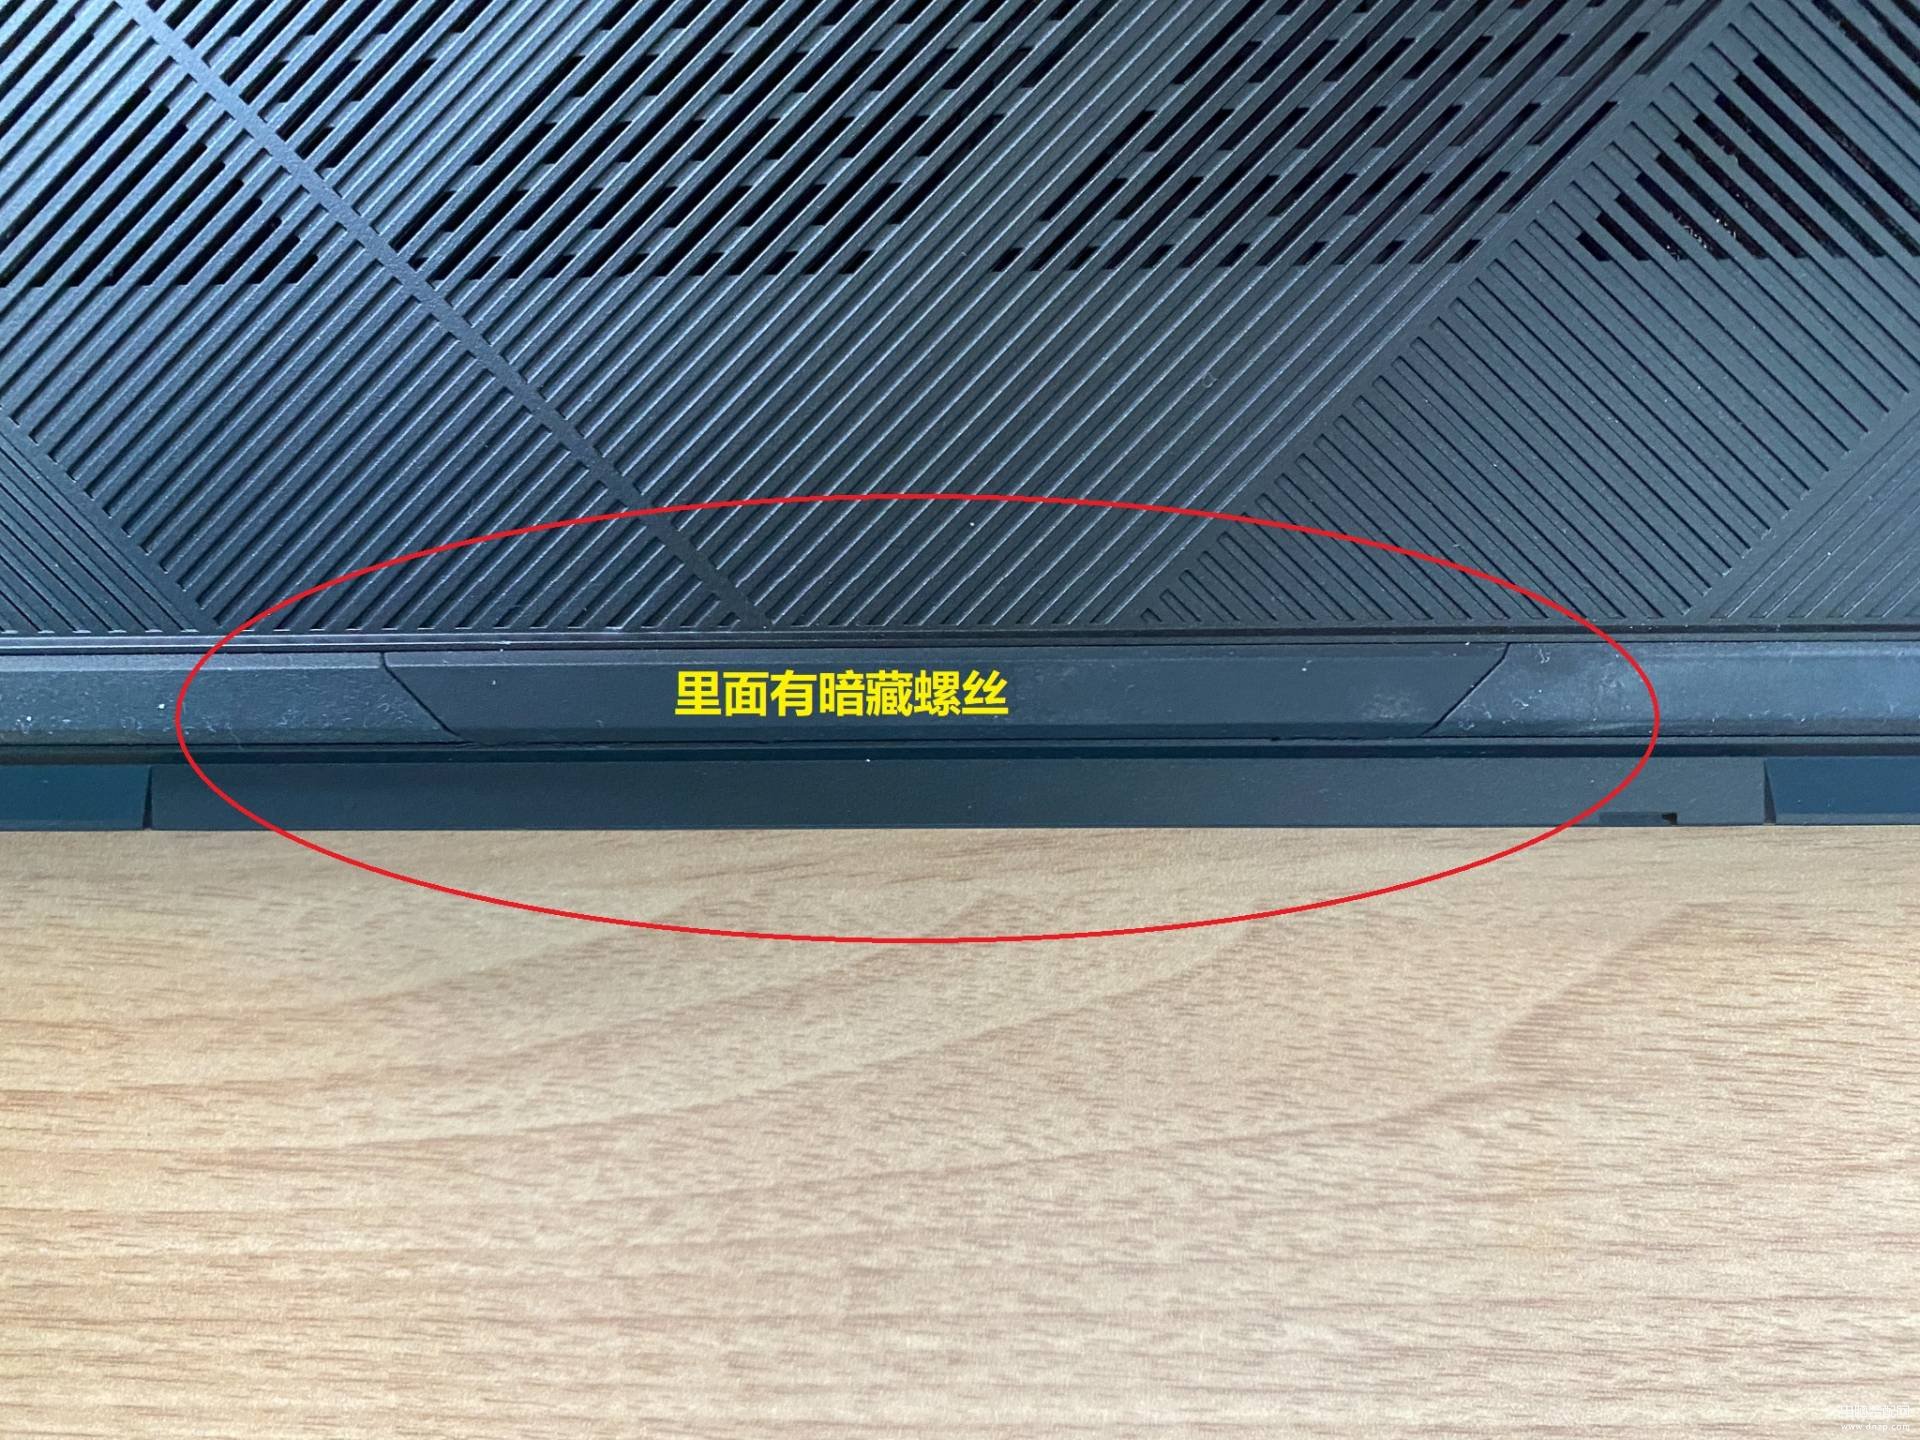
同时,很多笔记本电脑会有隐藏的螺丝,例如这款笔记本电脑,隐藏的螺丝就在这块橡胶垫下面。这个需要网上搜寻对应笔记本电脑的拆机攻略可得。
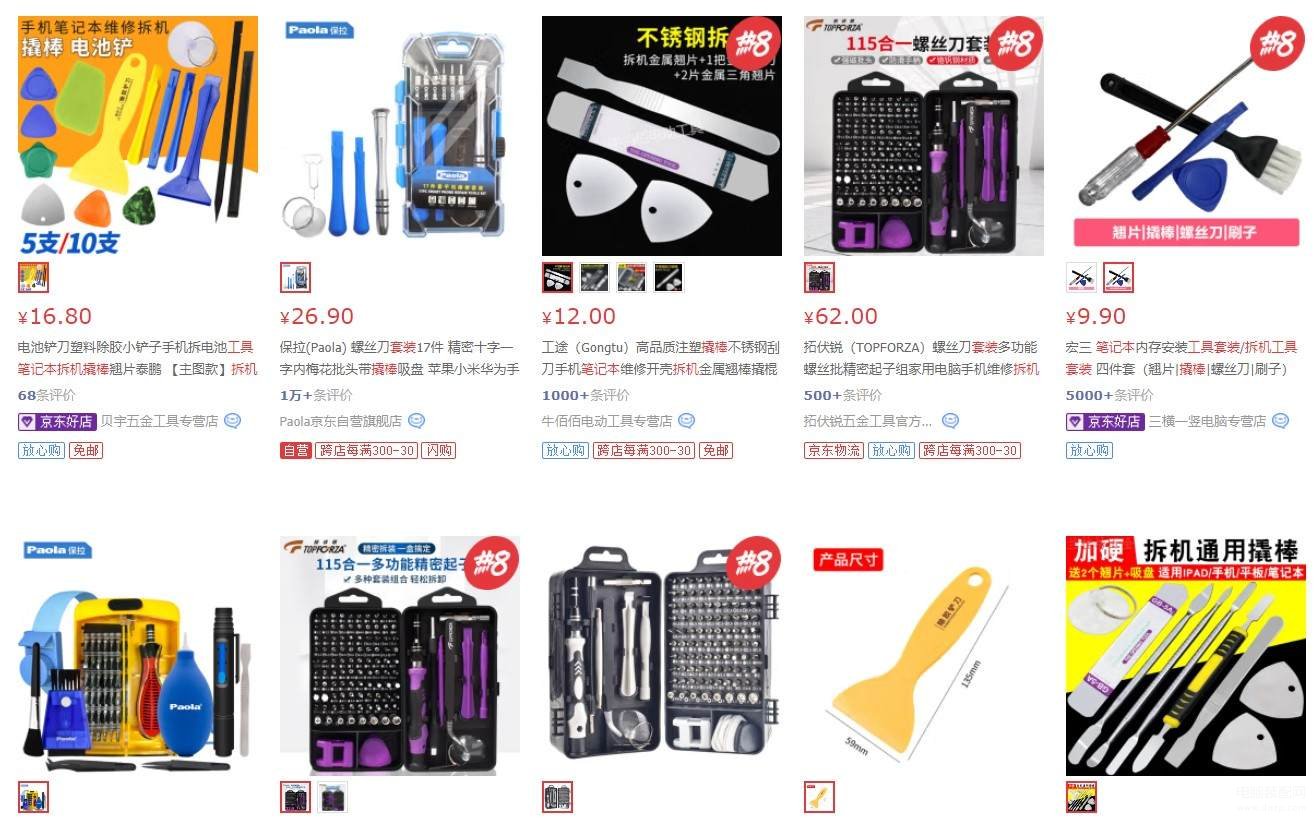
可以网上选购一些必要的工具,主要是撬棒,这样可以避免拆卸的时候损坏笔记本电脑。
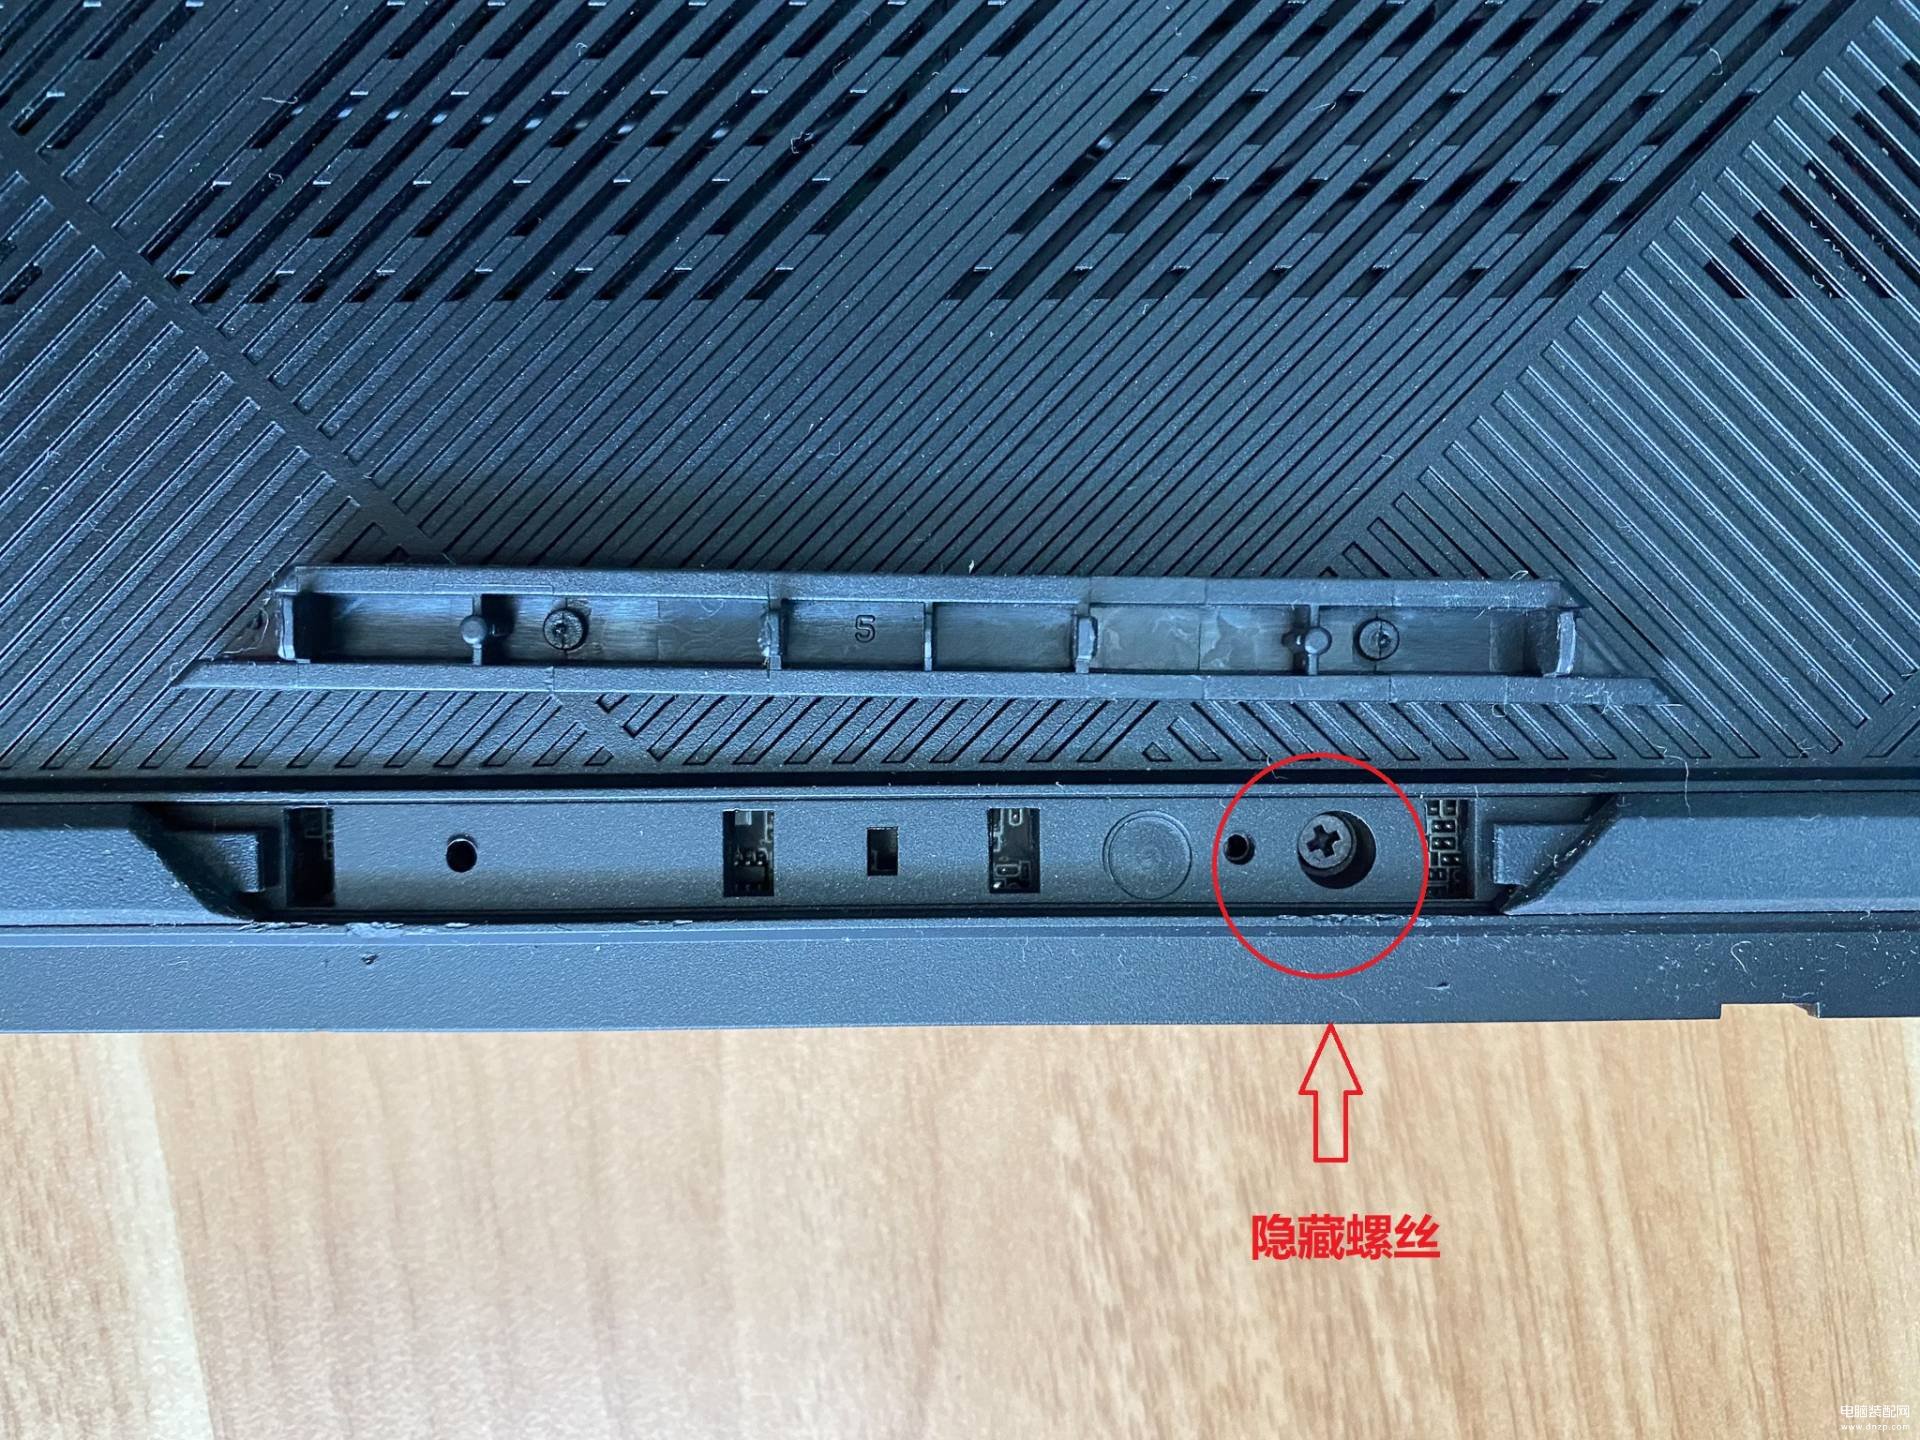
顺着接缝,可以将这个垫条撬开,可以看到里面是卡扣的。而下面,则是有一个螺丝。
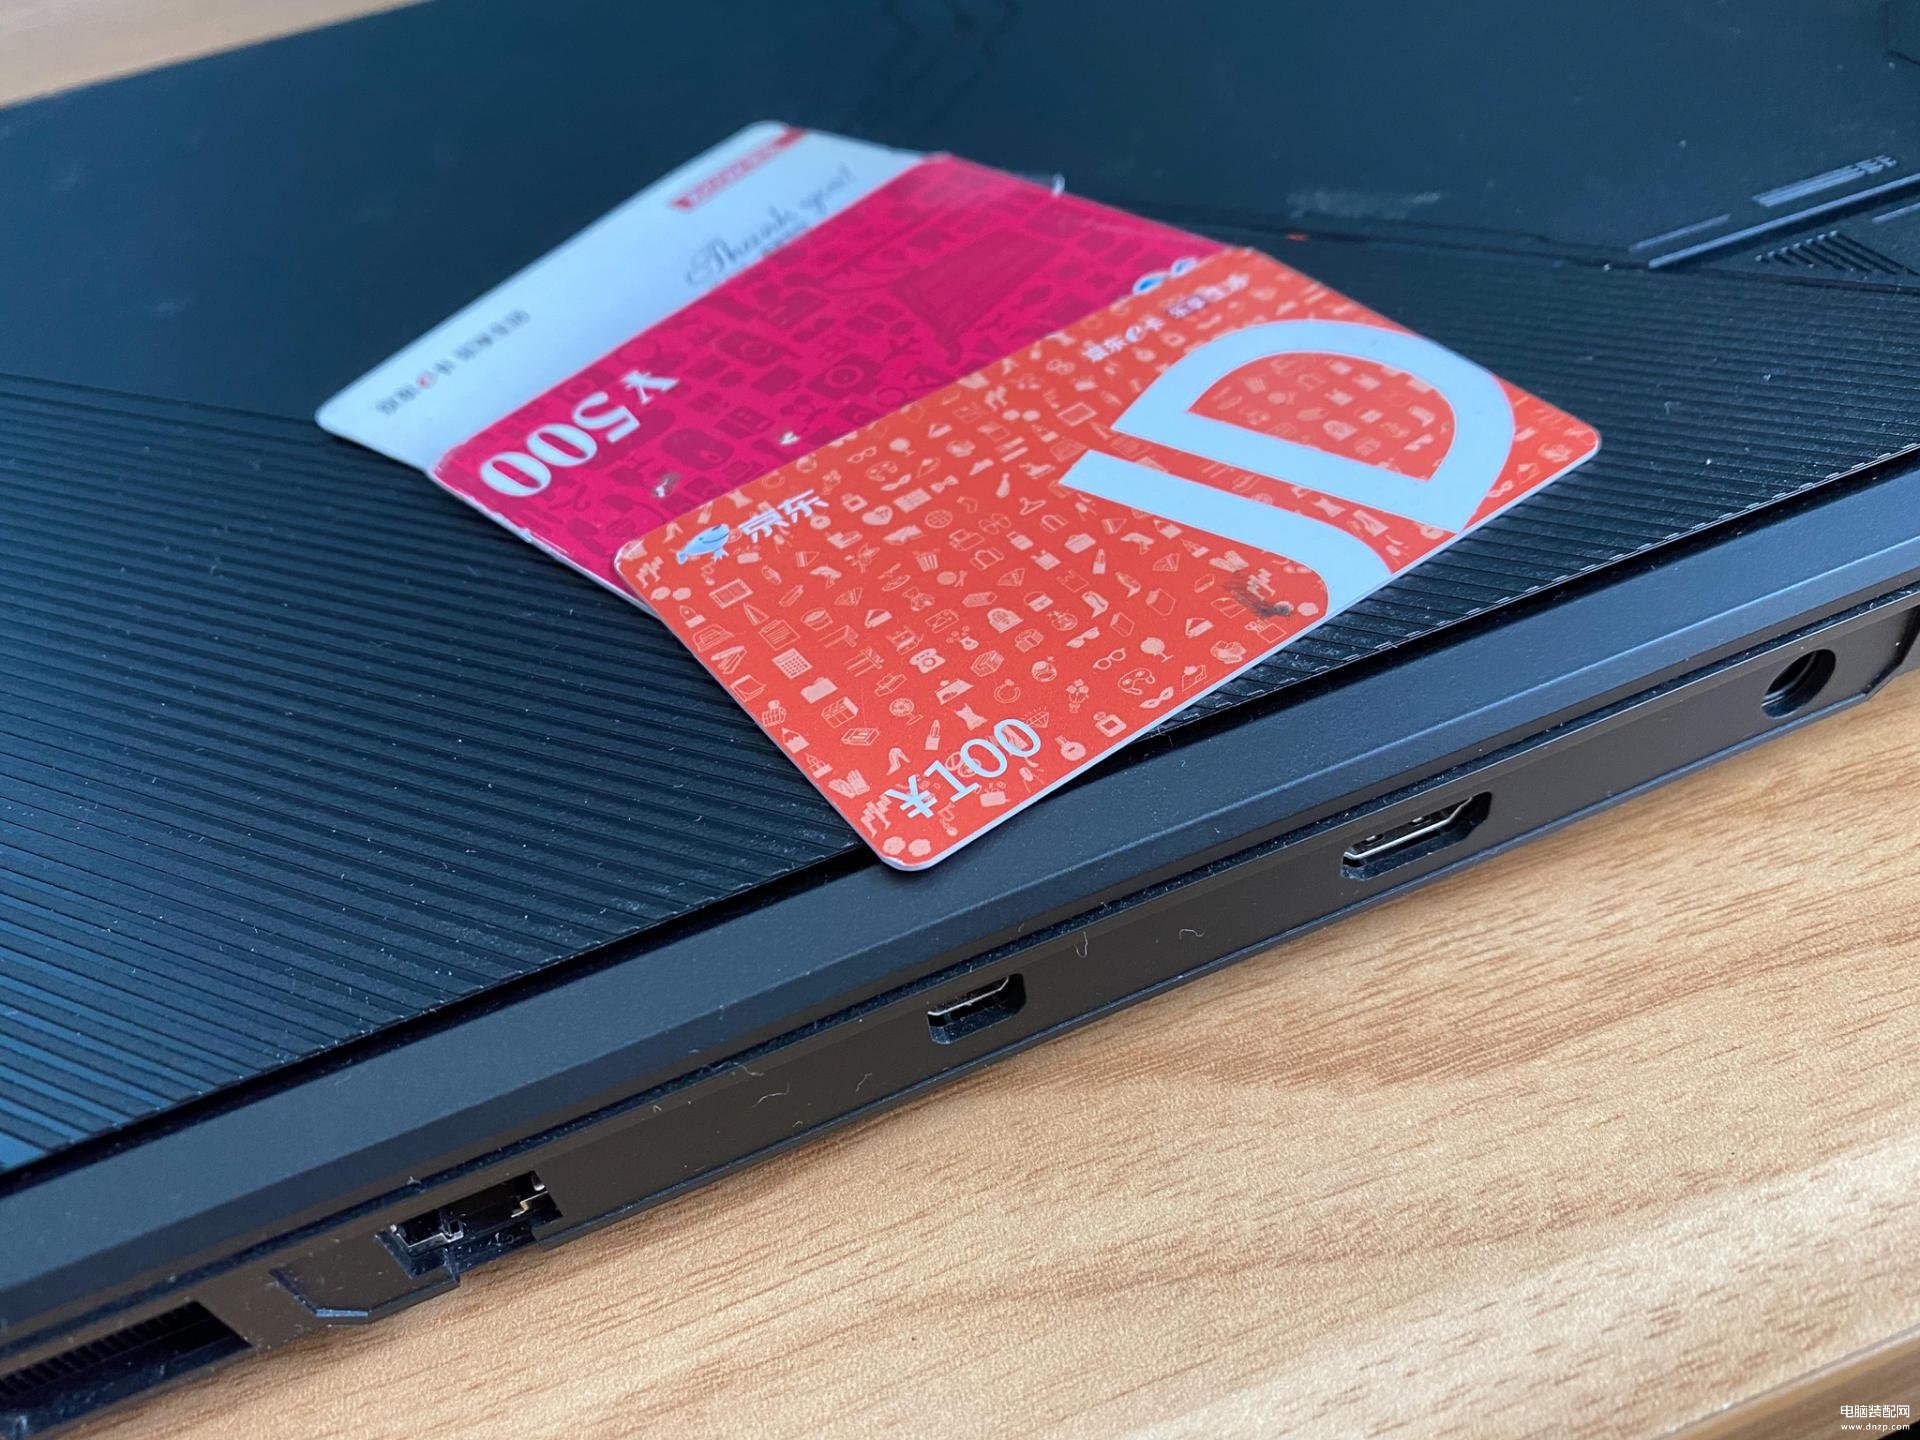
将所有螺丝都拧下后,用撬棒,或者其他的工具,例如薄薄的卡片,将接缝处撬开,可使用多个。从中间位置撬开后,慢慢向两侧延展。这里都是有卡扣的,所以慢慢滑动撬动即可。
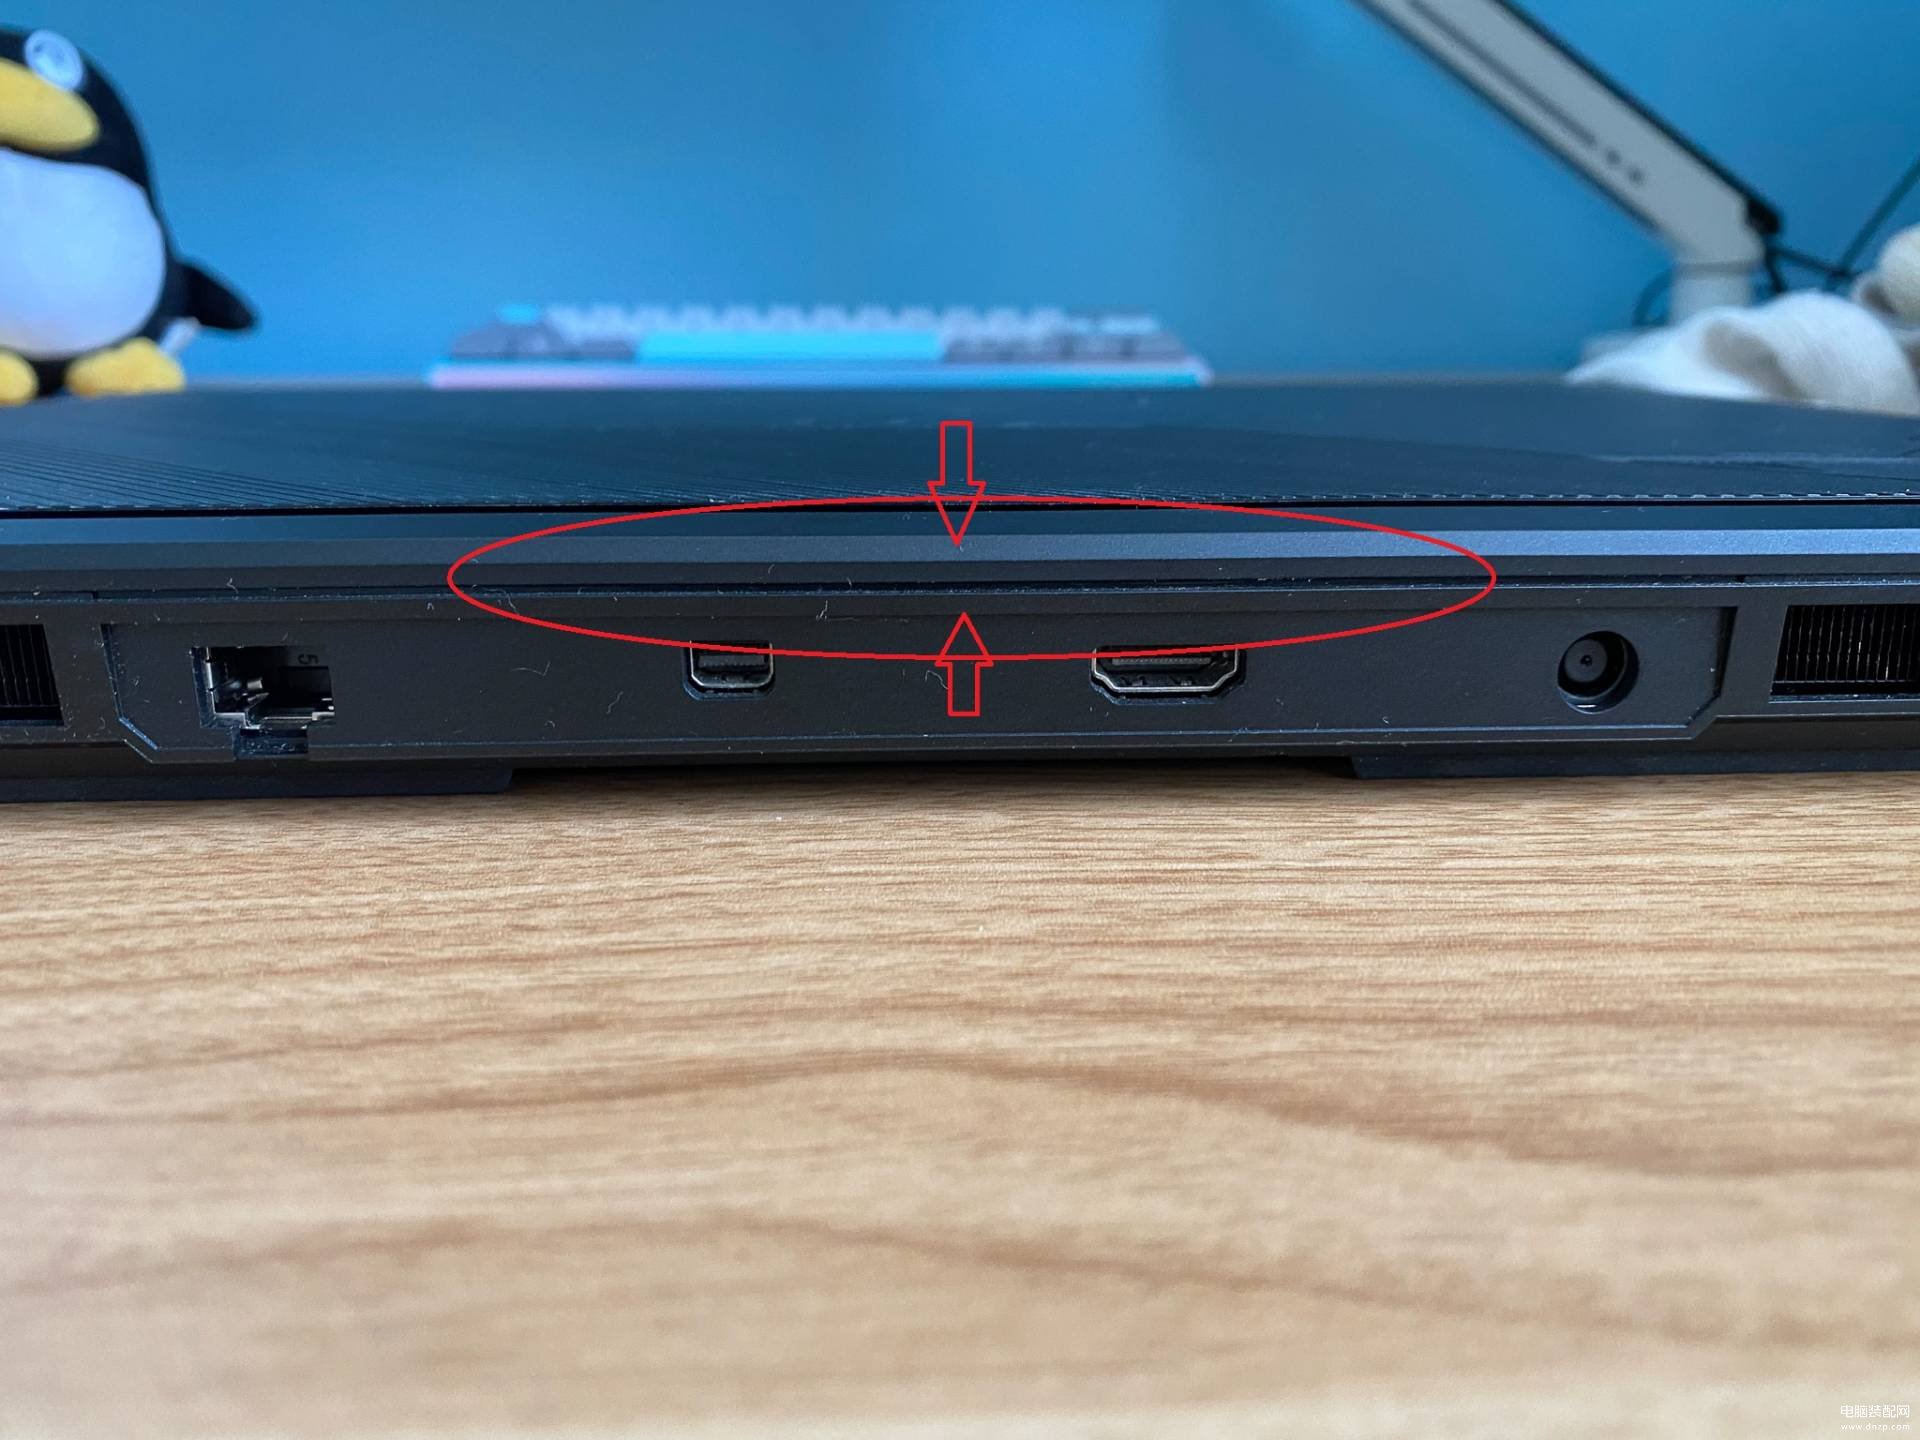
就是这里,或者周边尝试撬开一点,就可以了。通常这里最容易。
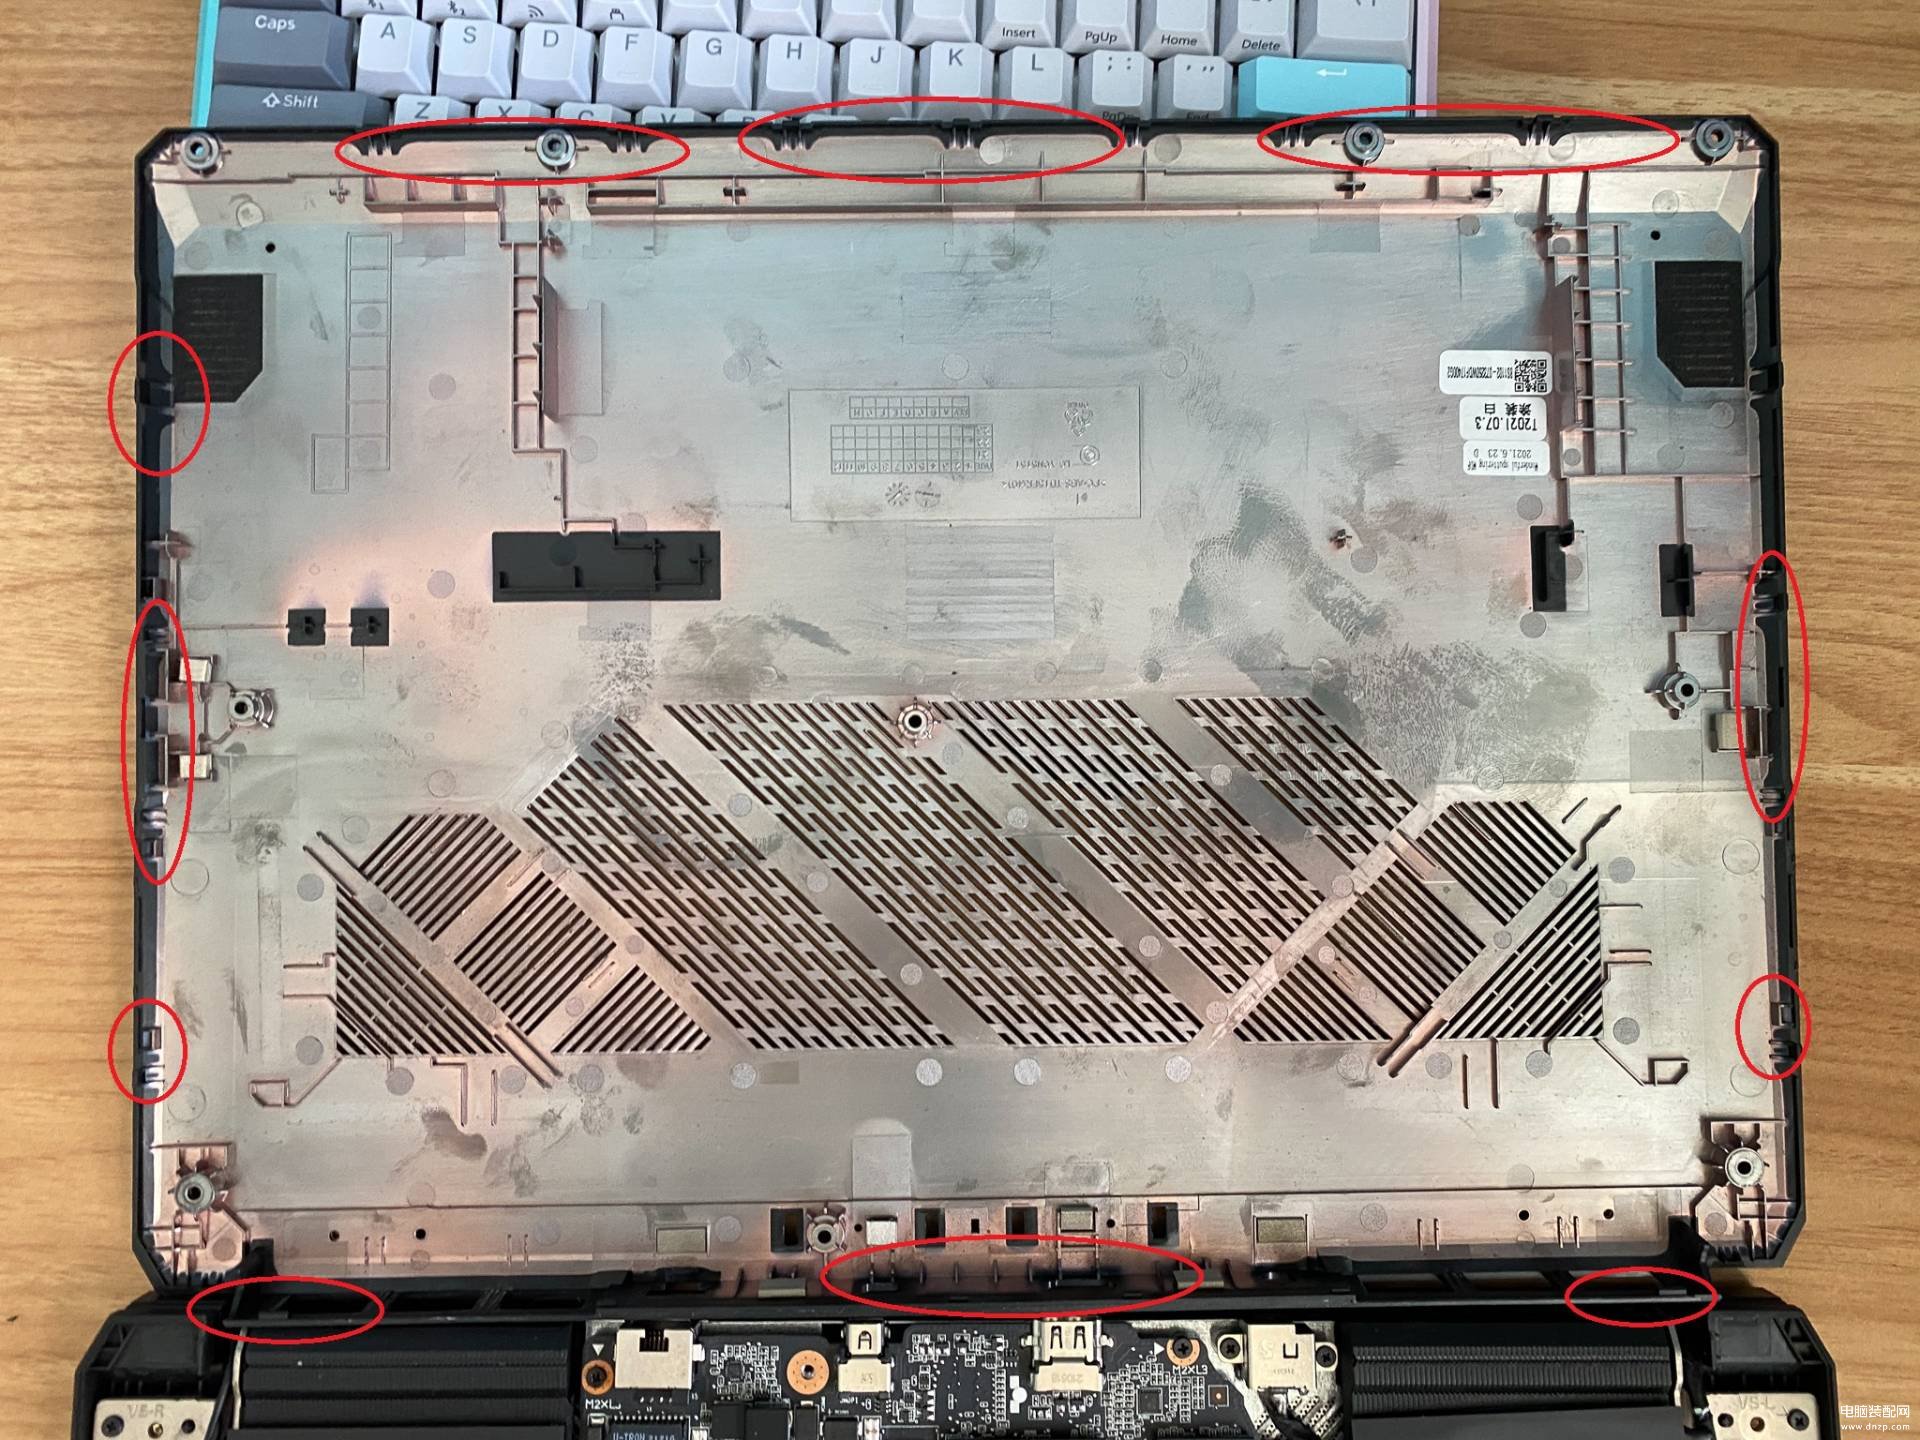
需要沿着笔记本边缘撬开一圈,因为这个边上都有卡扣的,然后可以拿下盖子,看到周边的卡扣。
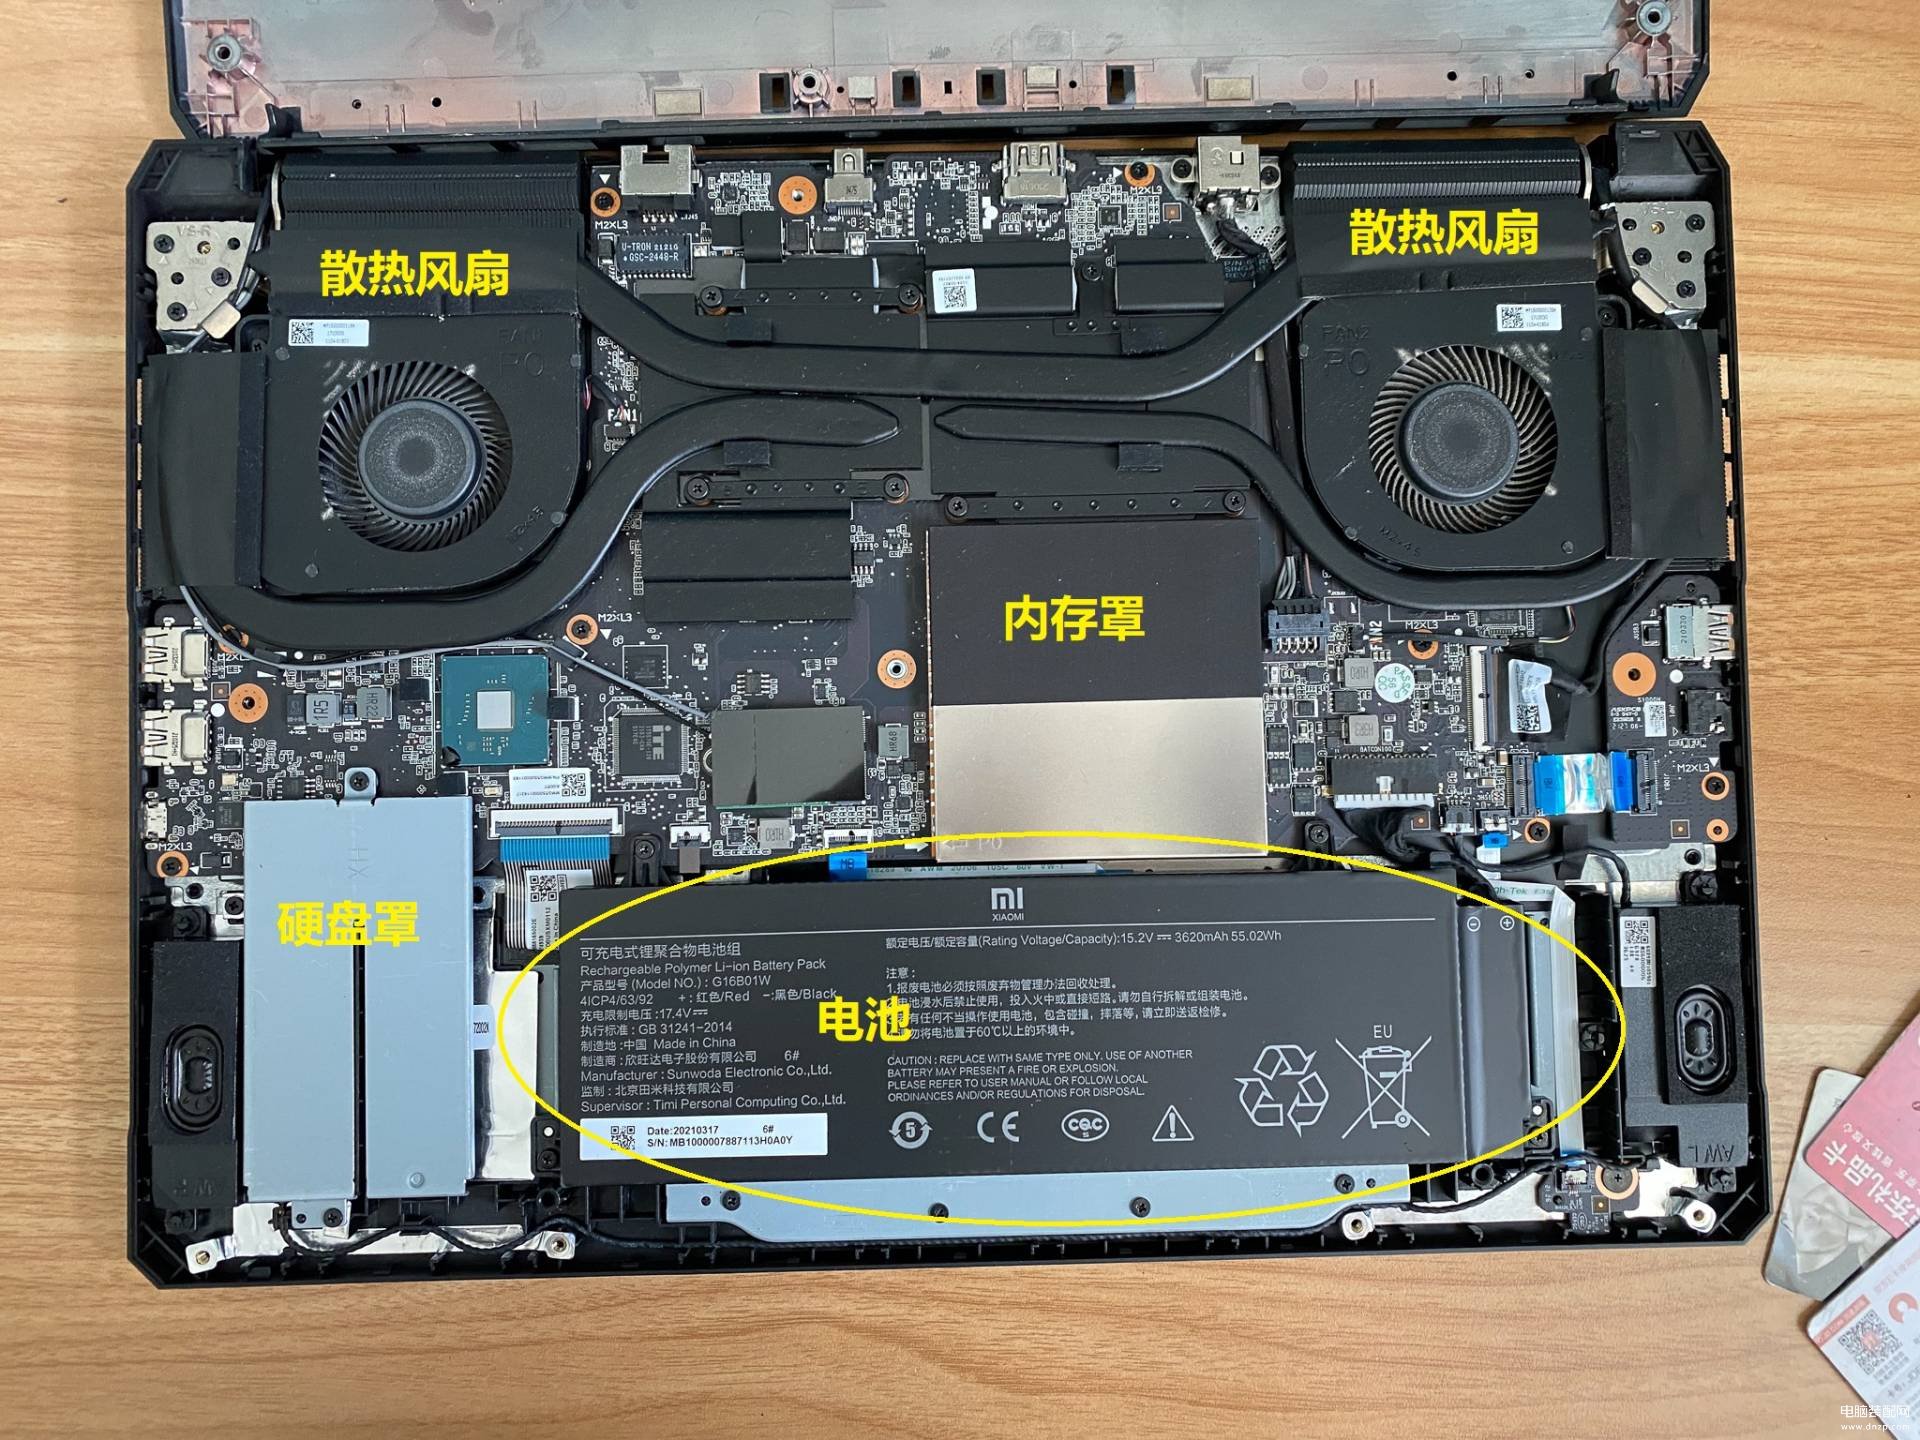
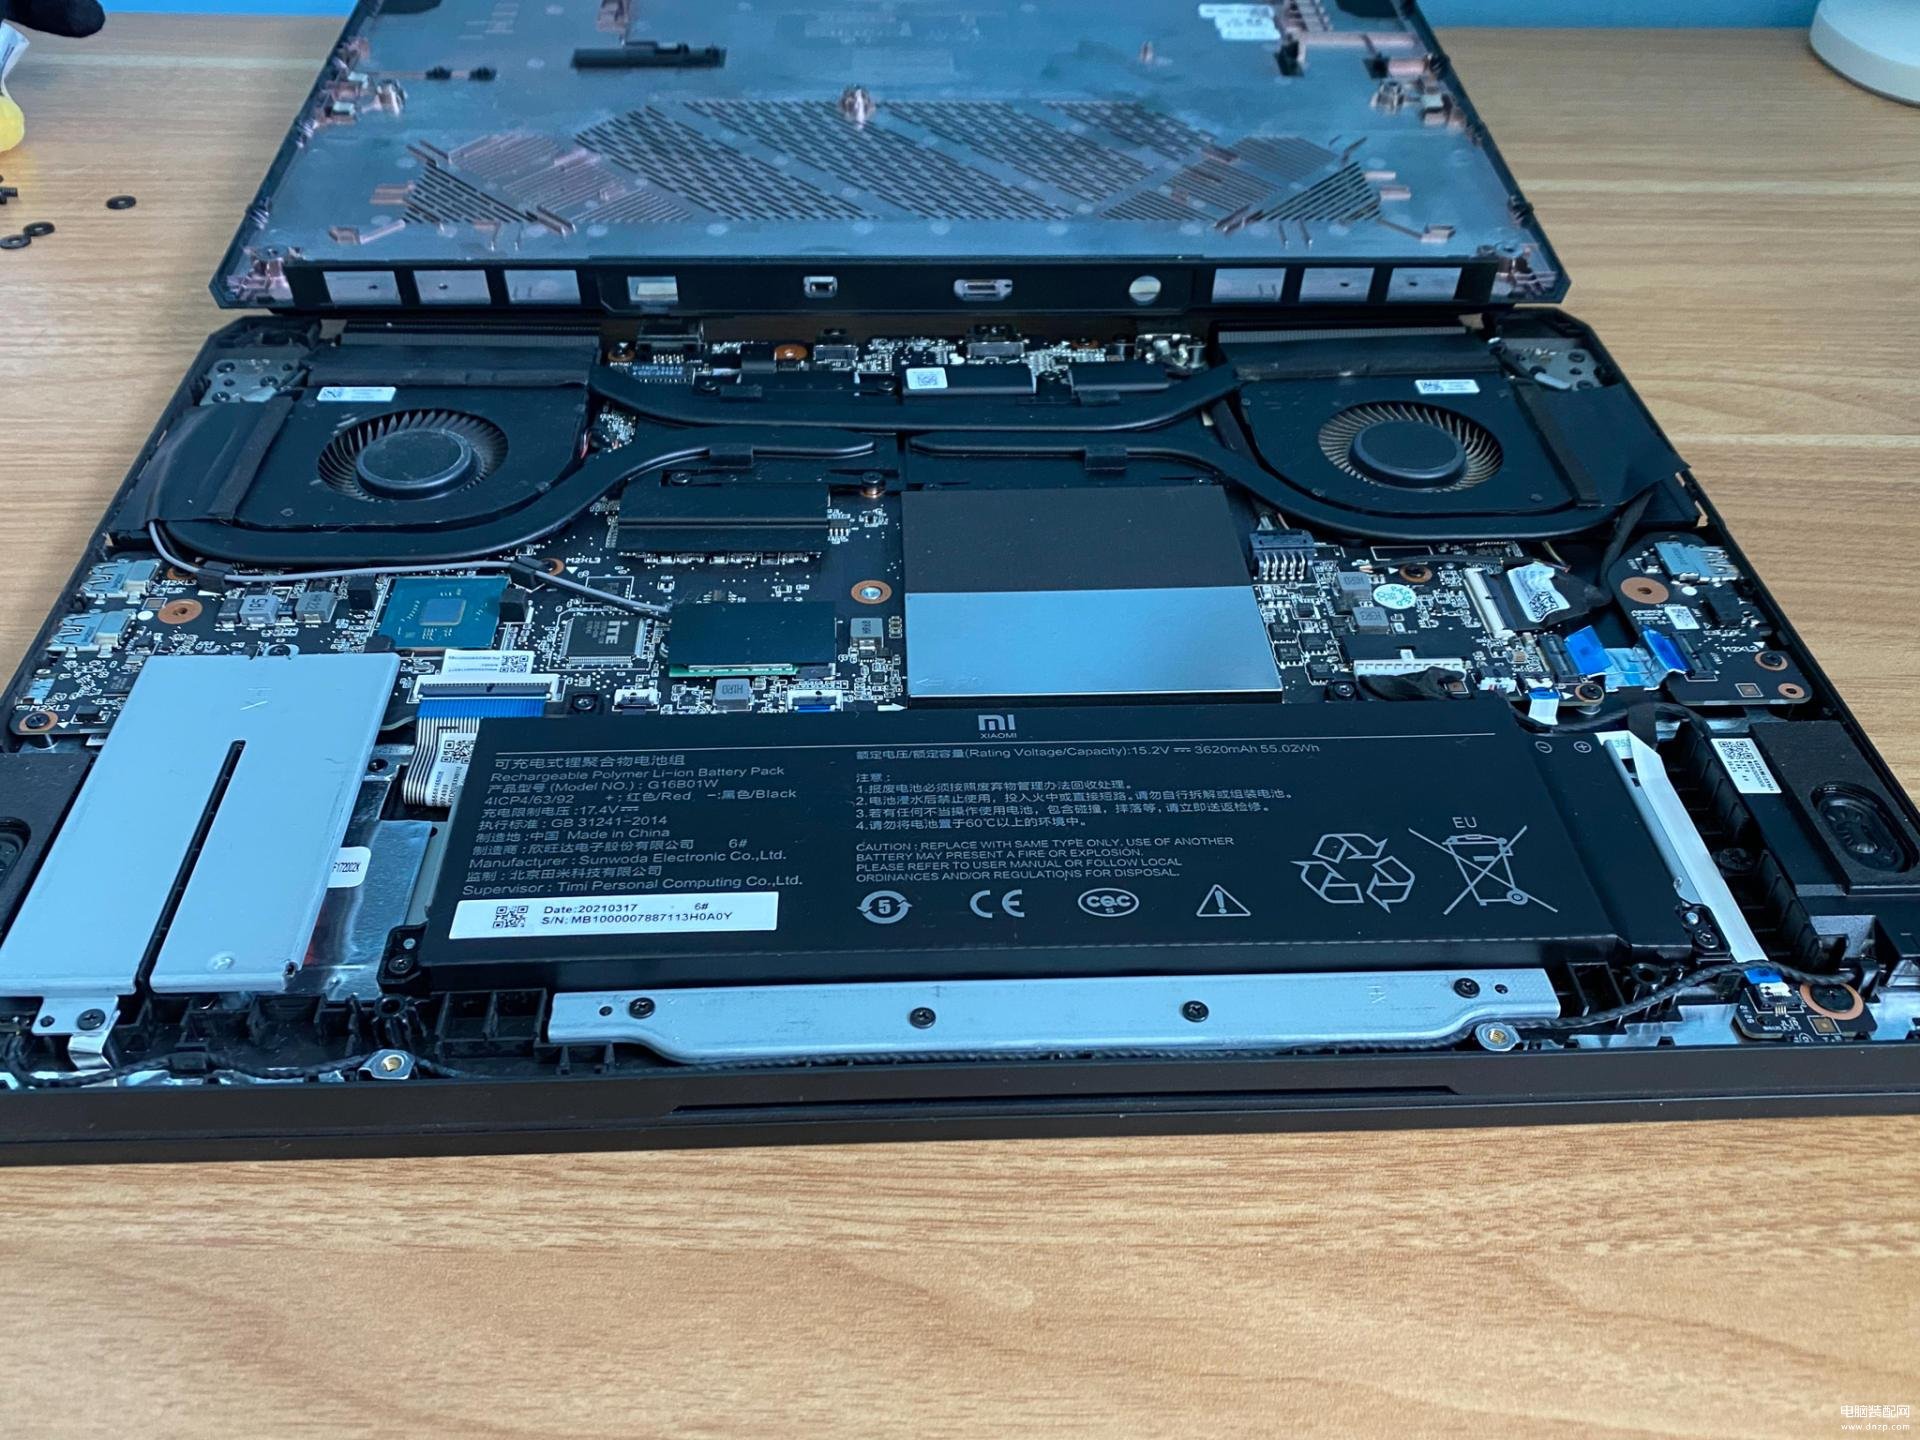
然后看笔记本电脑这里,重点要看这几个,一个是电池,因为我们操作不能带电,所以一定要将电池断开。其实就是找寻内存和硬盘的位置。有的笔记本电脑一眼就可以看见,而有的笔记本电脑,像我的这款,就带有个罩子。
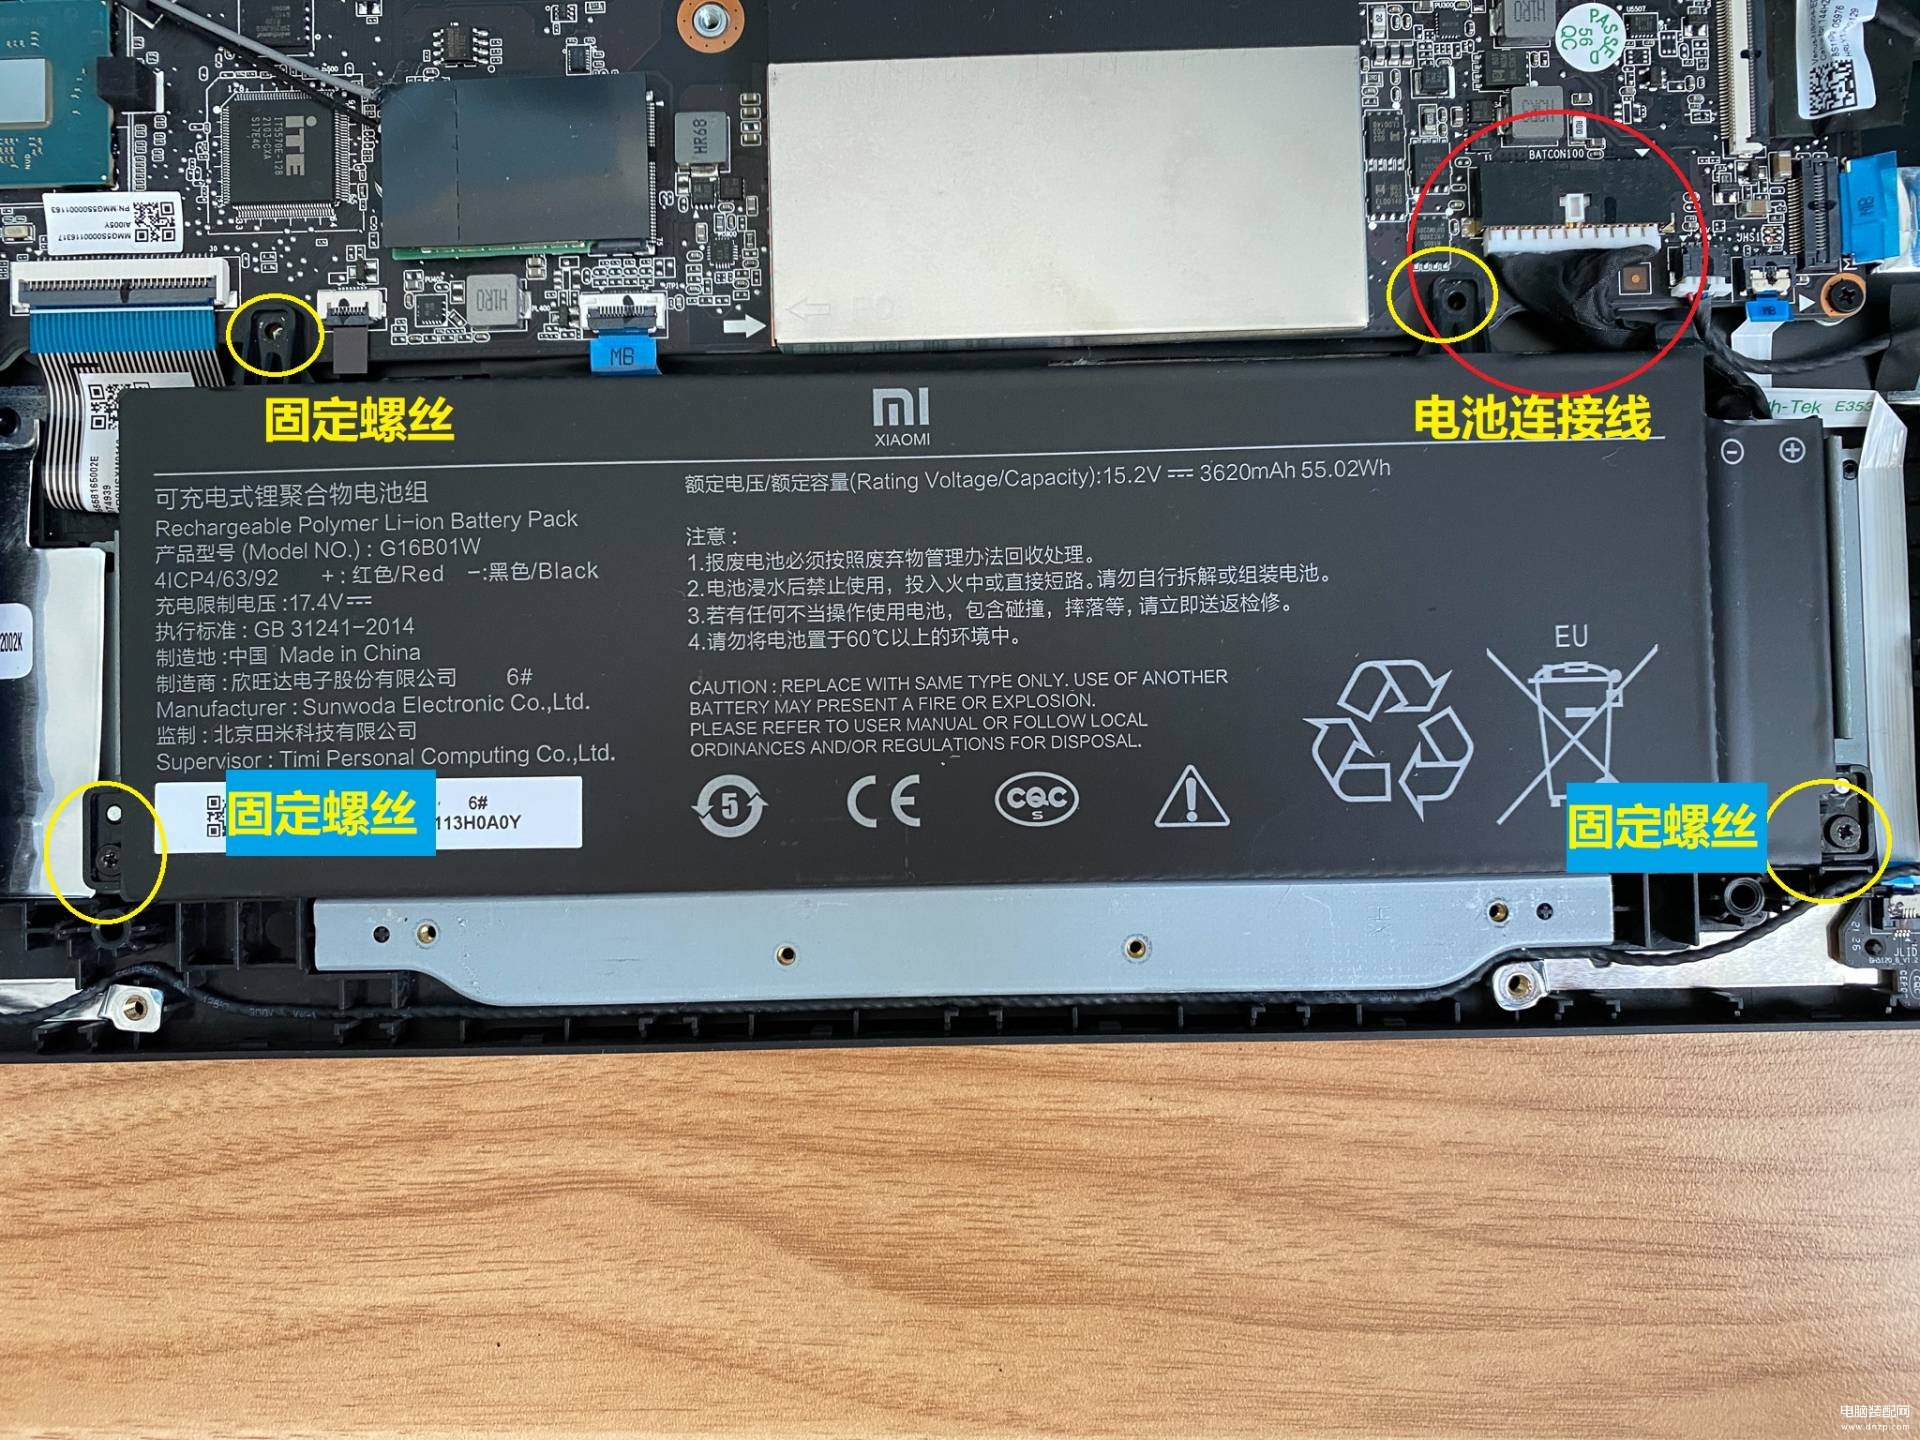
首先看电池同电脑主板的连接线,要轻轻的取下。这里的空间有些狭小,为了安全和避免遗忘,所以最好还是取下电池,拧下四颗固定螺丝即可。
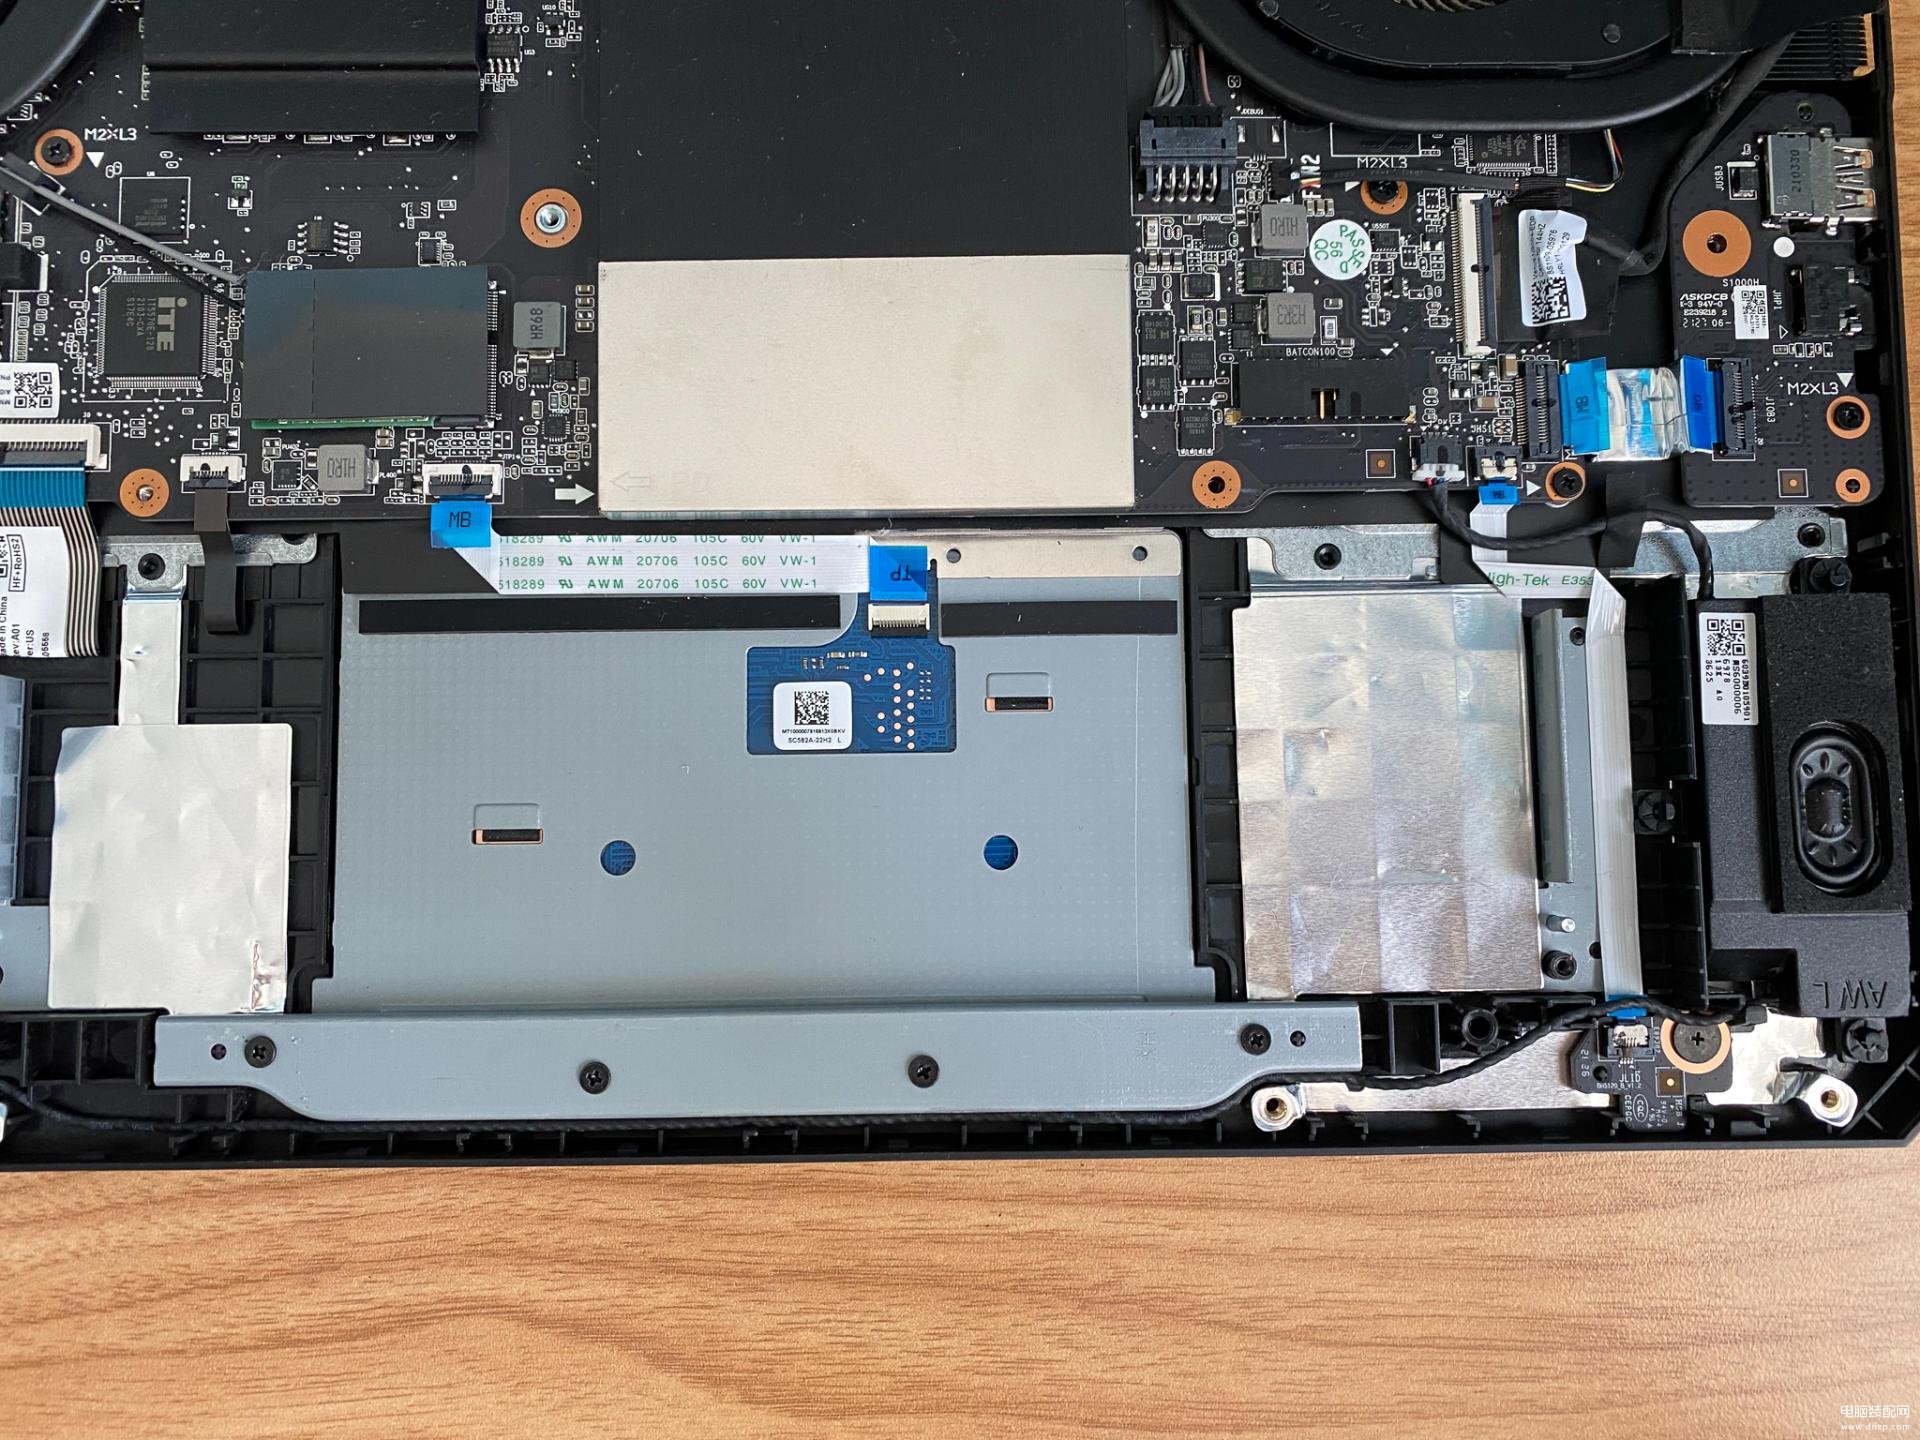
上图是取走电池的样子,这下子就可以放手干活了。
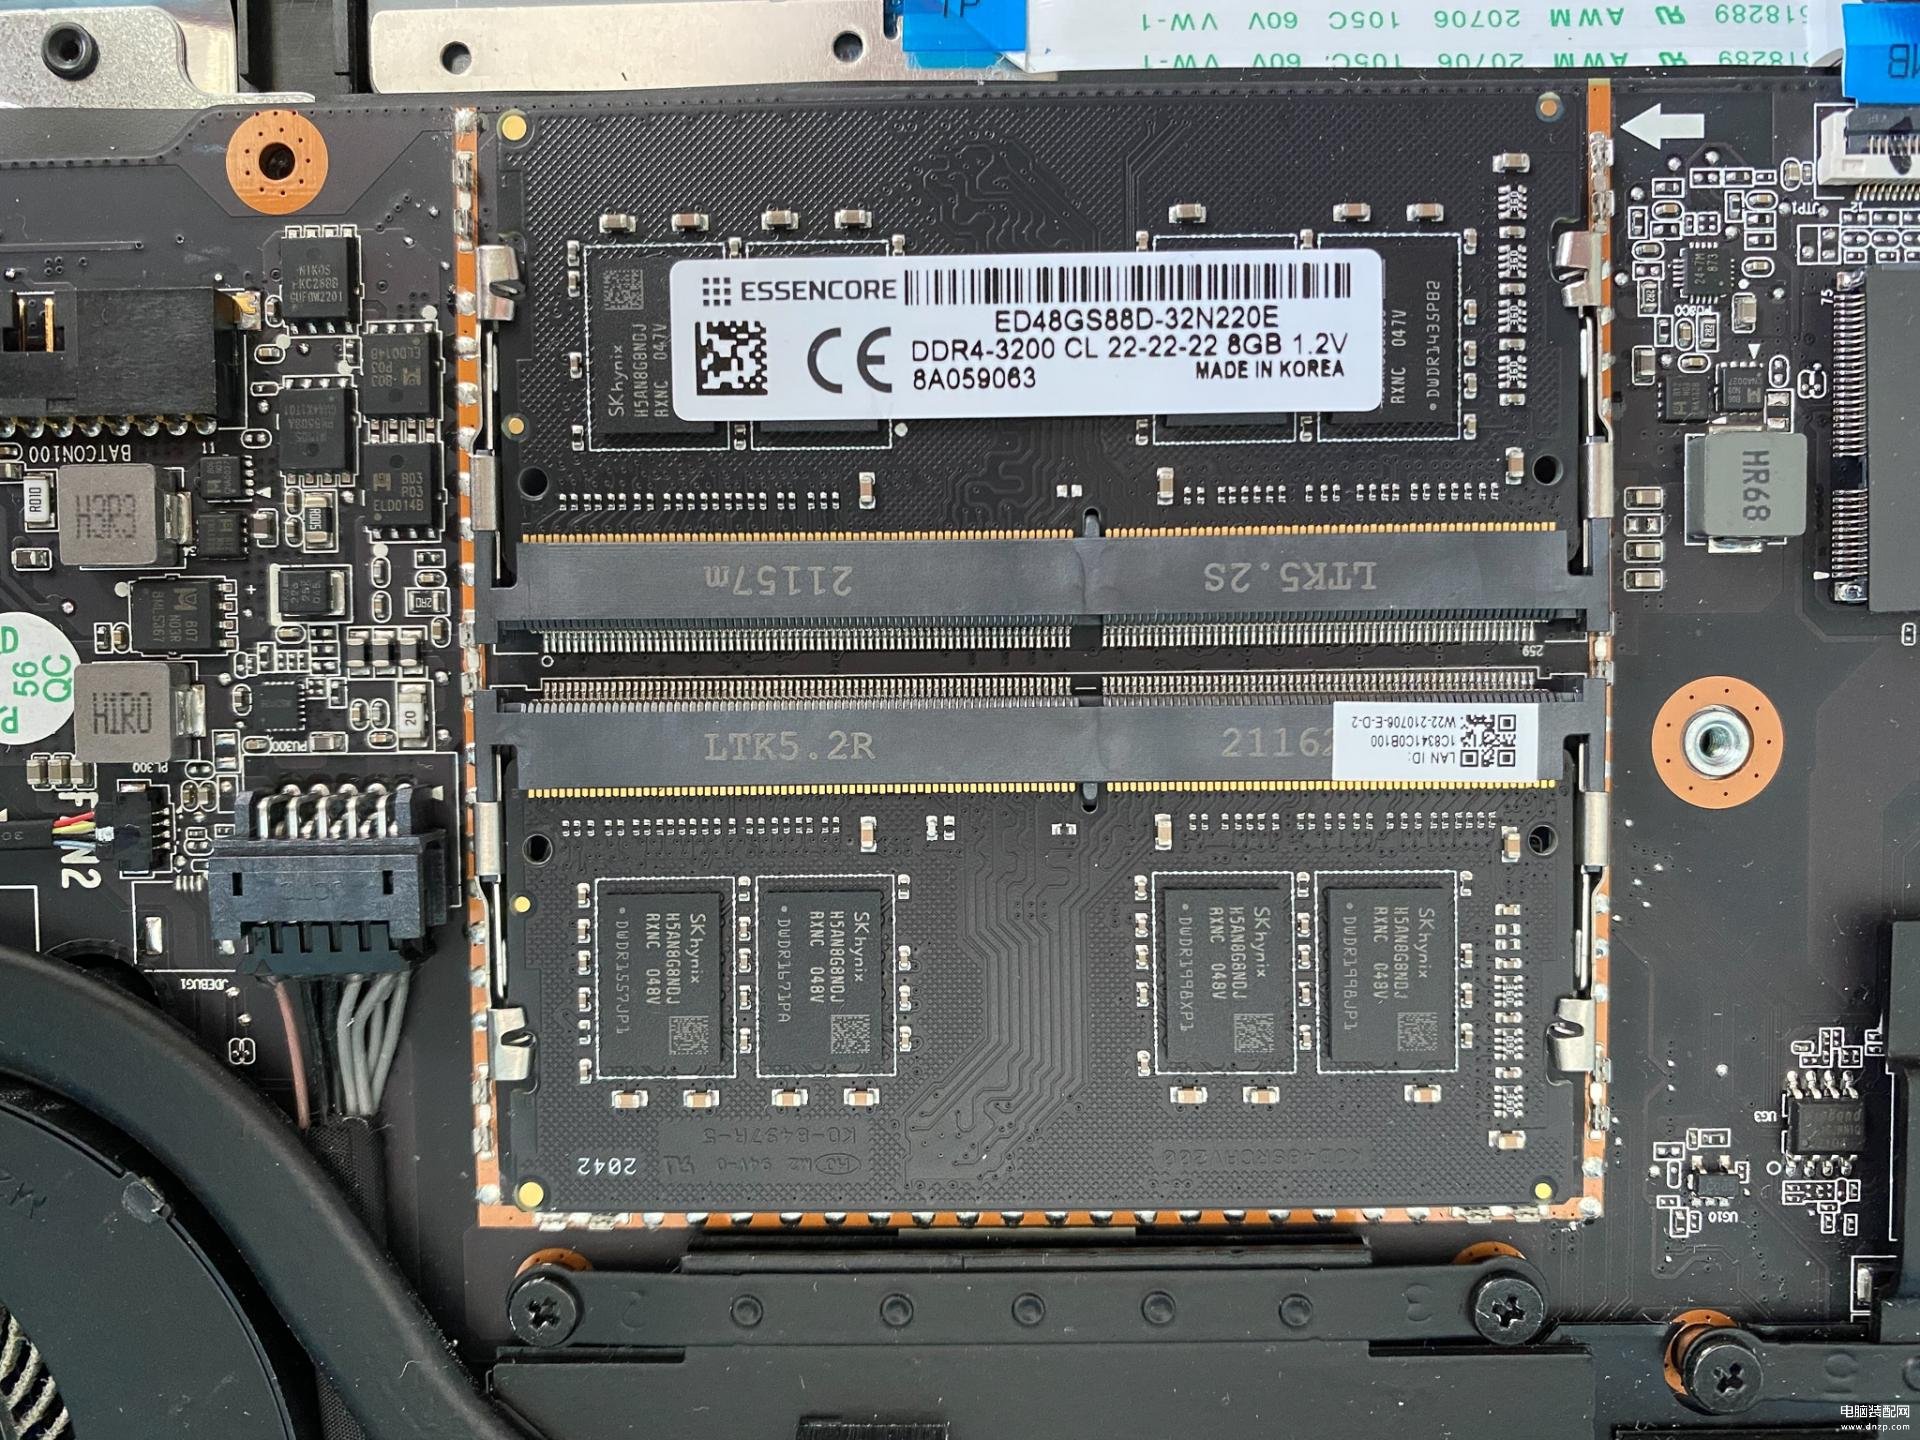
那么首先内存的罩子,我们看是没有螺丝的,他是直接卡住的,所以直接拿下即可。然后可以看到里面有2颗内存,是科赋的,采用的是海力士颗粒。
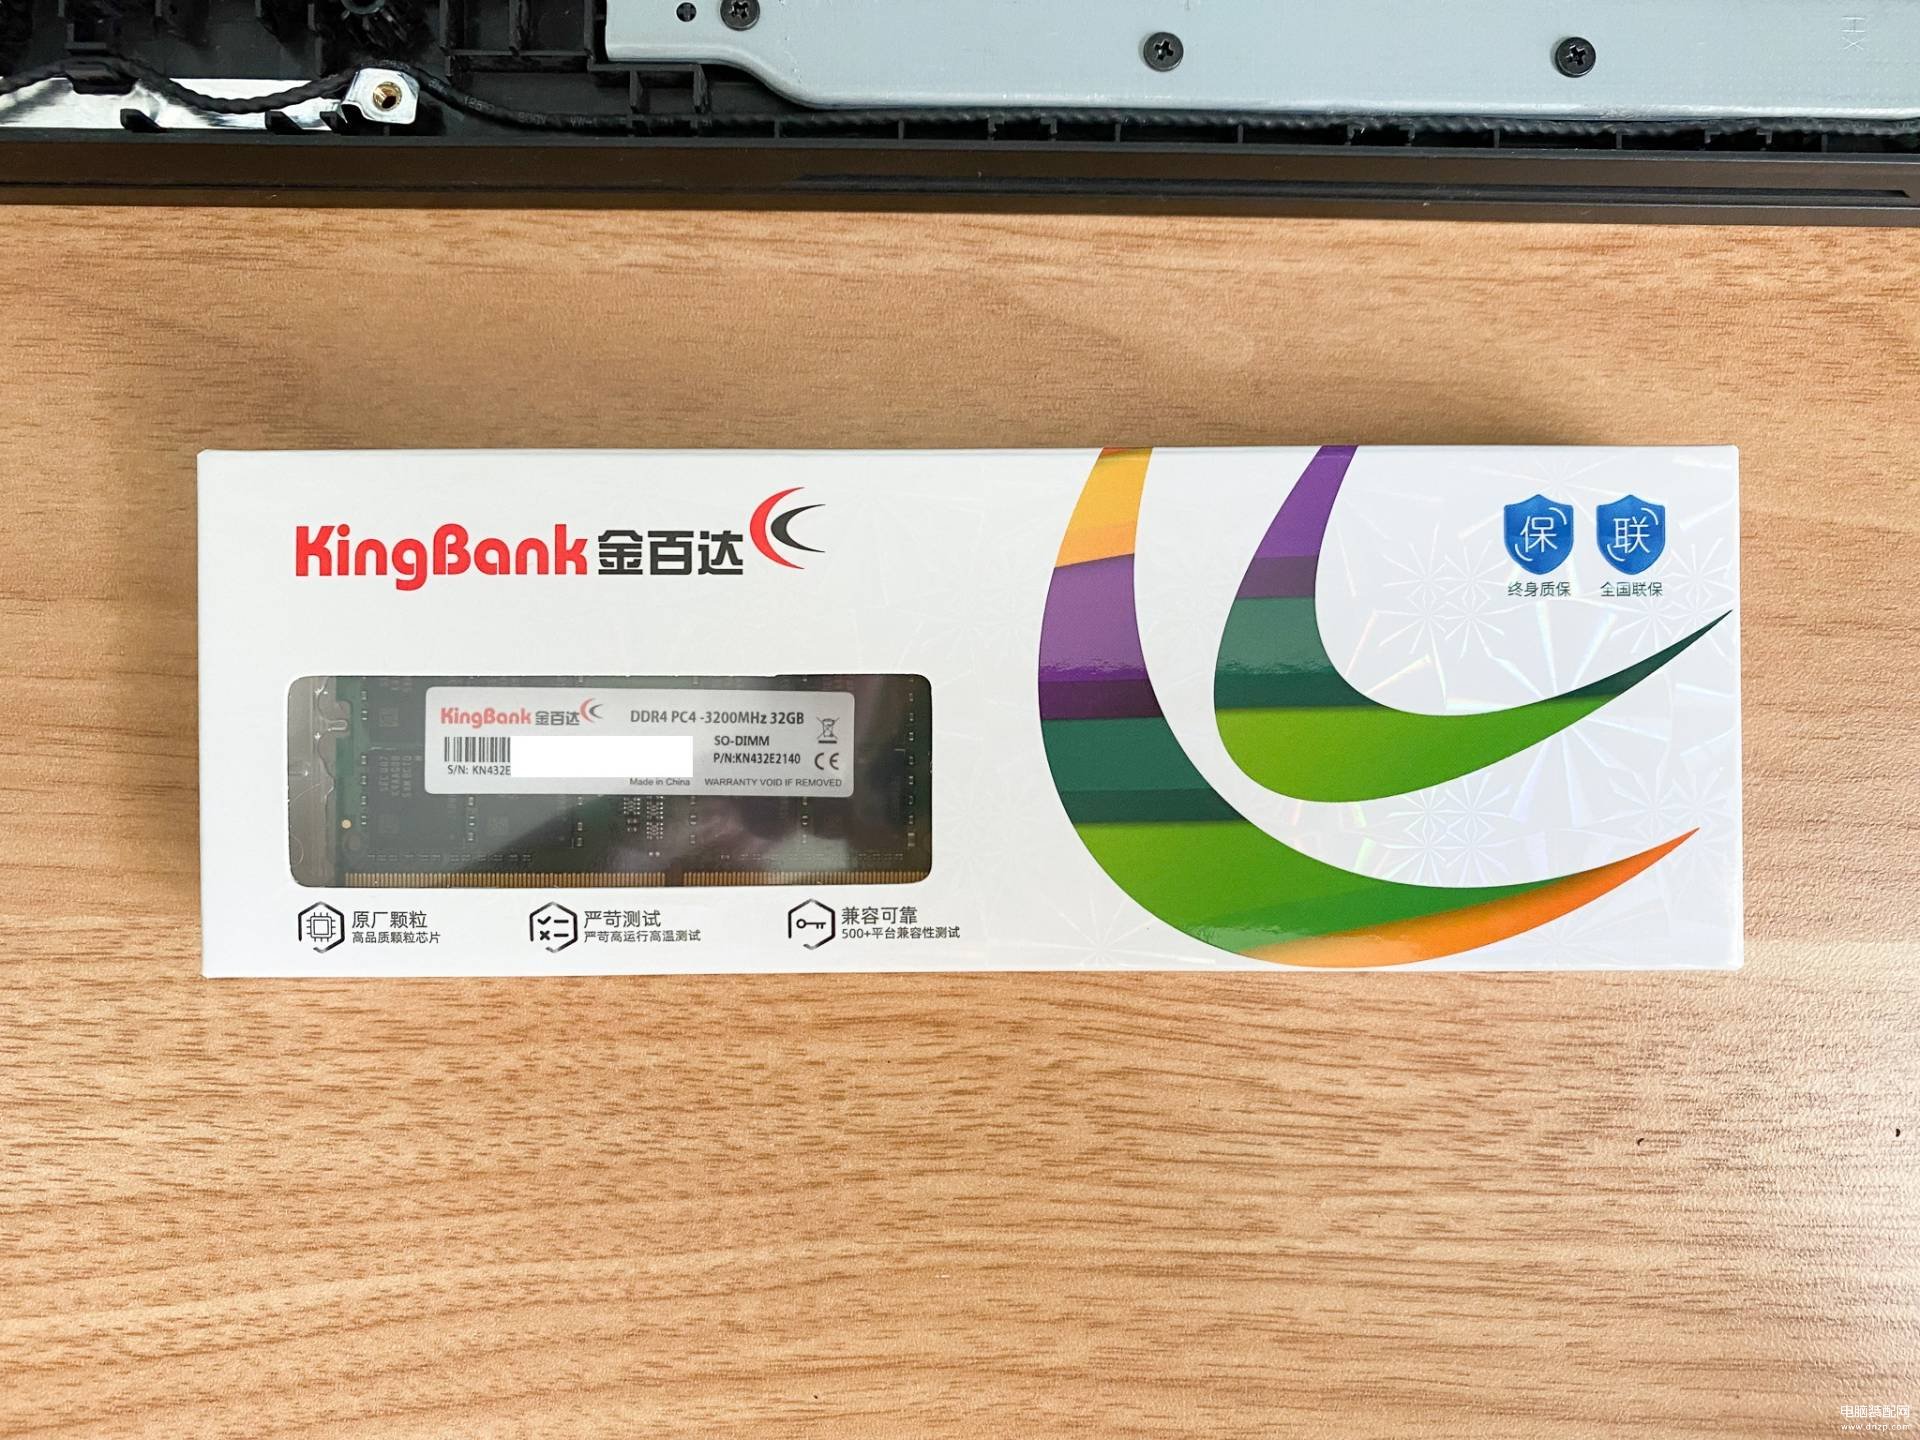
那么我们准备用来扩容用的是金百达的32GB内存,3200MHz高频内存条,一条就32GB,这个厉害了。
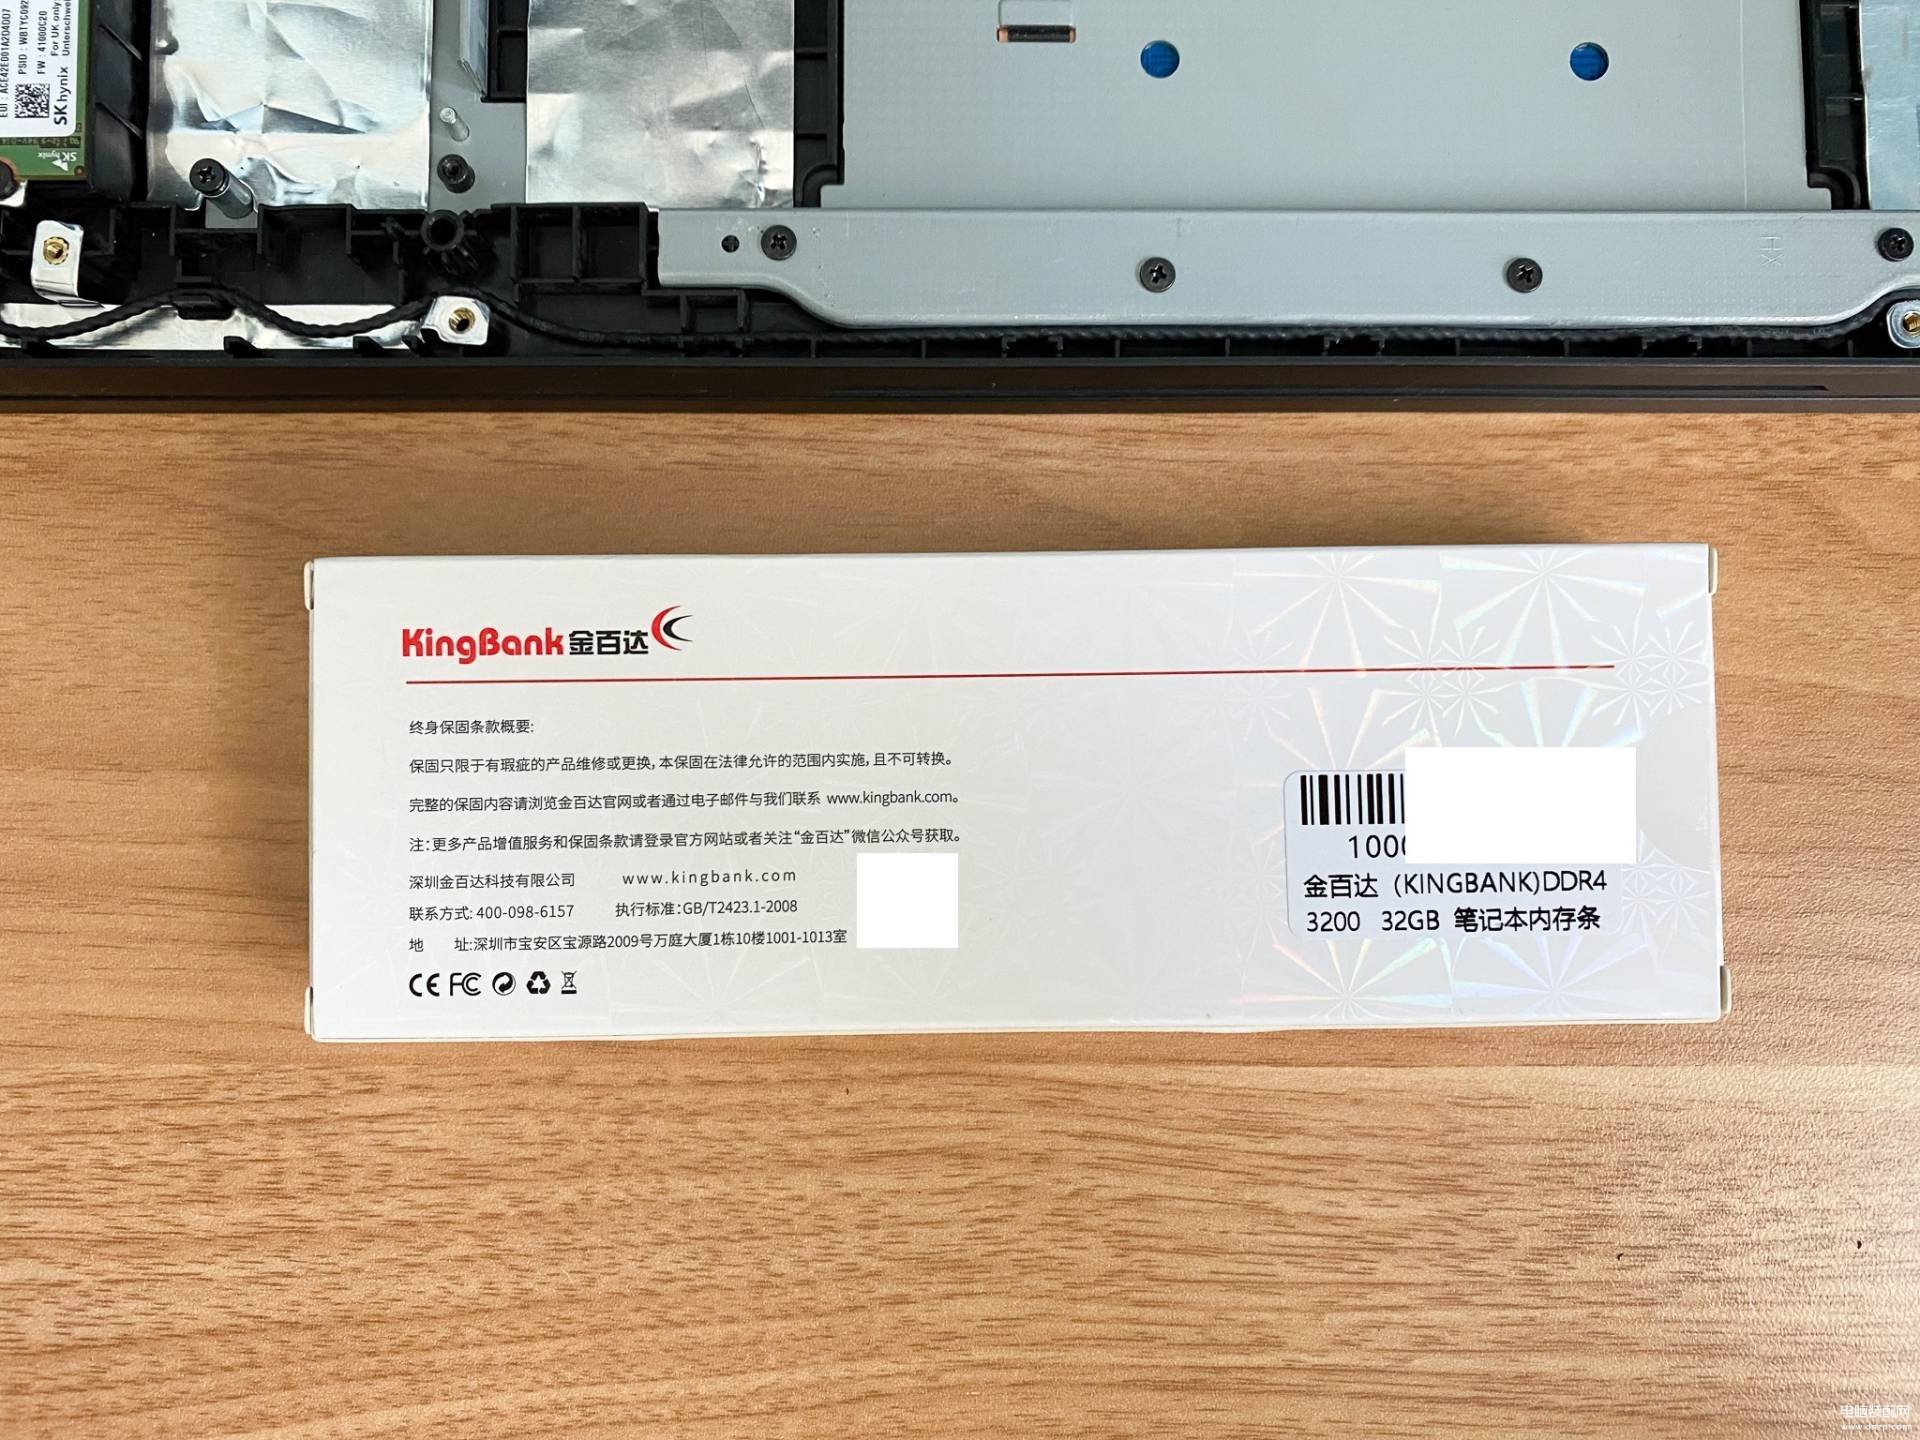
这款内存条是终身保修的。
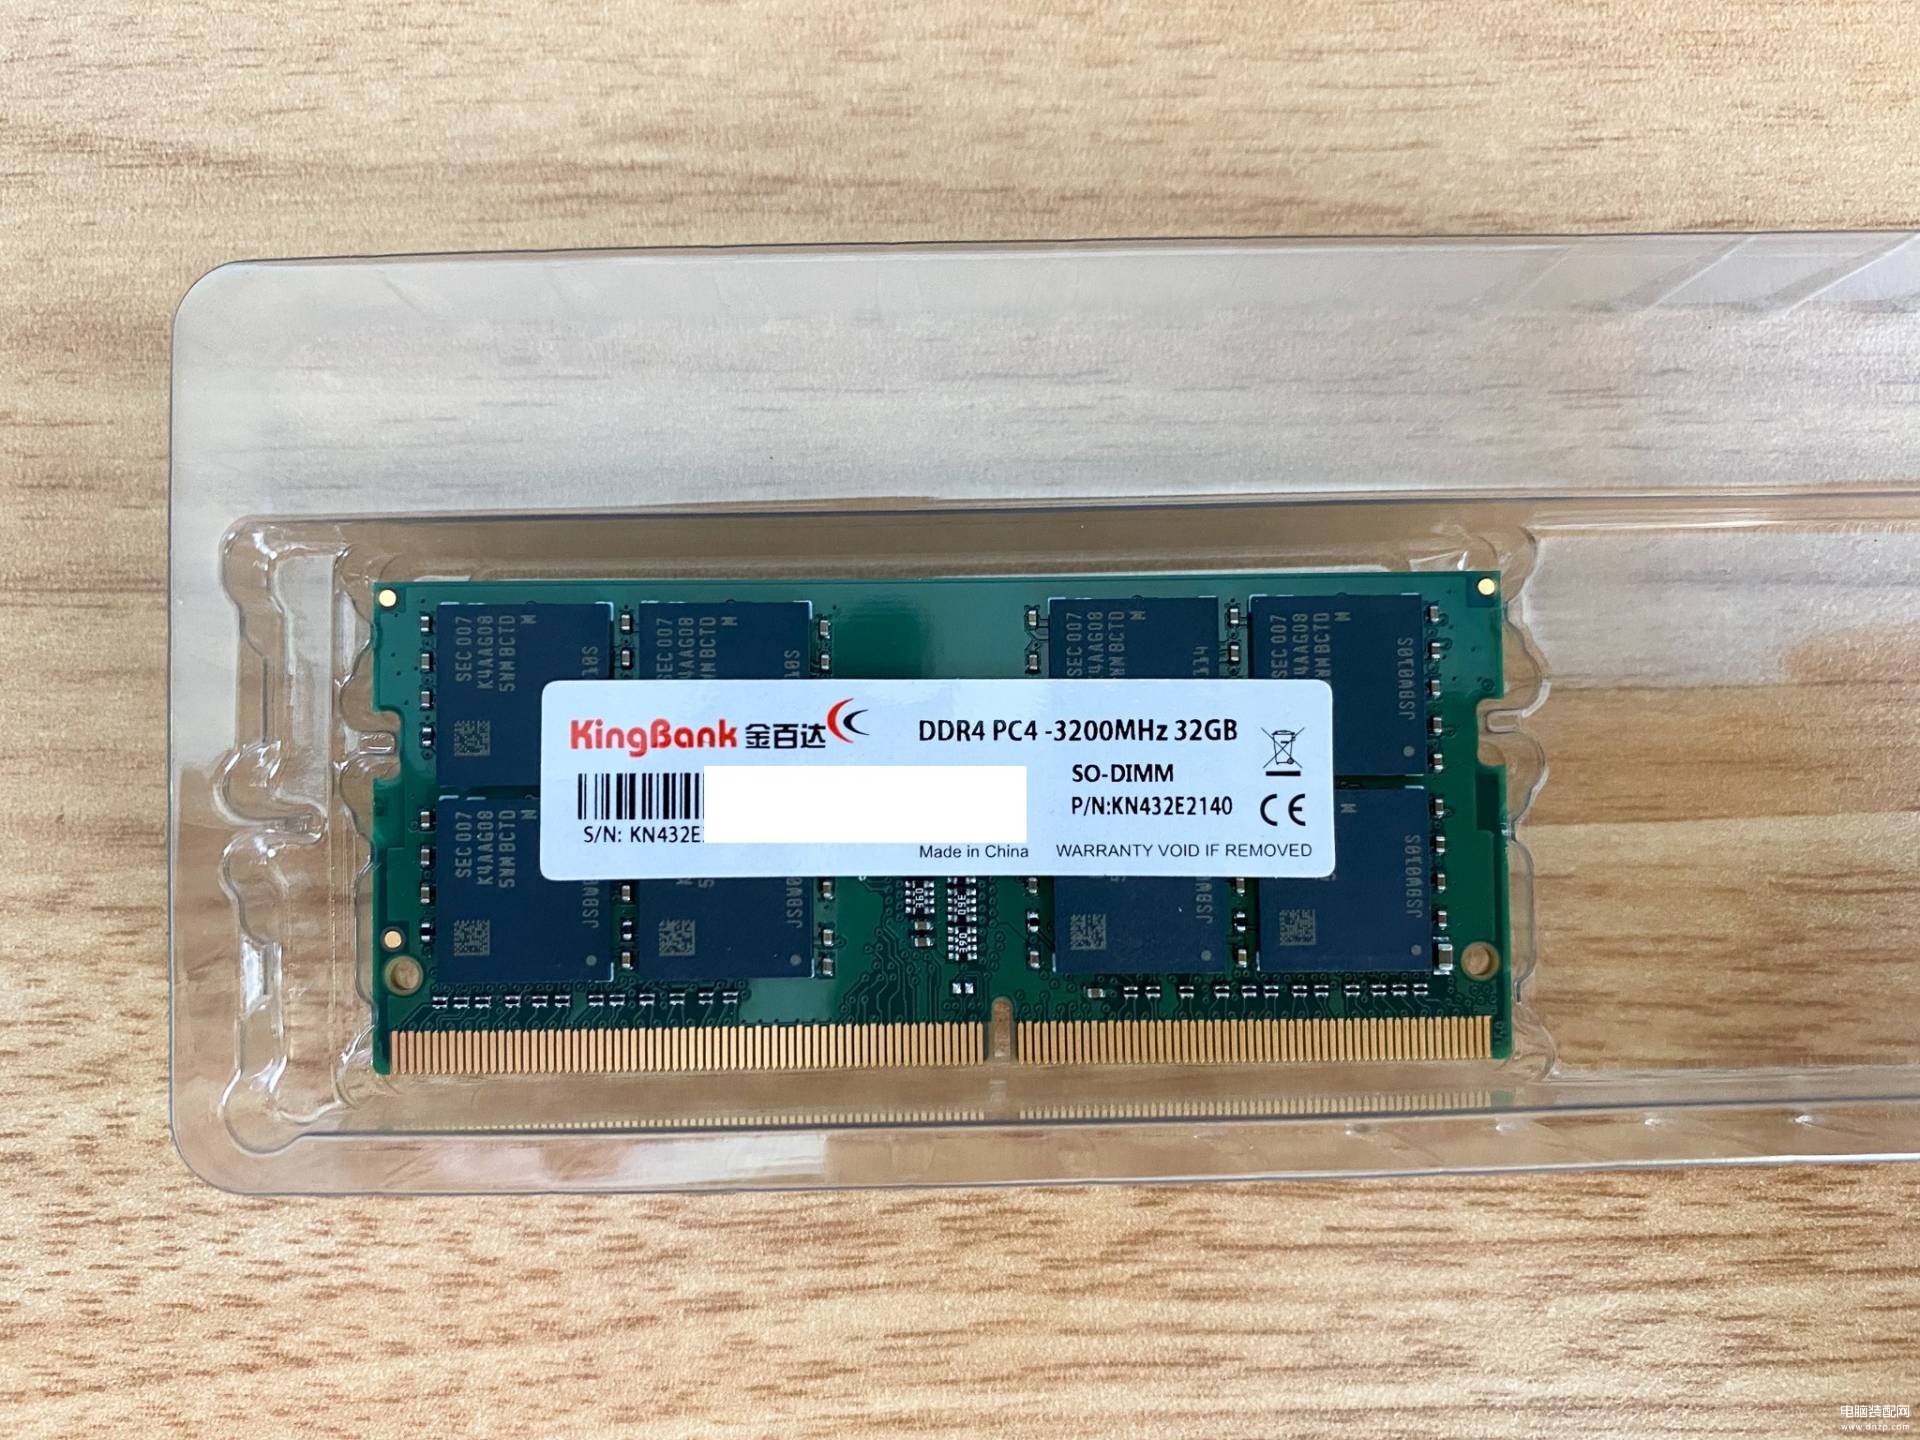
打开盒子取内存,我们看里面是单面有8个颗粒。
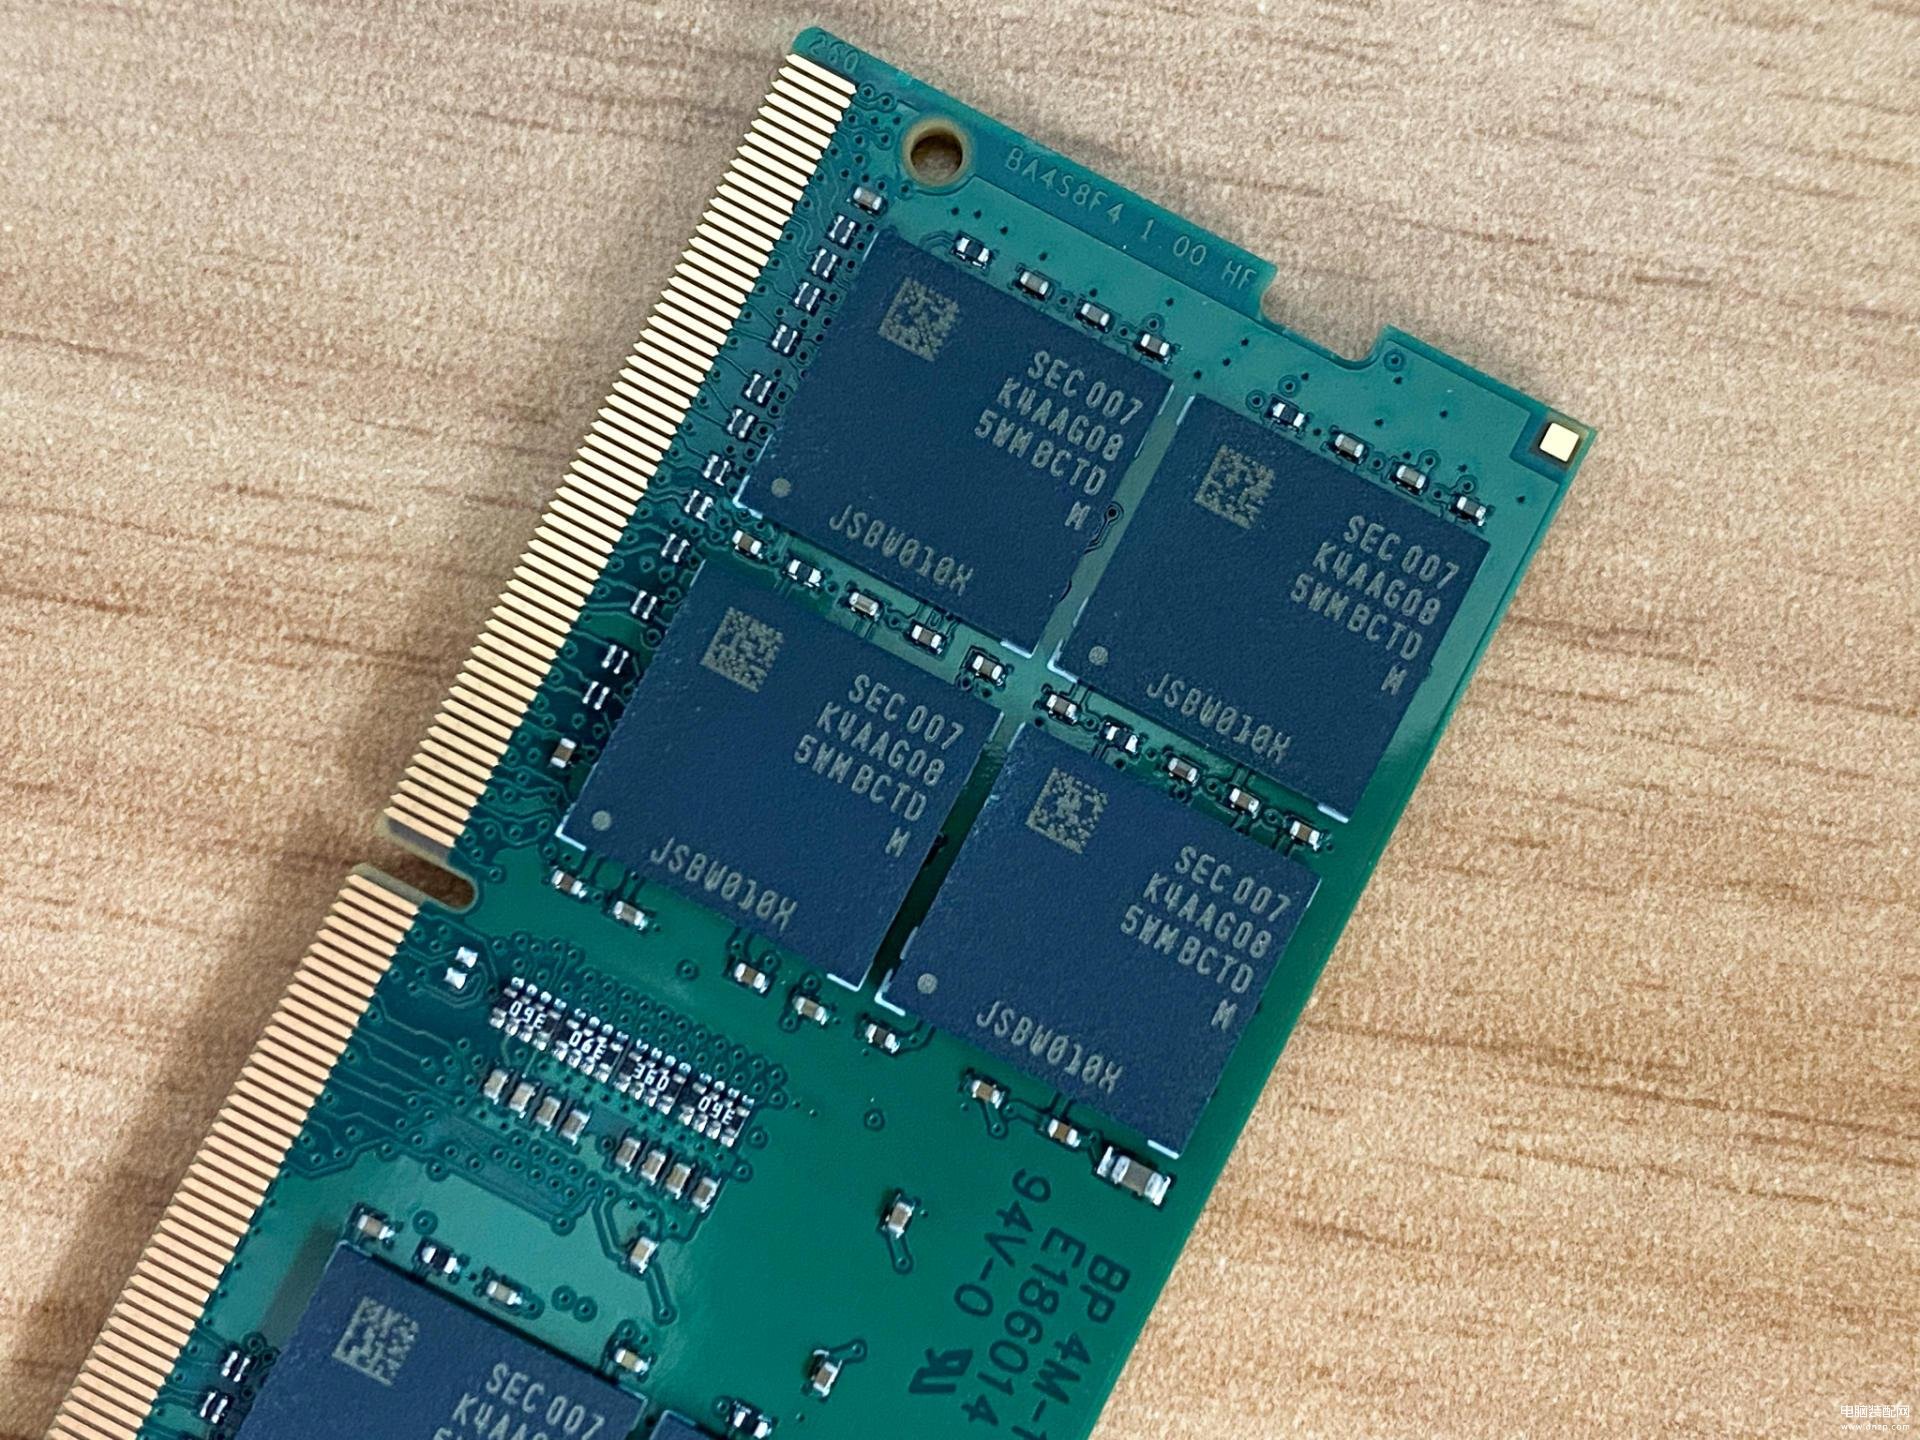
双面,一共是16颗颗粒,从标识看,这是韩国三星的颗粒,很多内存厂商包括三星自己都在用这个。单颗是16Gb容量,那么16x8x2=256Gb,换算过来就是32GB的容量。
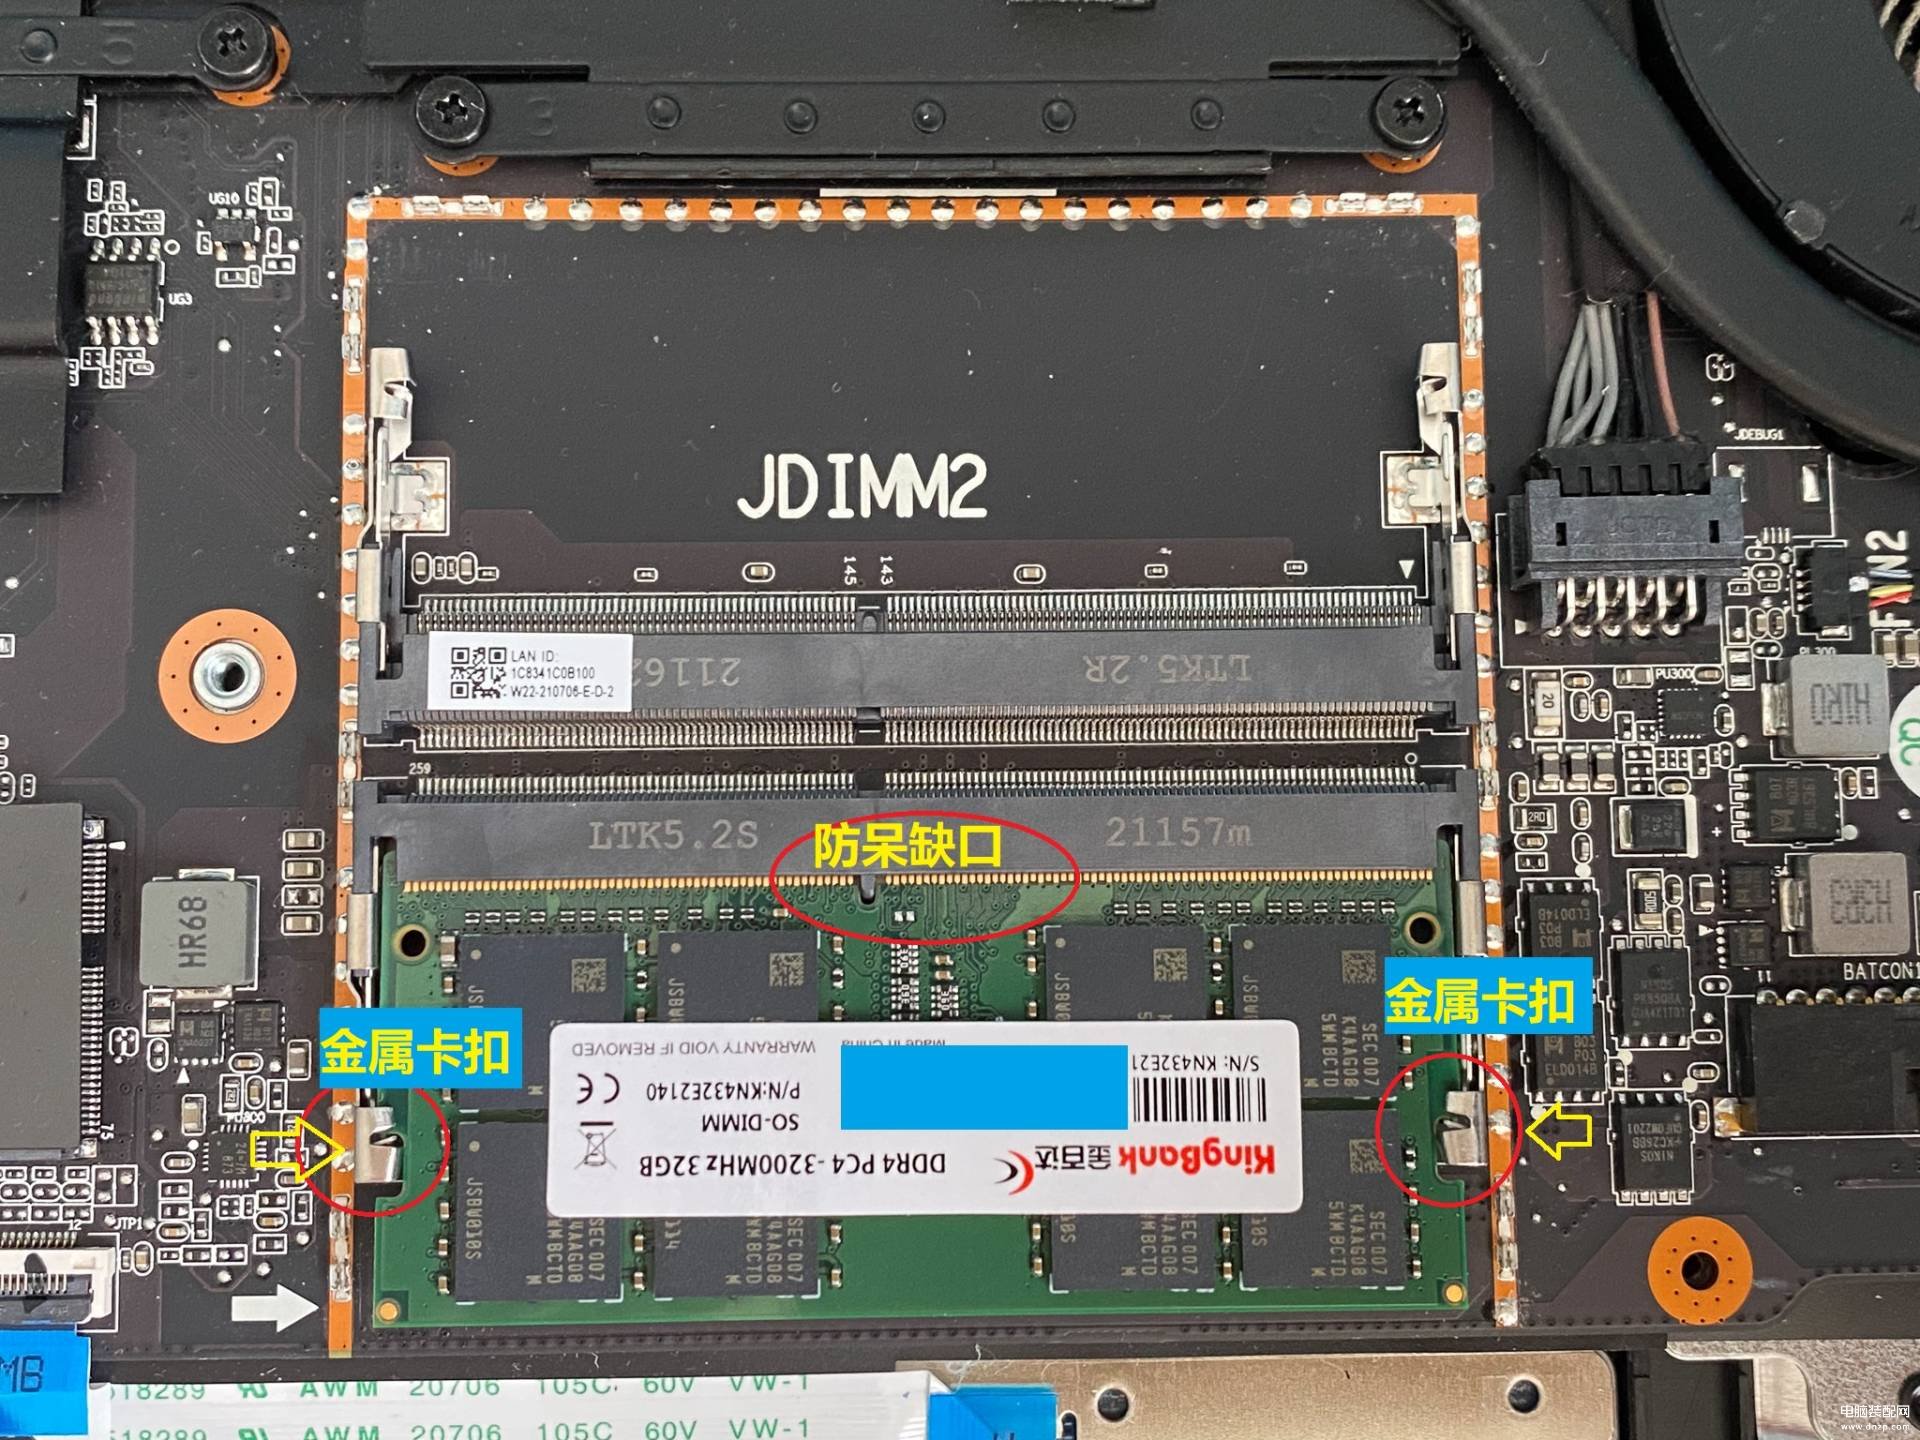
内存的取出,拨开2个金属卡扣即可。而安装的时候,首先将防呆缺口对好插入,然后往下压,听到“卡塔”金属卡扣卡住的声音就好了。
下面我们来看硬盘的升级和加装。
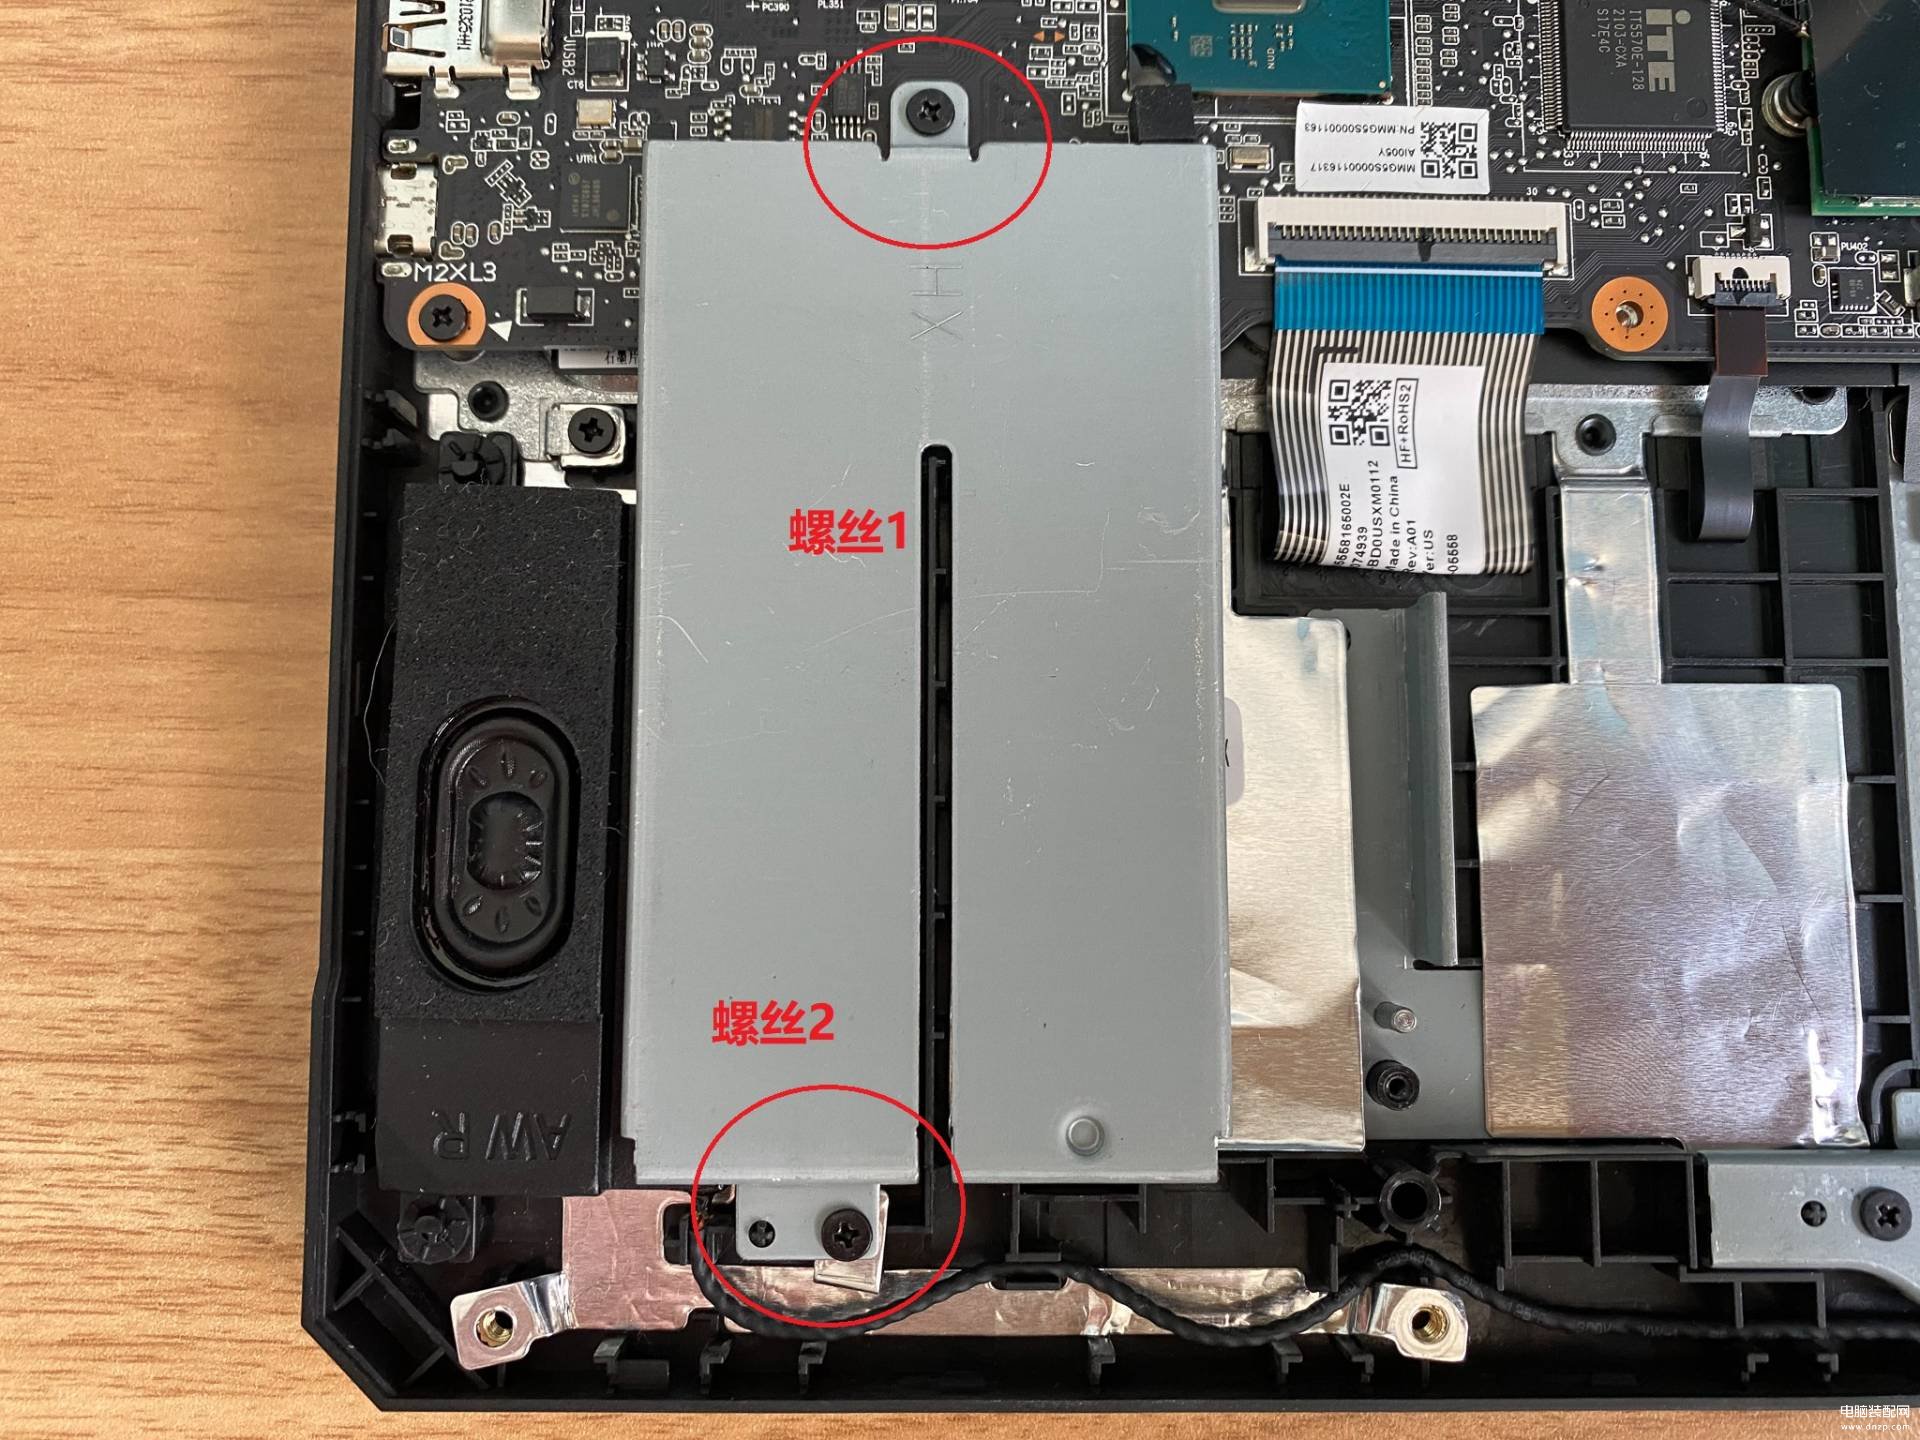
这里有个罩子,需要拧下螺丝。
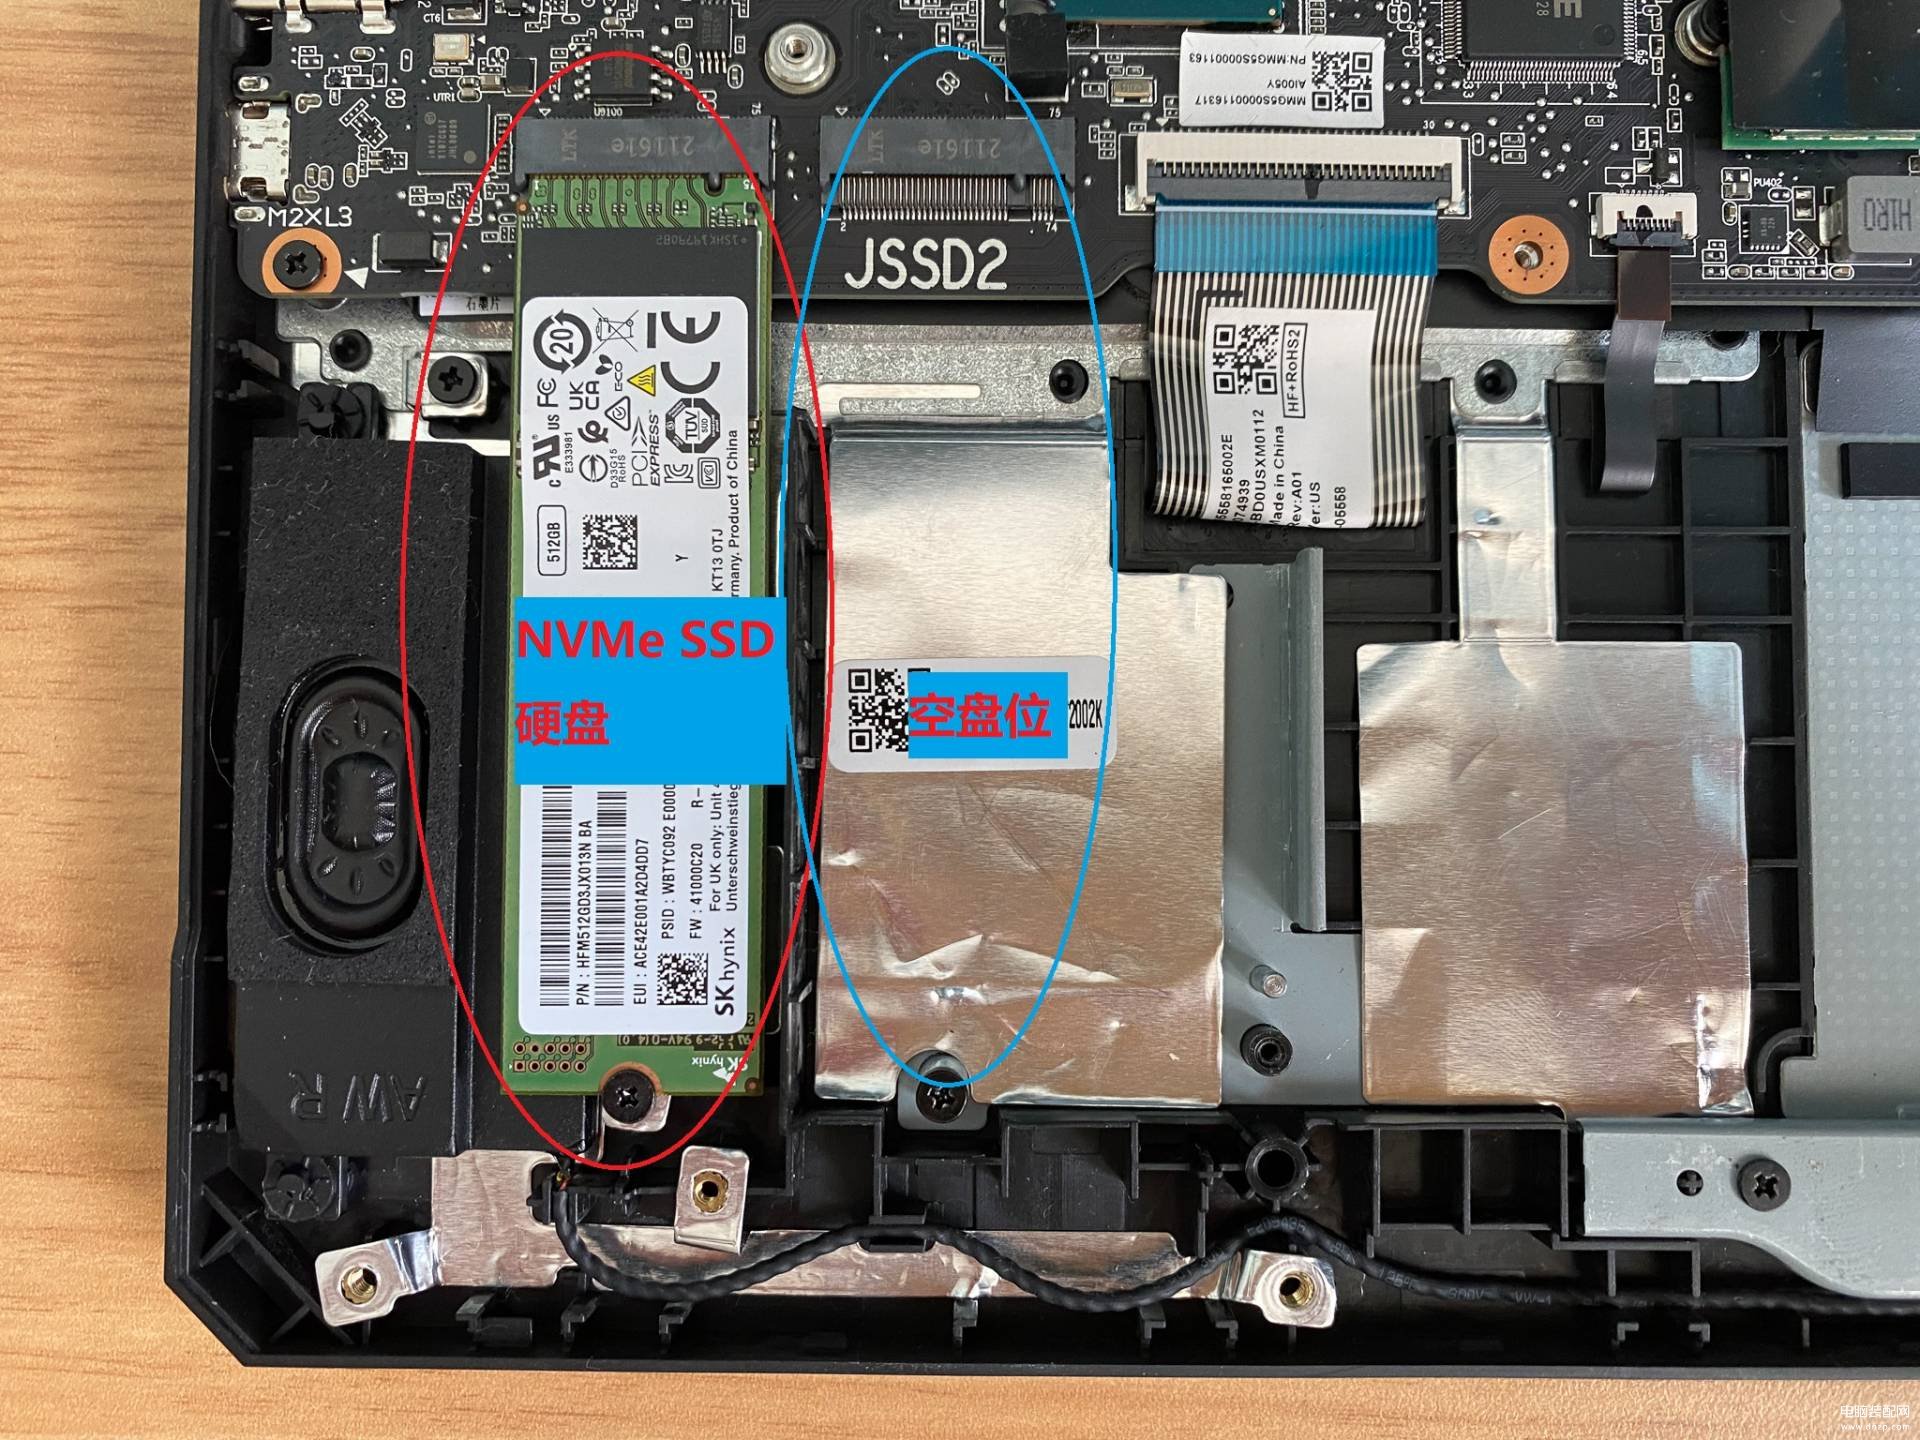
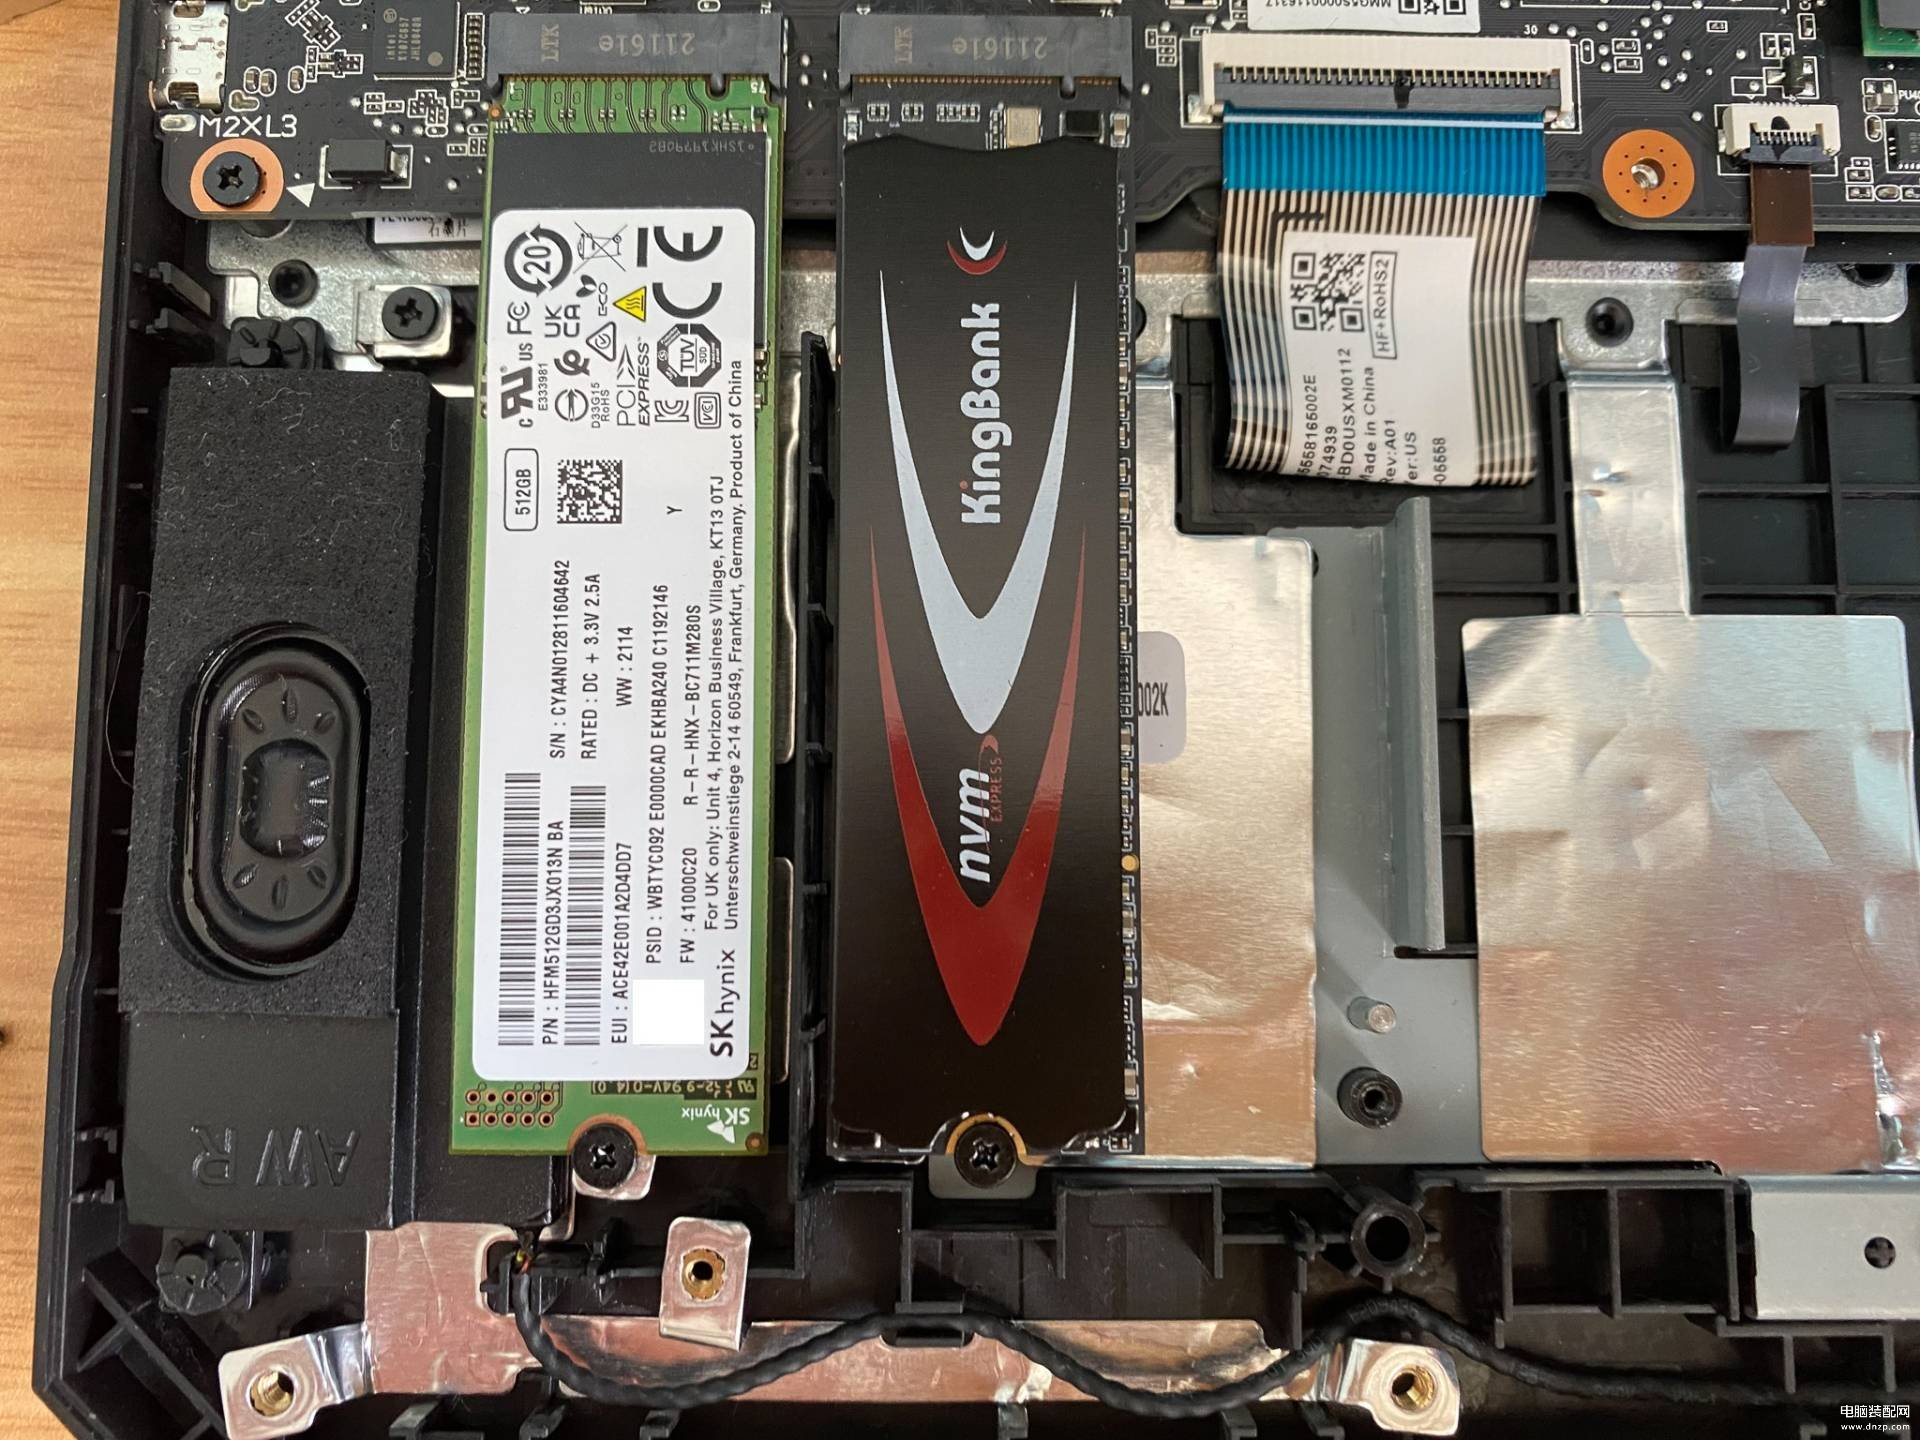
打开之后,我们看到,这款笔记本电脑使用的是M.2 NVMe SSD硬盘,这也是现在笔记本电脑通常使用的硬盘,为了轻薄。很少有笔记本电脑,在用SATA硬盘了。
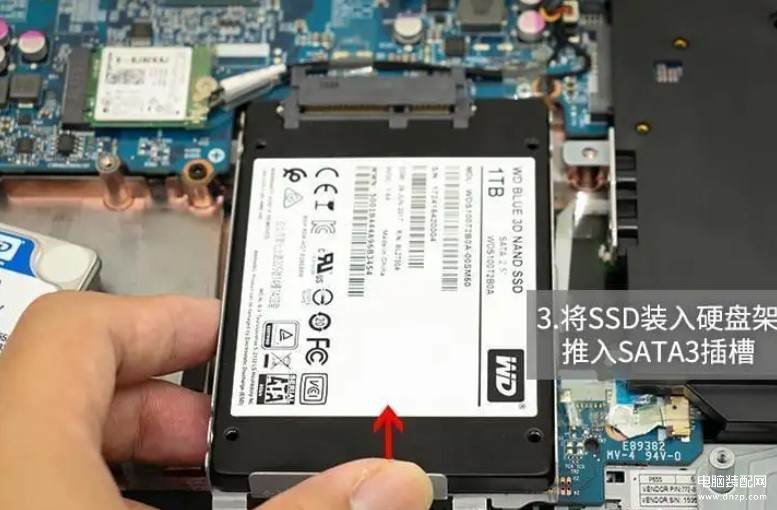
上图就是使用SATA硬盘,通常也是固态硬盘扩容的画面。由于SATA硬盘占据面积和体积较大,现在用的比较少了,但是也有少量的笔记本电脑,会有这种选择。
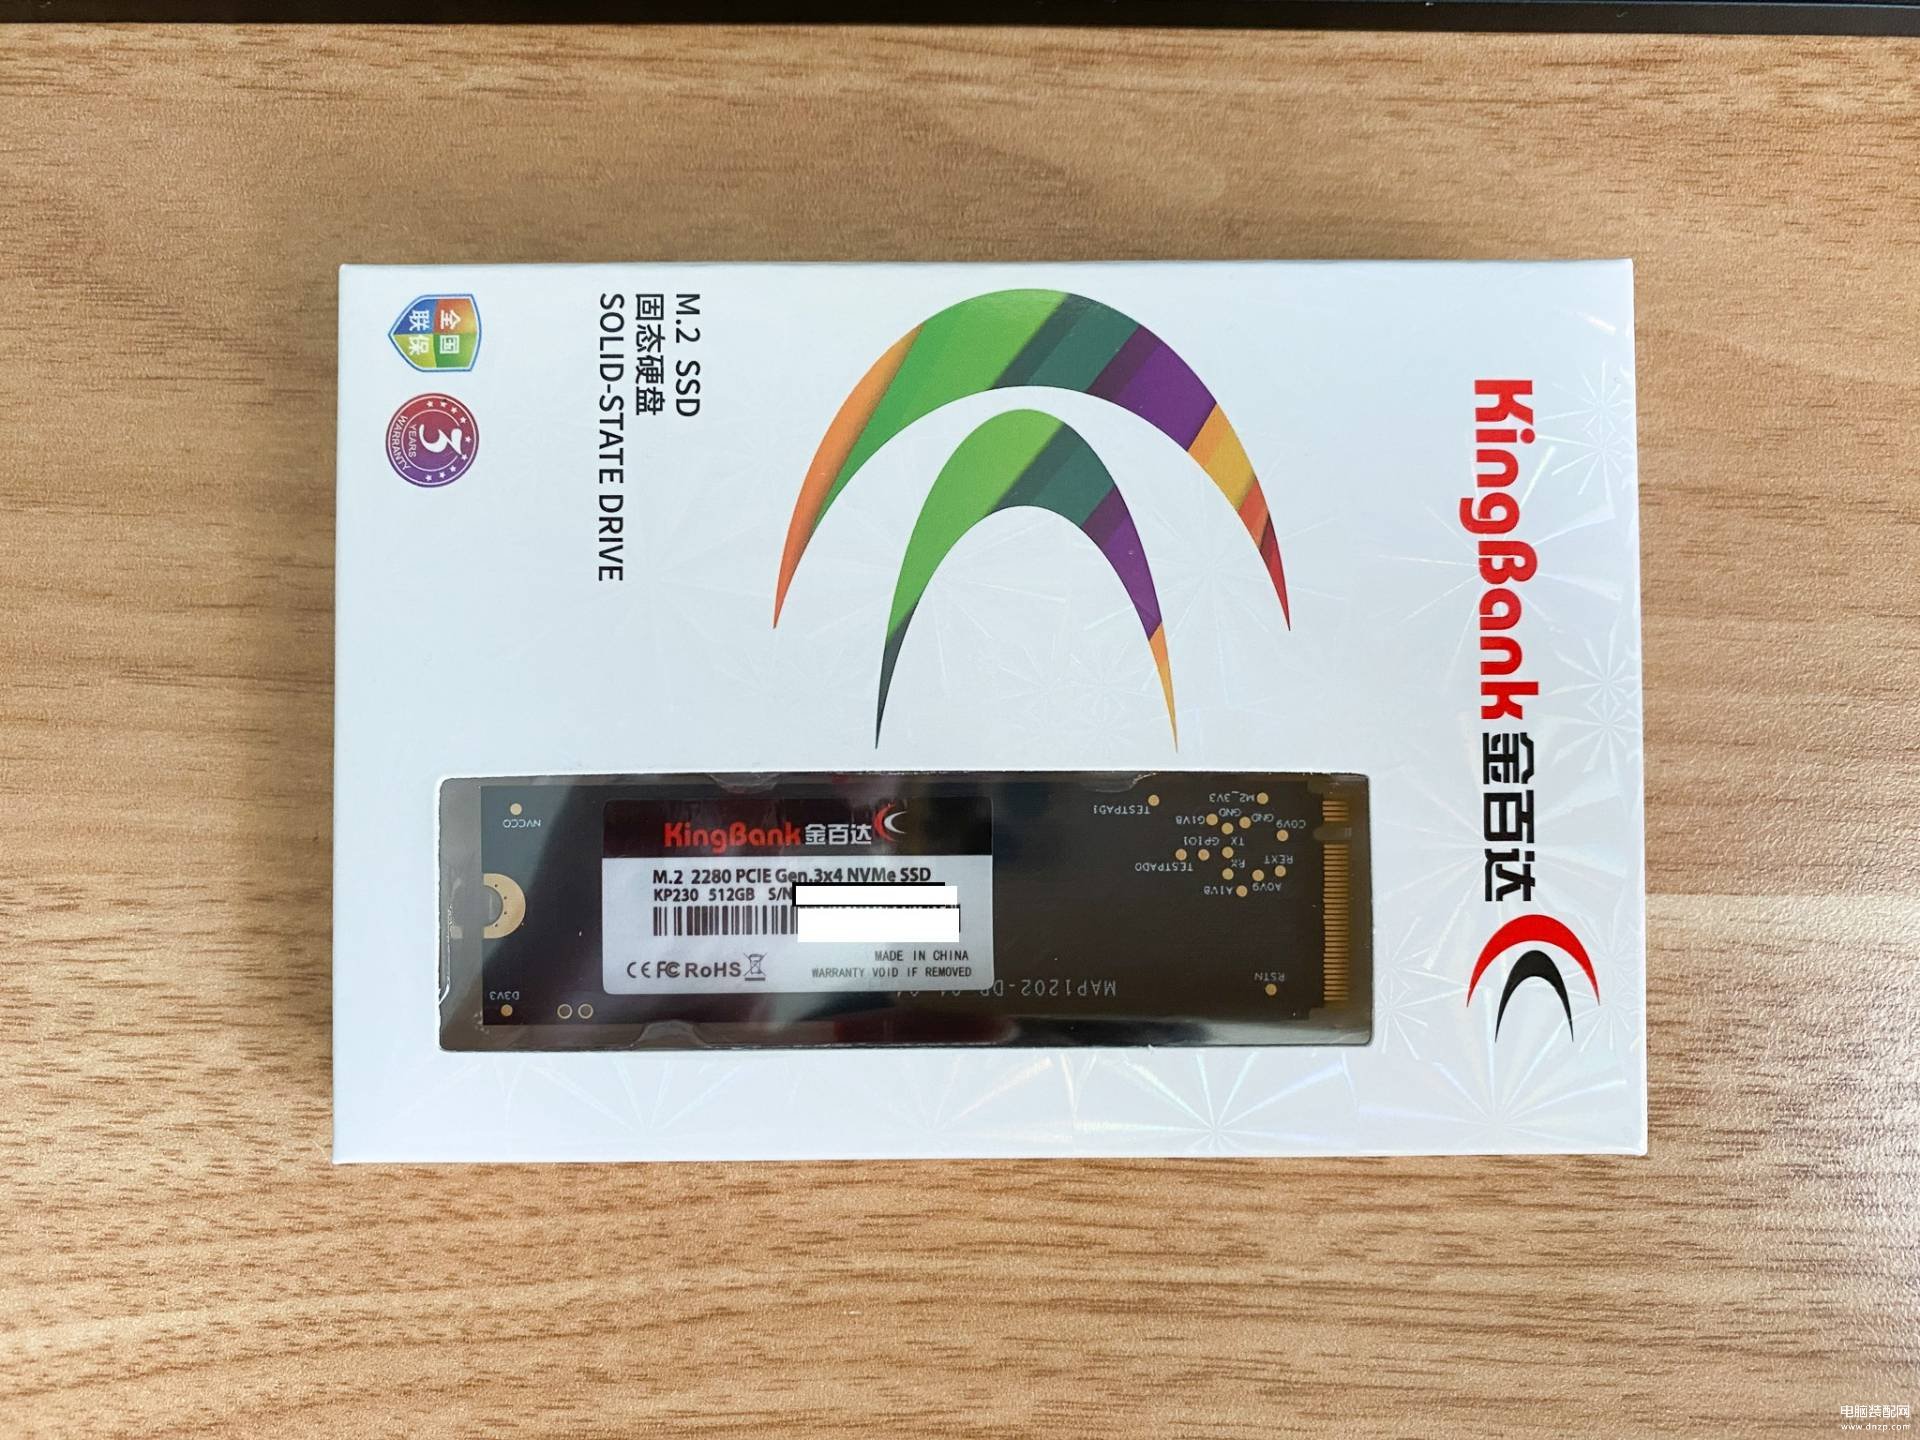
那么今天我们来加装一块M.2 NVMe SSD硬盘,这是金百达的一款M.2 NVMe SSD硬盘。
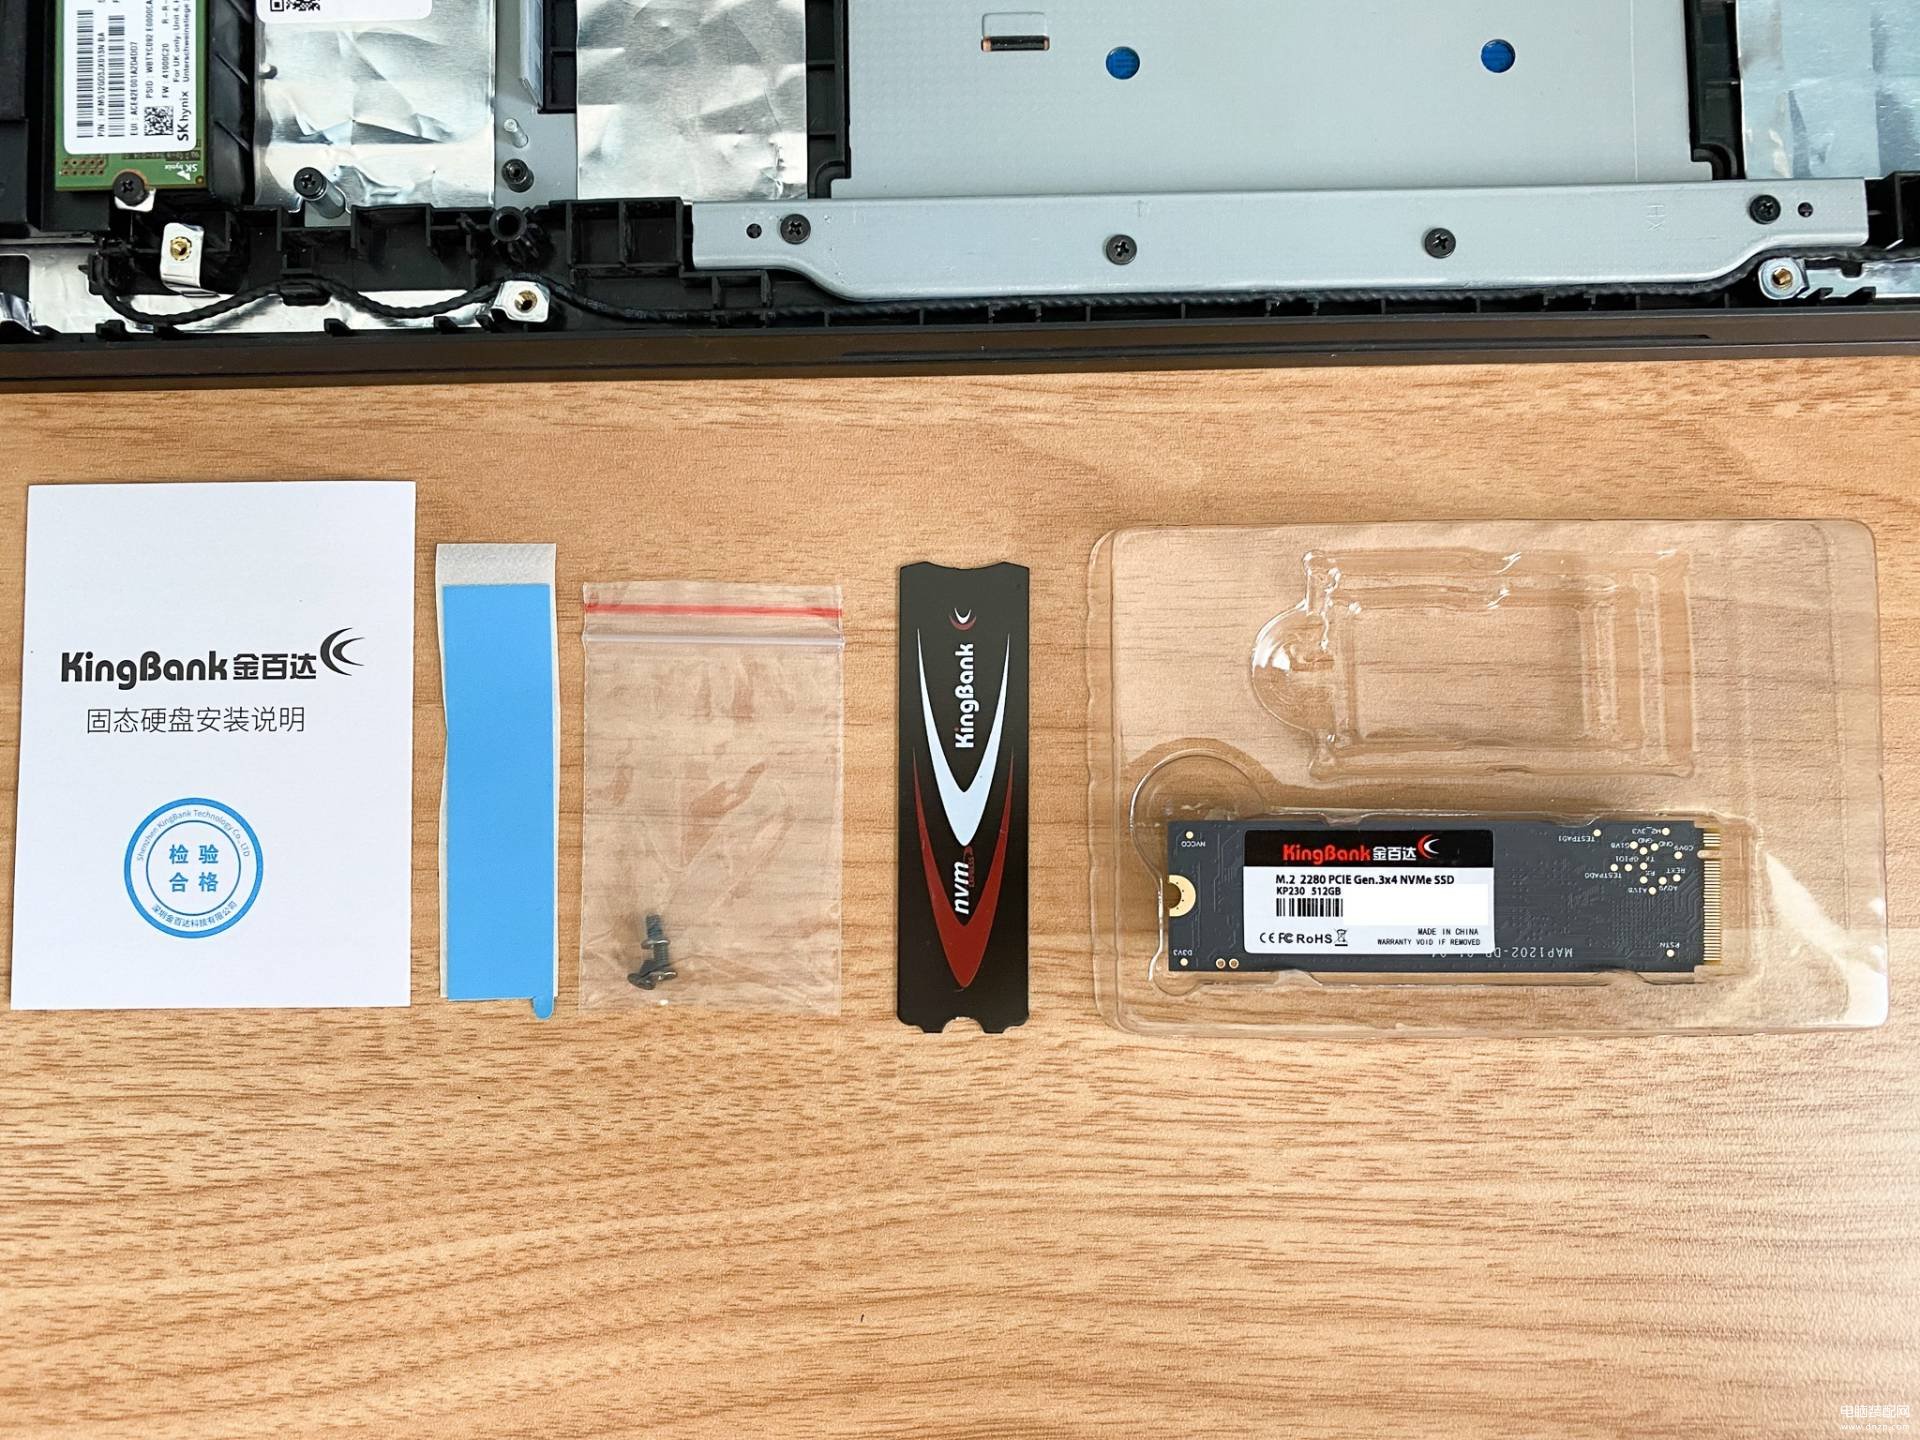
取出产品,我们看有说明书、固定螺丝、硅胶散热垫、金属散热片,以及M.2 NVMe SSD硬盘。
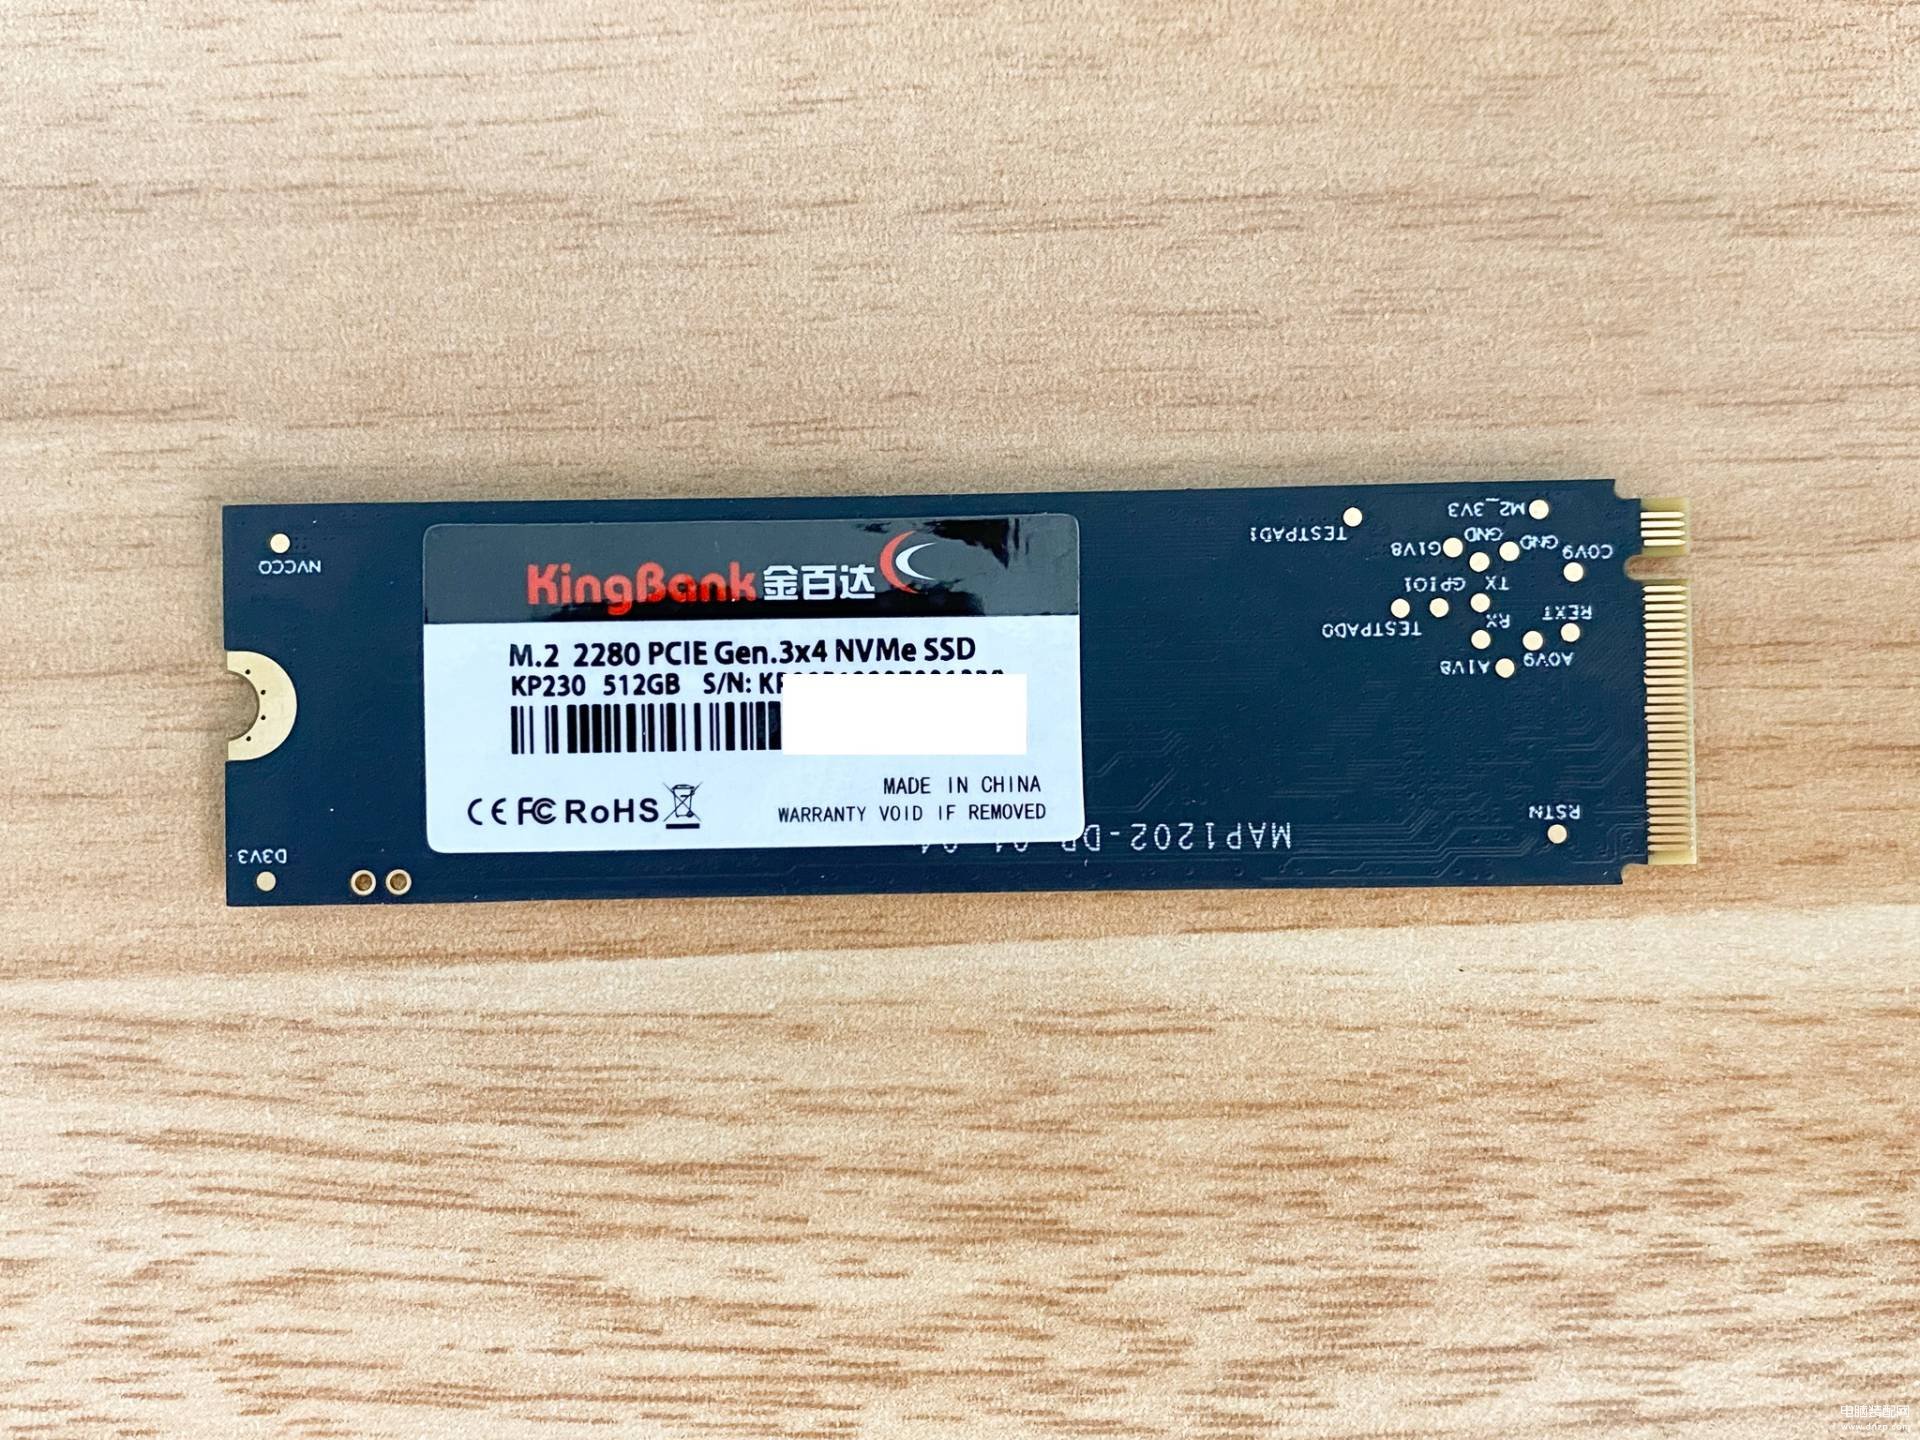
这款M.2 NVMe SSD硬盘是512GB容量的,现在硬盘价格下降了,更可以考虑使用1TB或者2TB的。这款是支持PCIe Gen 3x4协议的。
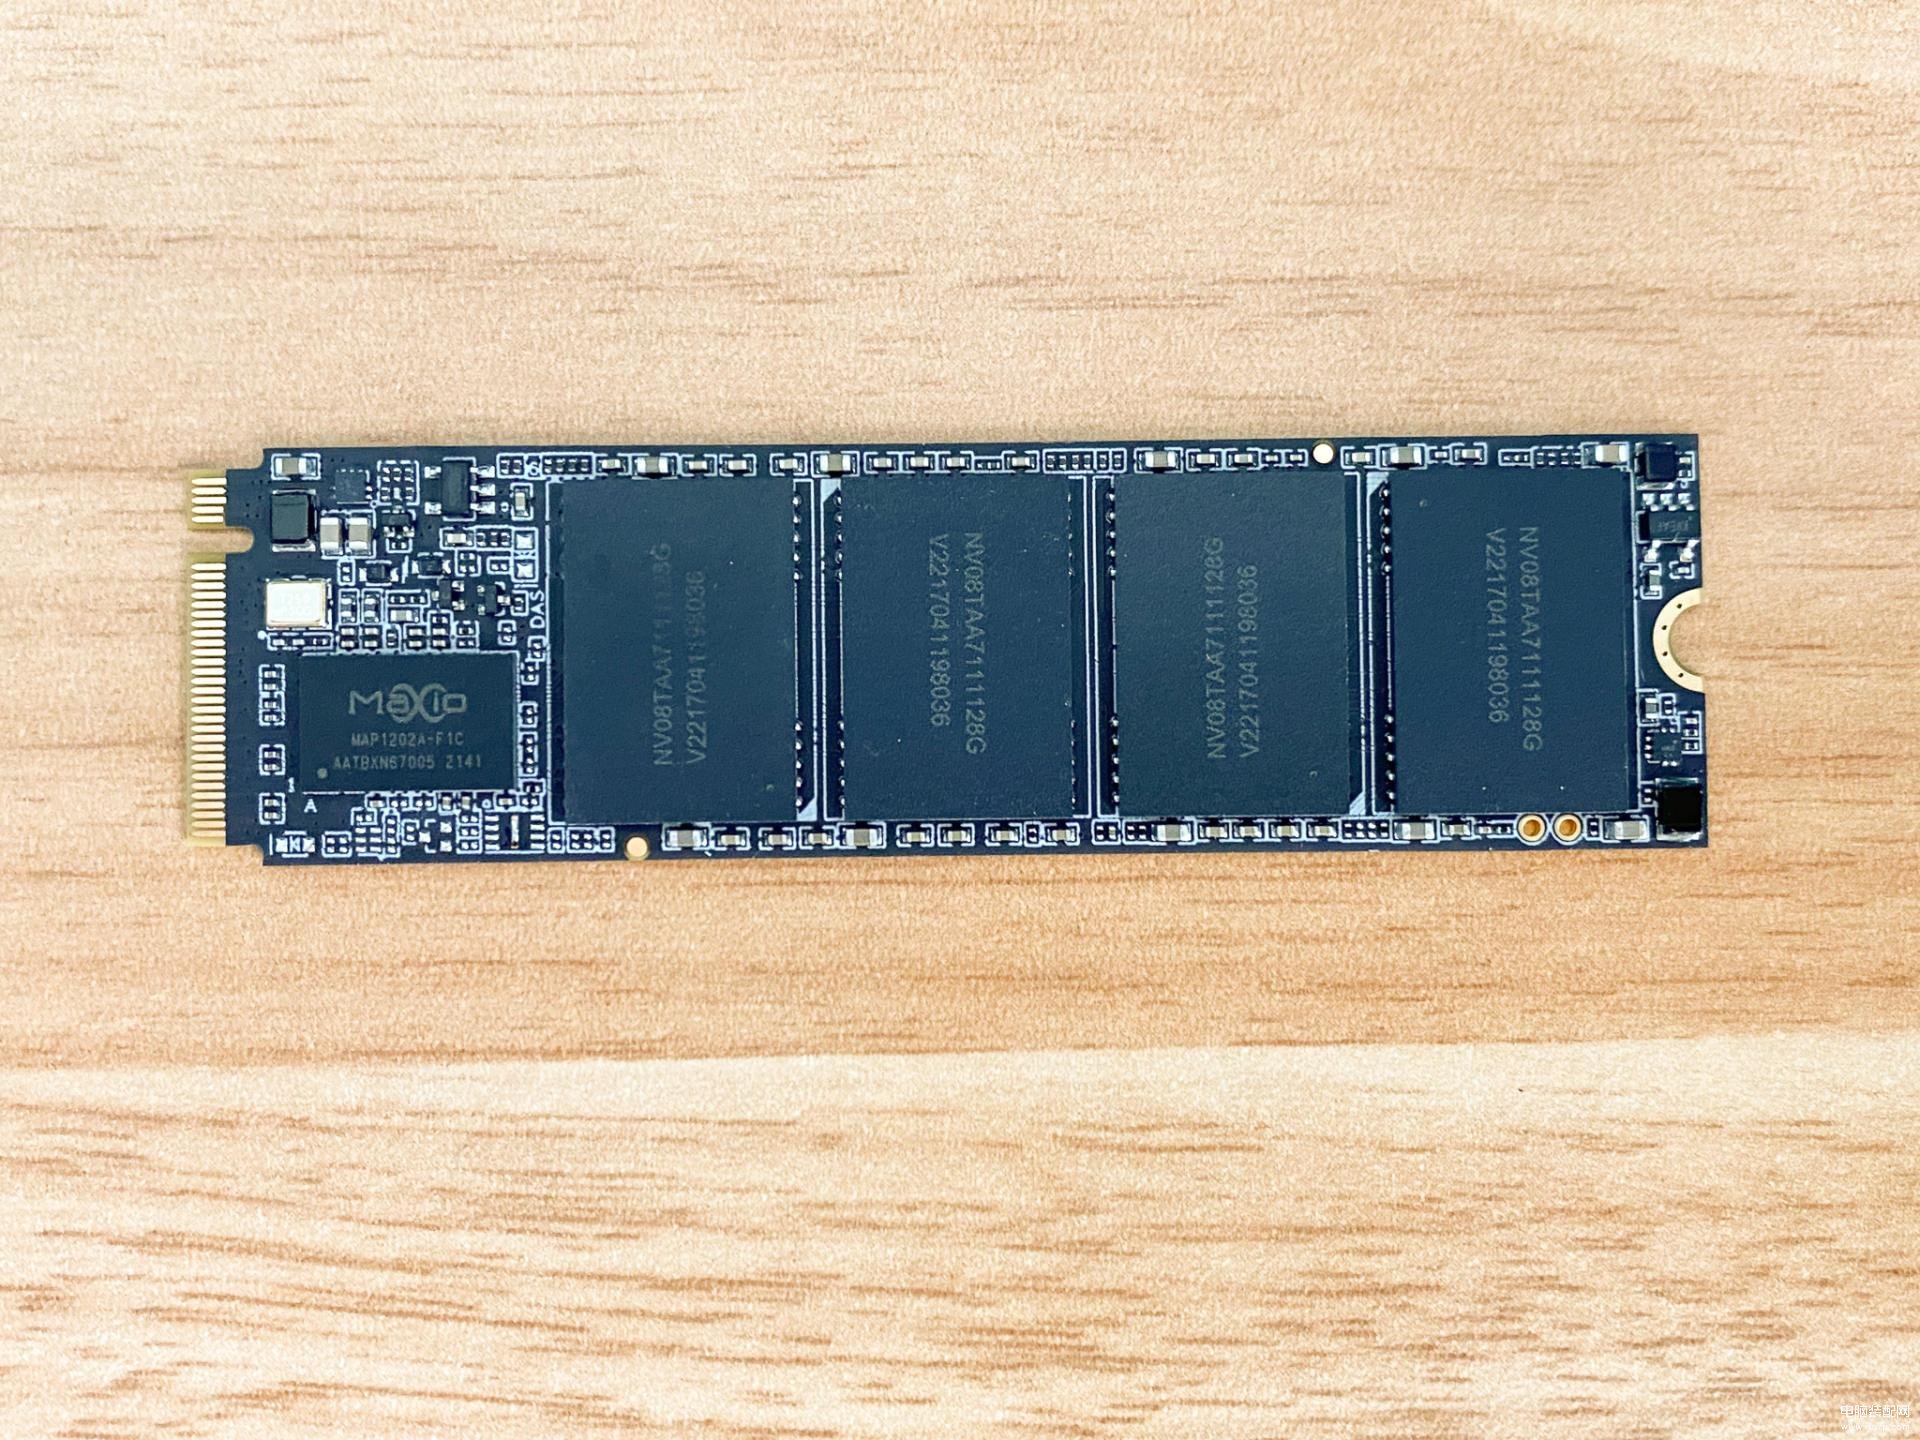
这款NVMe SSD使用的是国产联芸主控,国产芯片的崛起,让我们可以用到更便宜的产品。
M.2 NVMe SSD硬盘的安装,就是有防呆缺口的一边插入插槽,另外一边用螺丝固定。 M.2 SSD有不同的规格,最常用的是2280,这个是长度。此外还有2260,2240,22110,相对很少用的。
好了,这样内存扩容和硬盘加装就做完了。我们将盖子回复原状,接好电池。将盖子盖好,然后在拧螺丝之前,启动电脑看看。
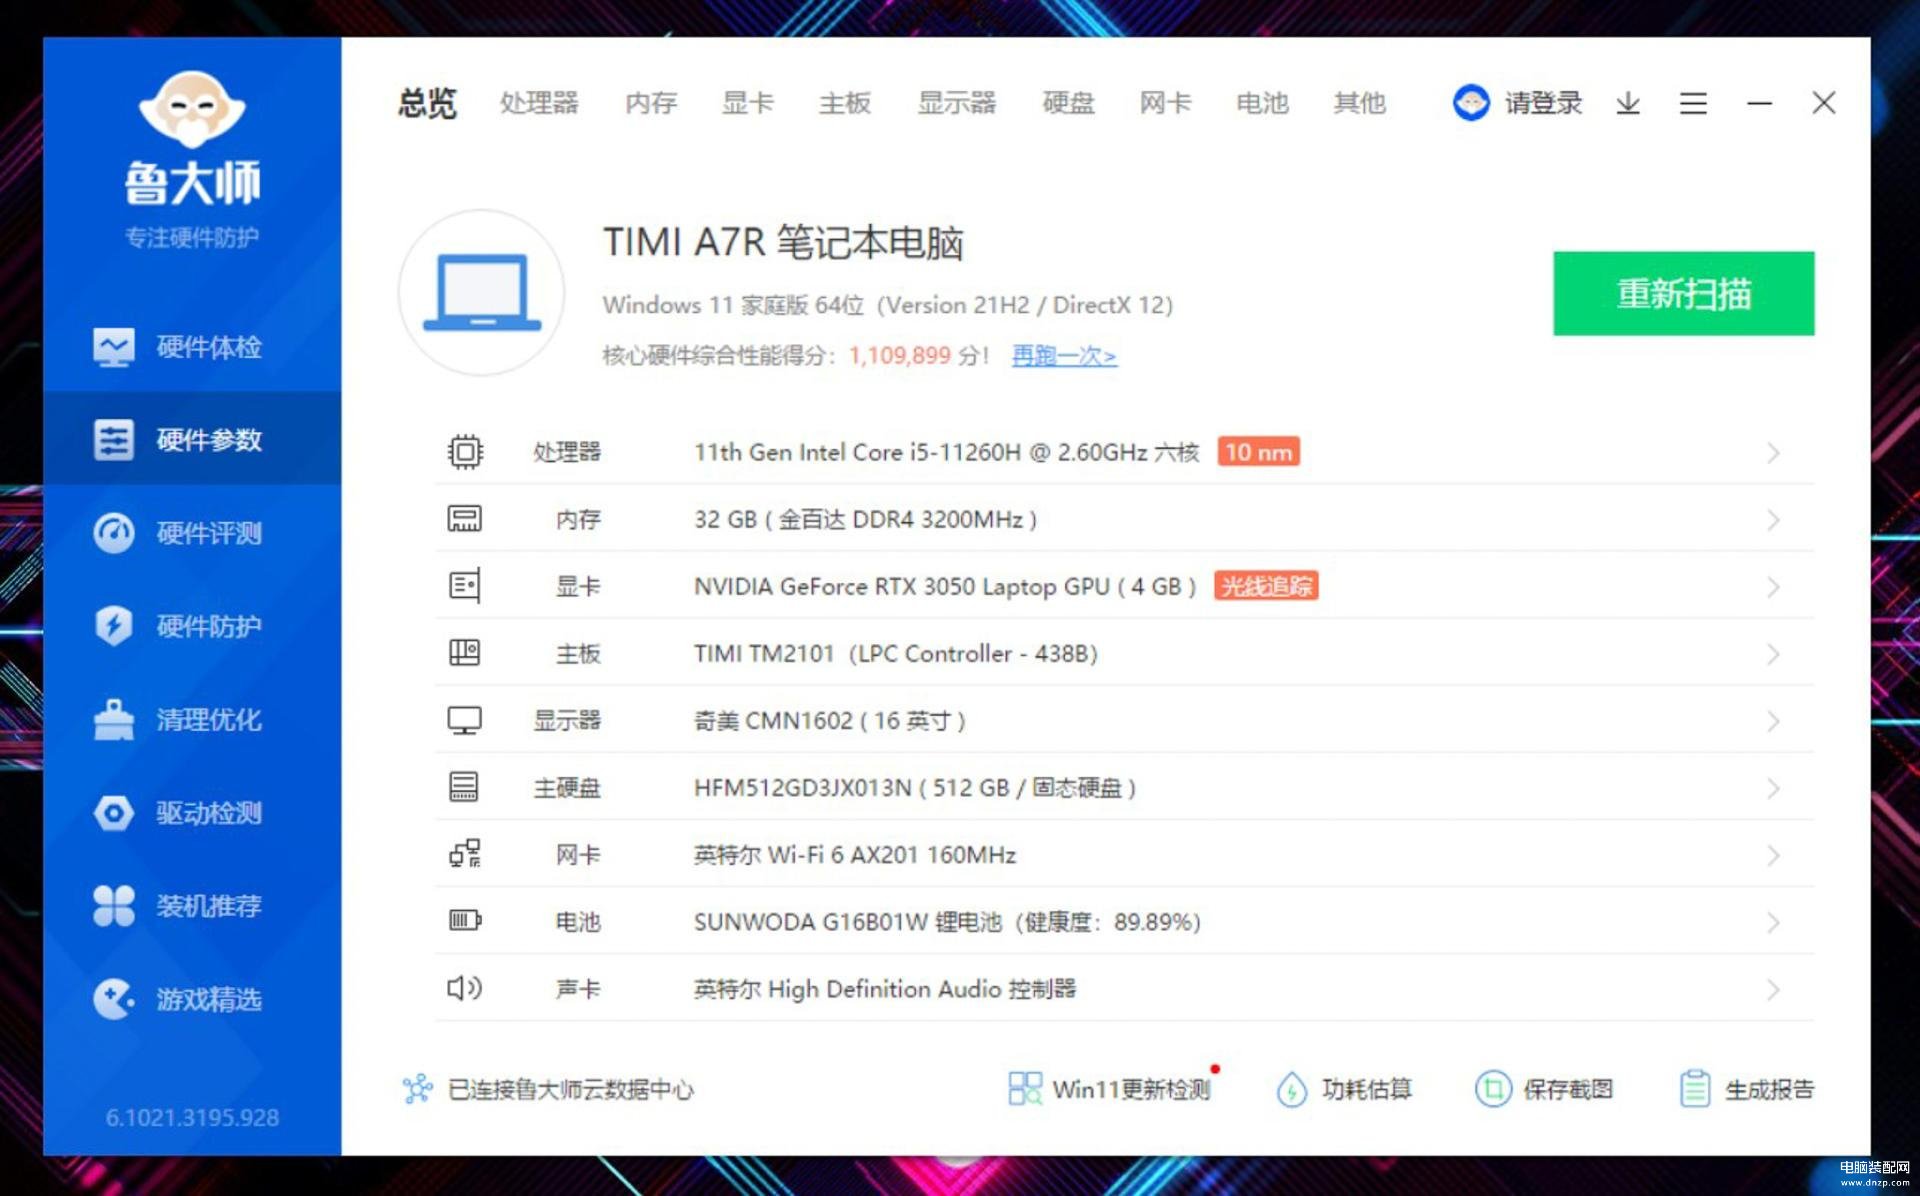
运行鲁大师,我们看内存显示为32GB金百达DDR4 3200MHz。
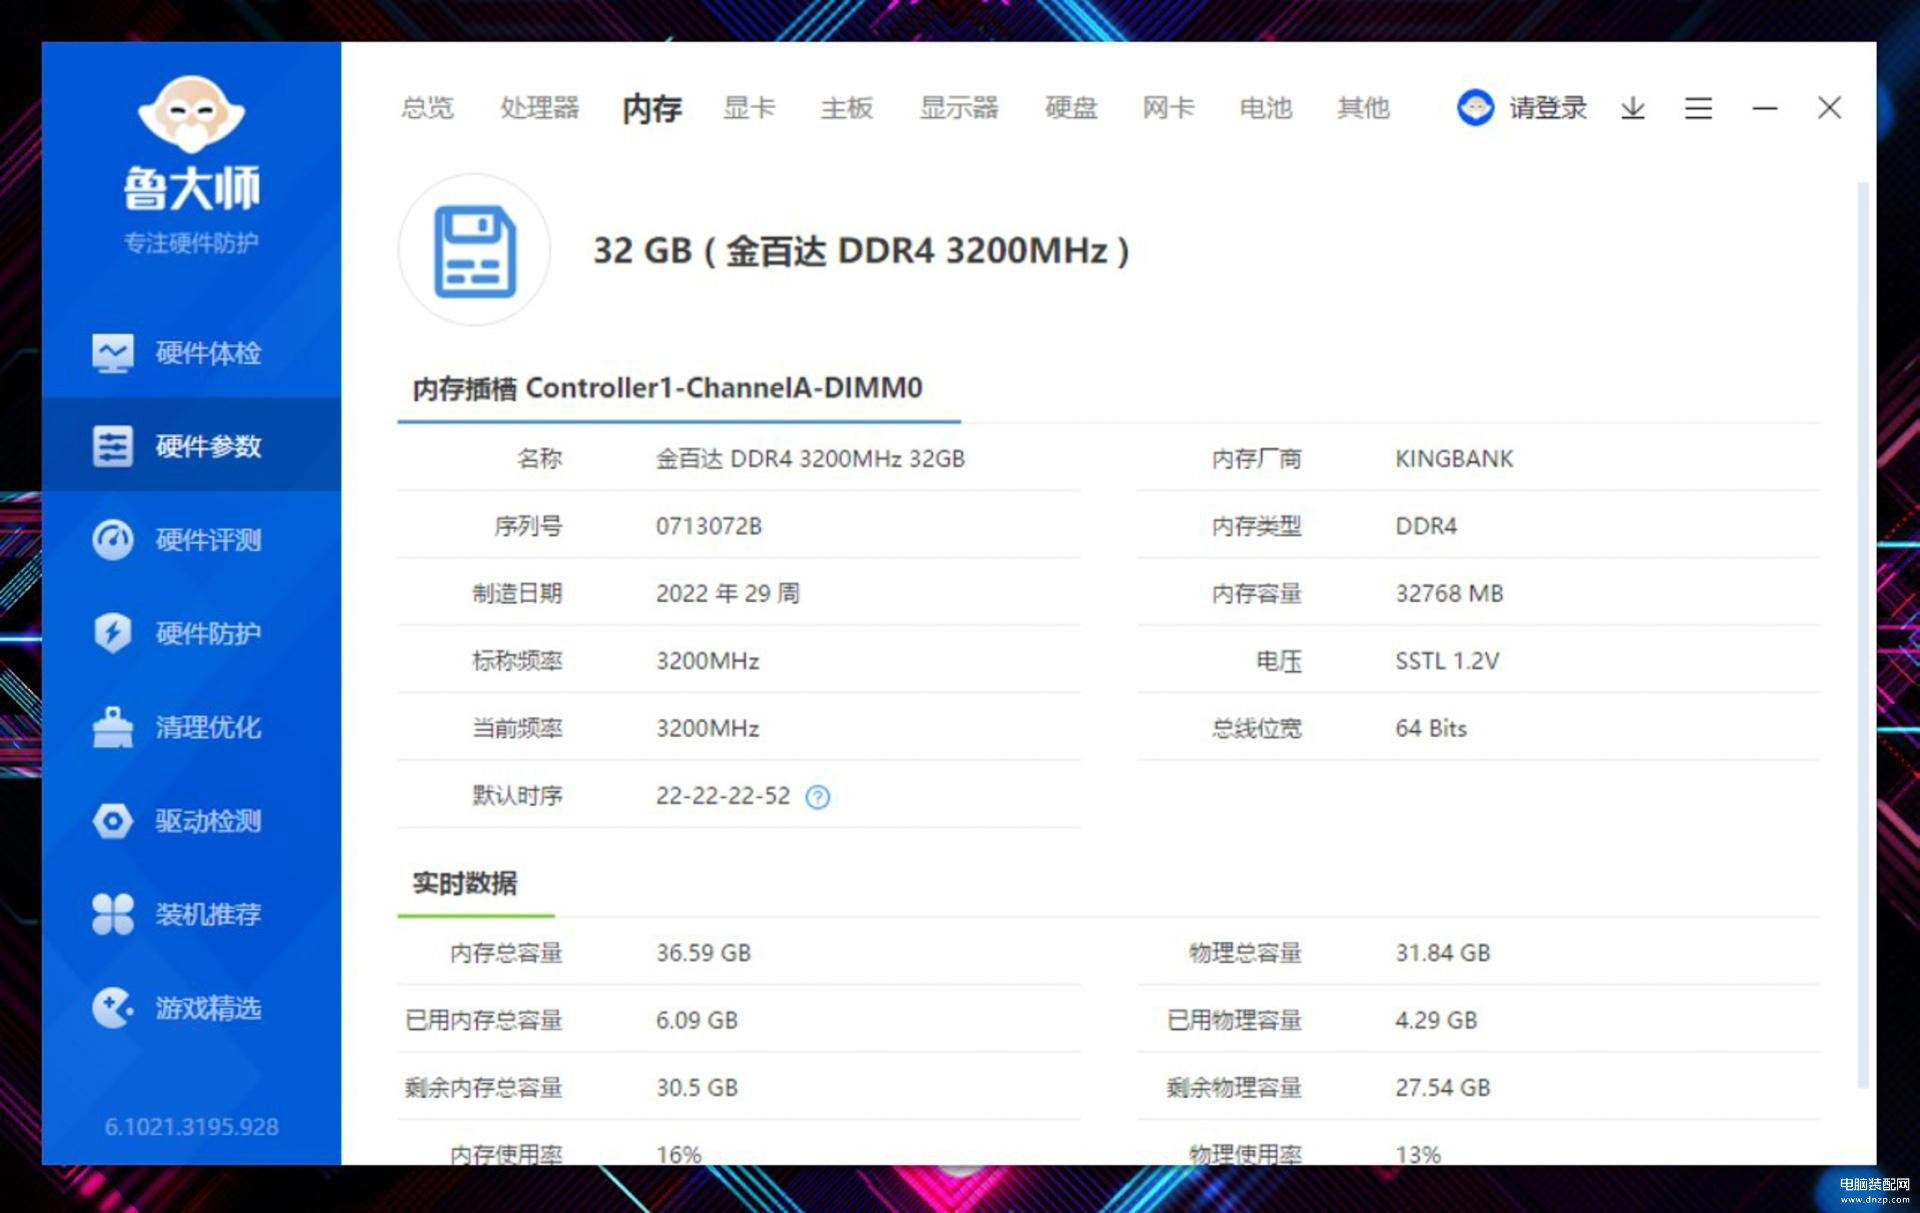
在详情里可以看见频率、时序等相关信息。
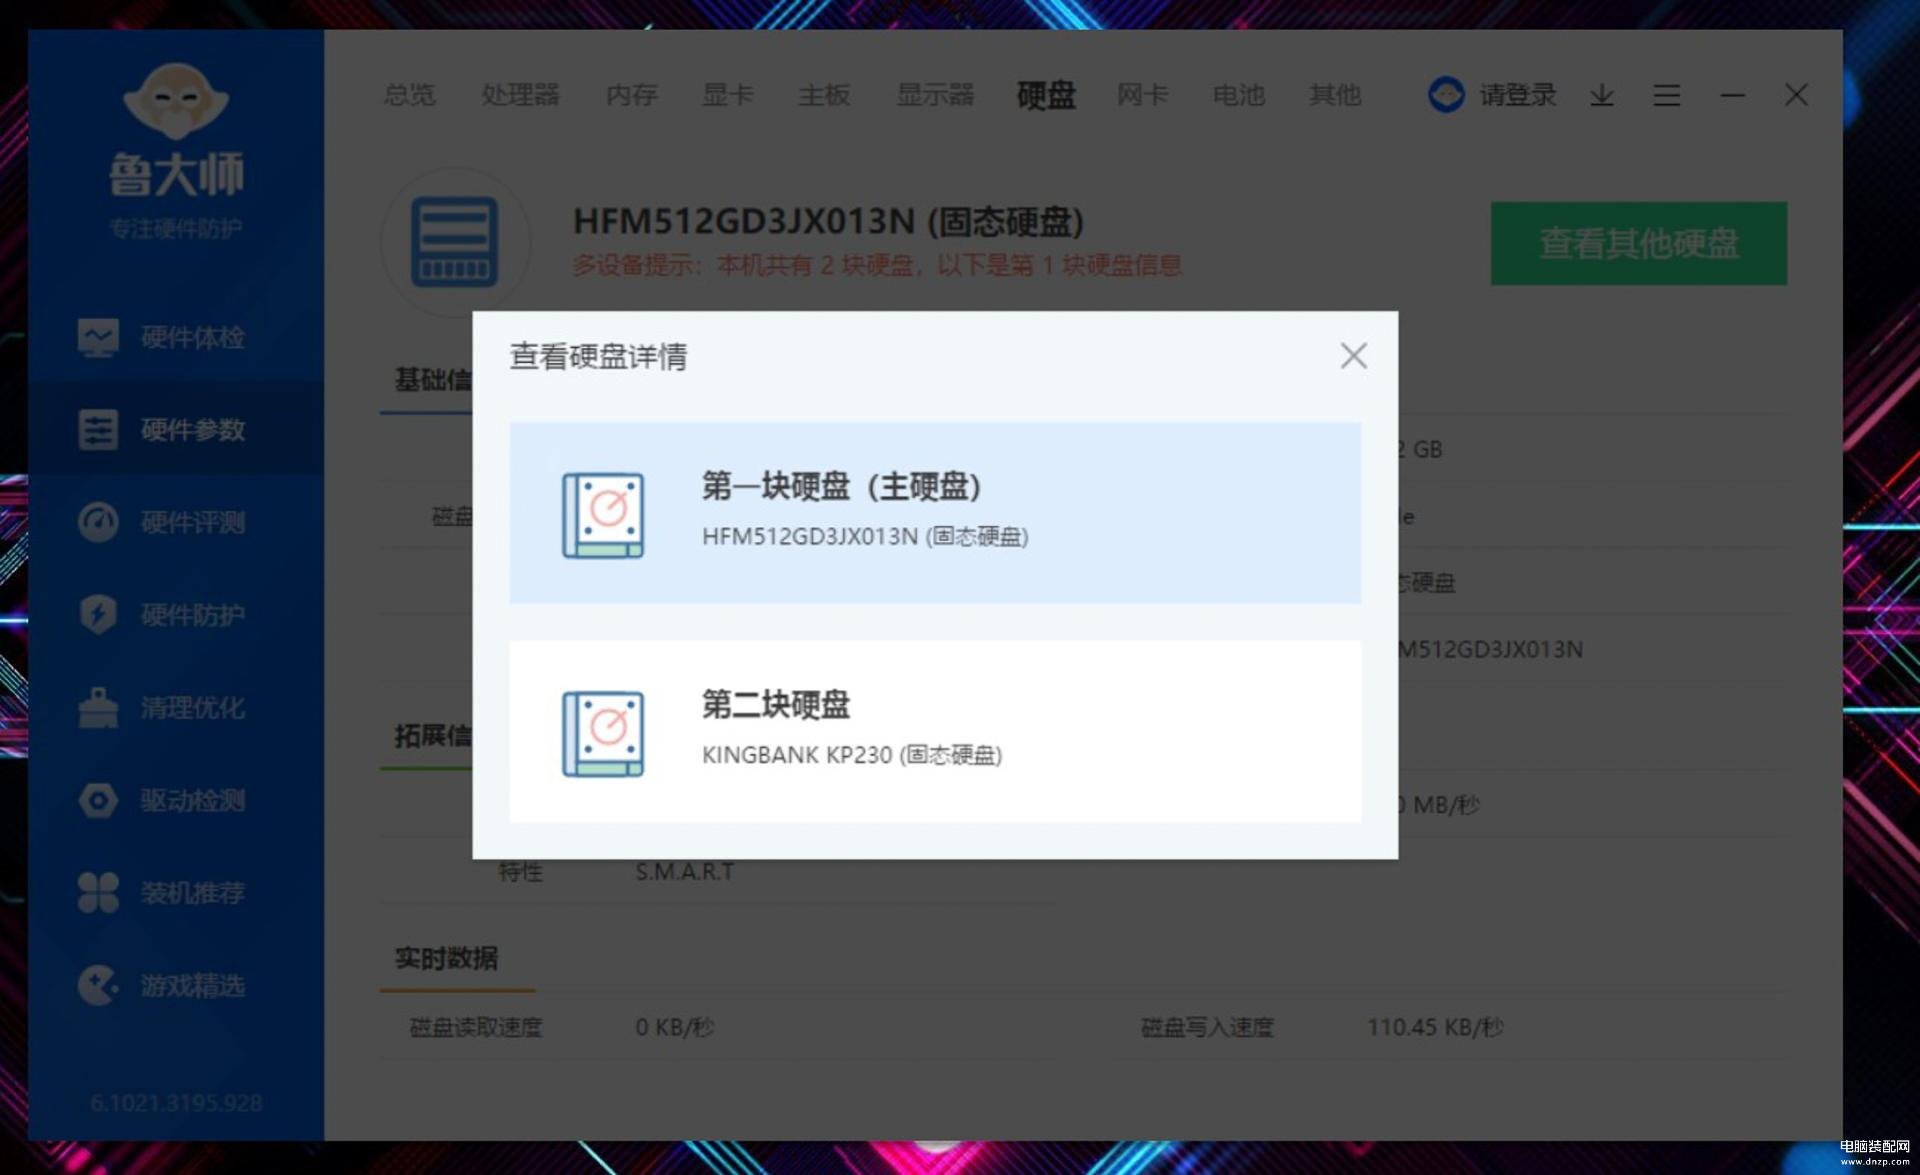
查看硬盘,显示有2块,第一块硬盘为原装硬盘,第二块为新加装的金百达硬盘。
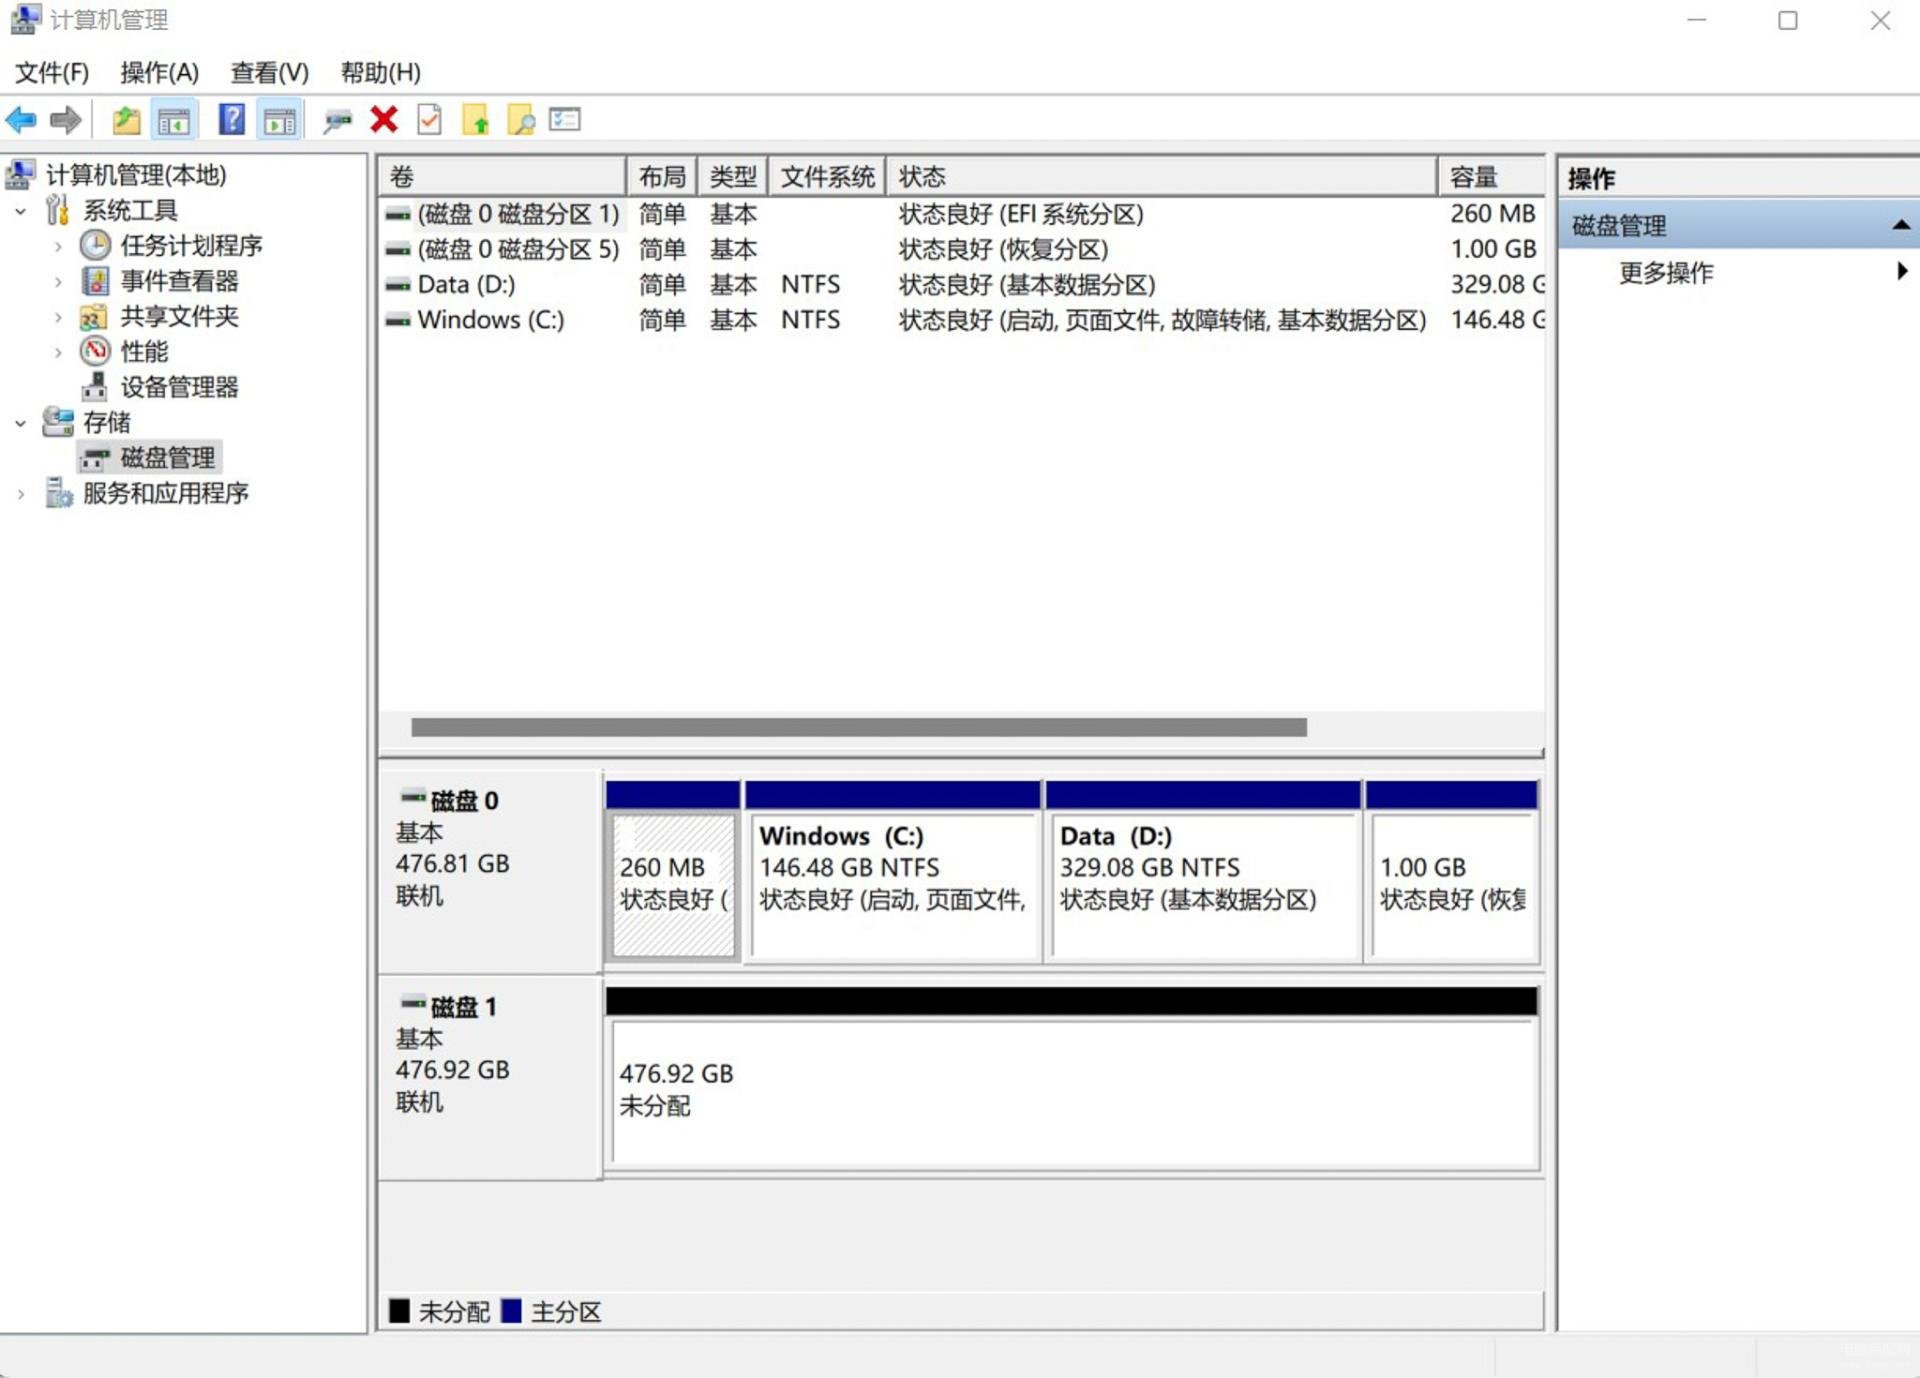
在计算机管理里可以看到是块未处理的,我们将它创建,然后格式化,再来测试下。
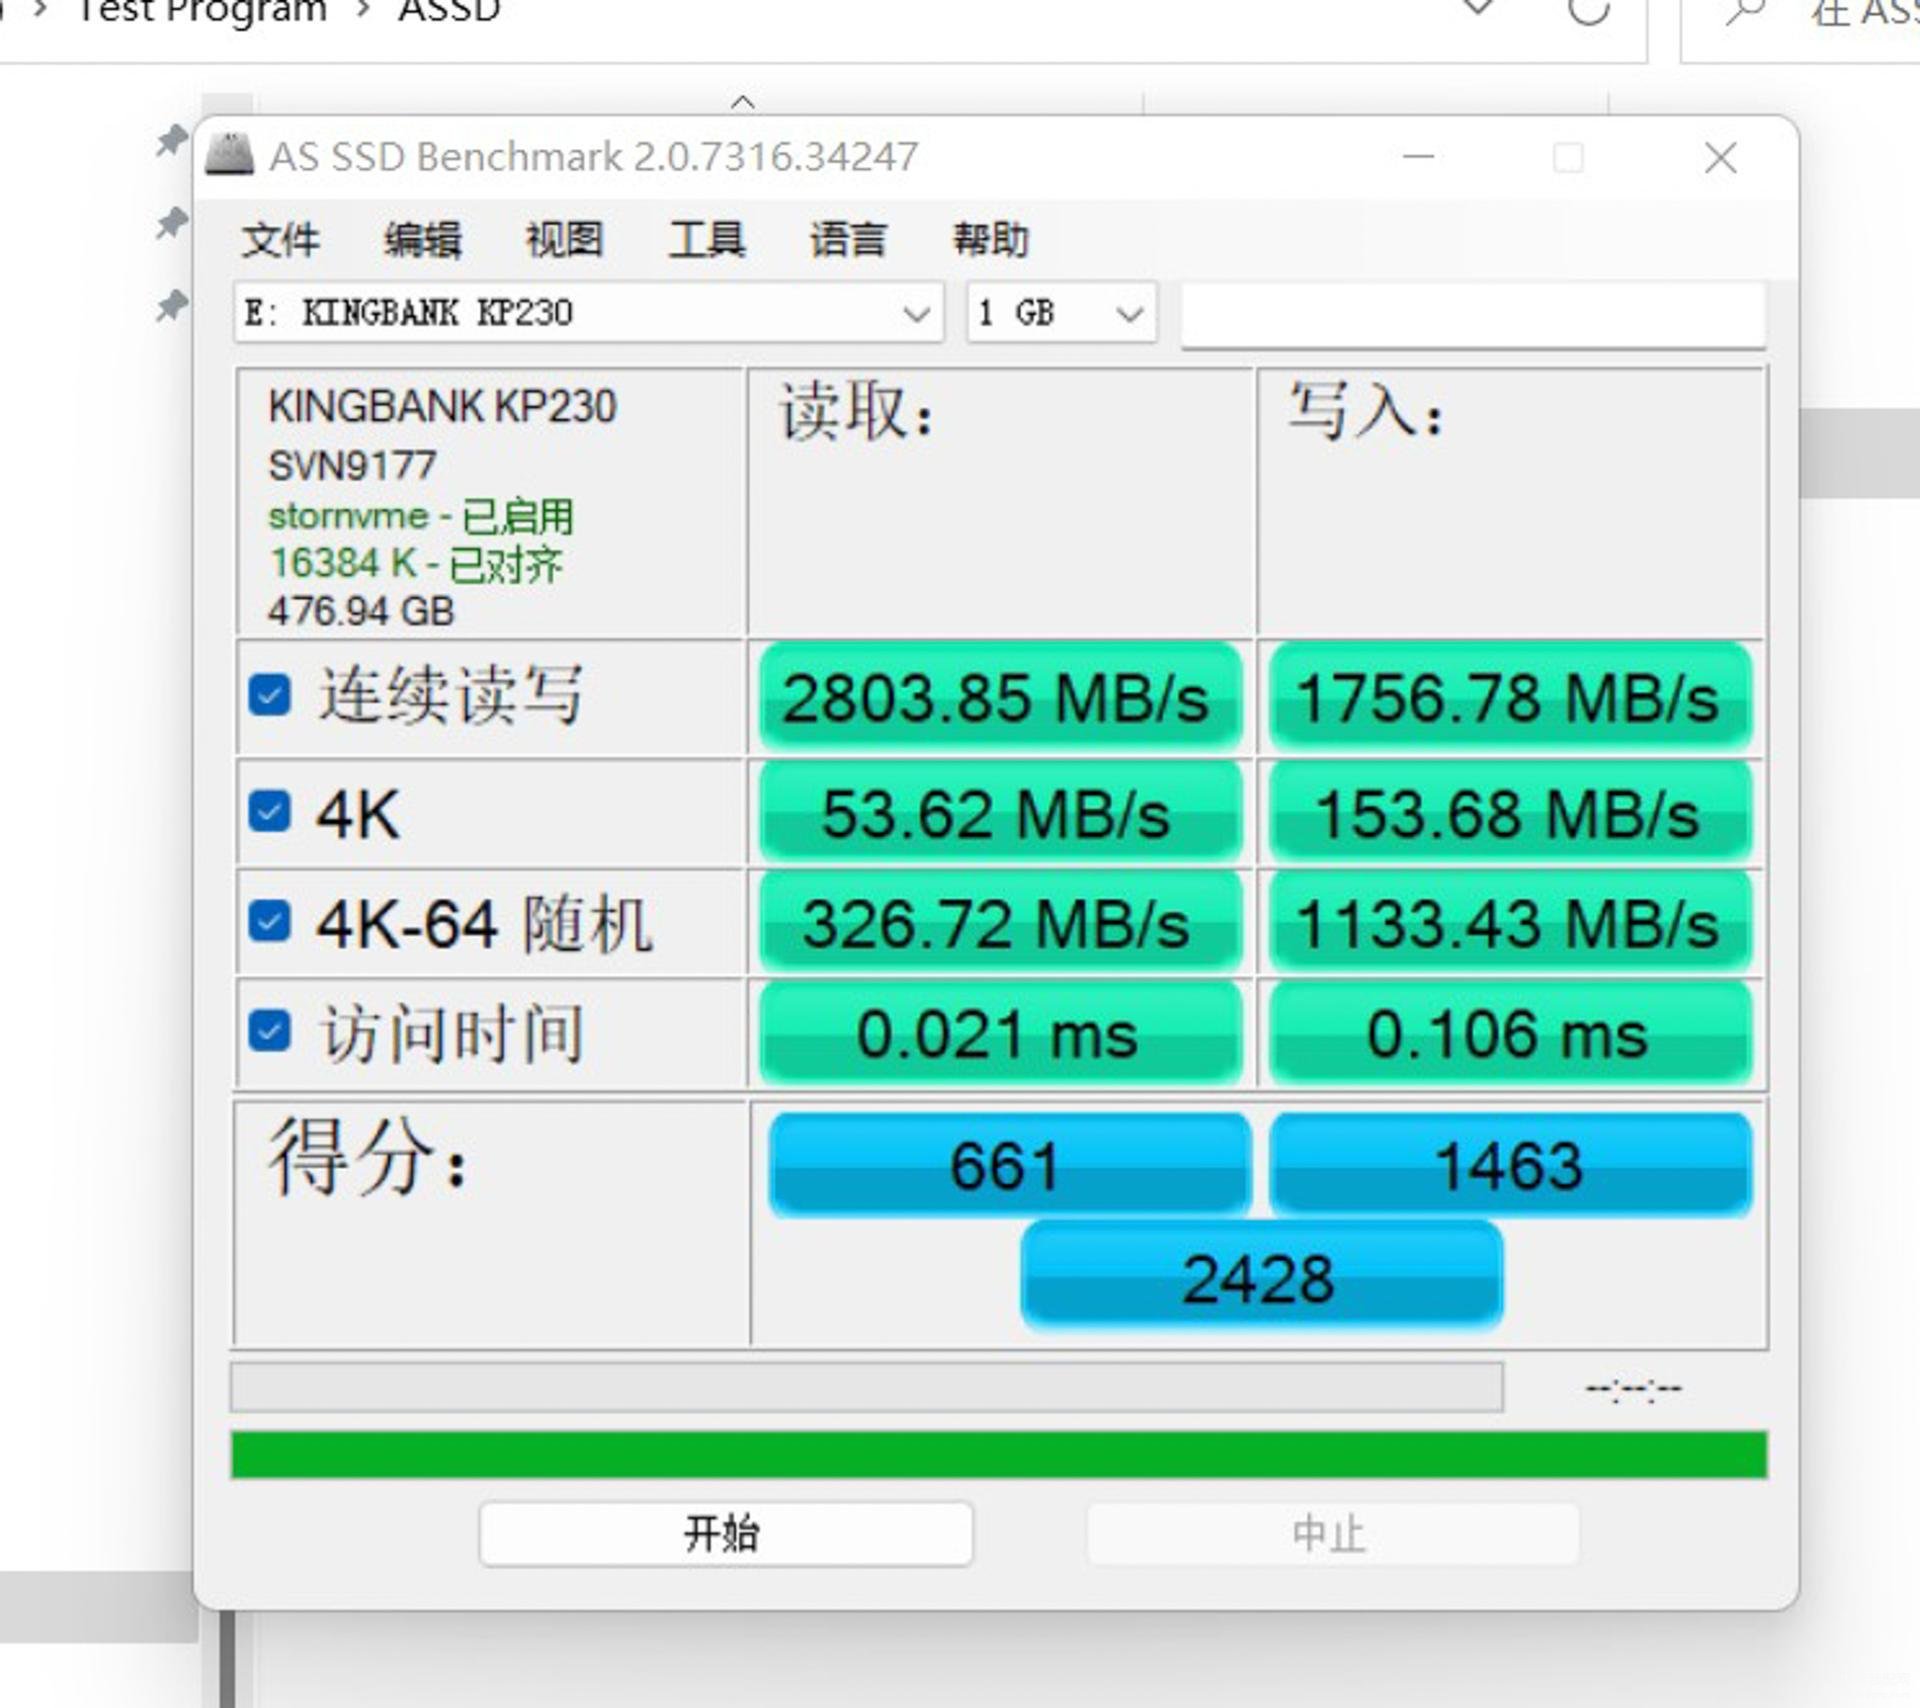
显示读写都是高速NVMe SSD的表现,还是可以的。
看单纯加内存,加硬盘是很简单的。不过,有的朋友,希望能够在加硬盘后能够无损的转移系统到新加的硬盘上面,原因一般有如下的几种:
原来的硬盘小了,造成紧张,特别是C盘紧张,所以需要切换到新装的大硬盘
原来的硬盘分为2个区,希望把C盘转移到新的硬盘上面。
笔记本电脑只有一个M.2 接口,那么需要把系统,转移到新的大硬盘上。
那么下面给大家讲,如何快速简单的实现这一个目标。
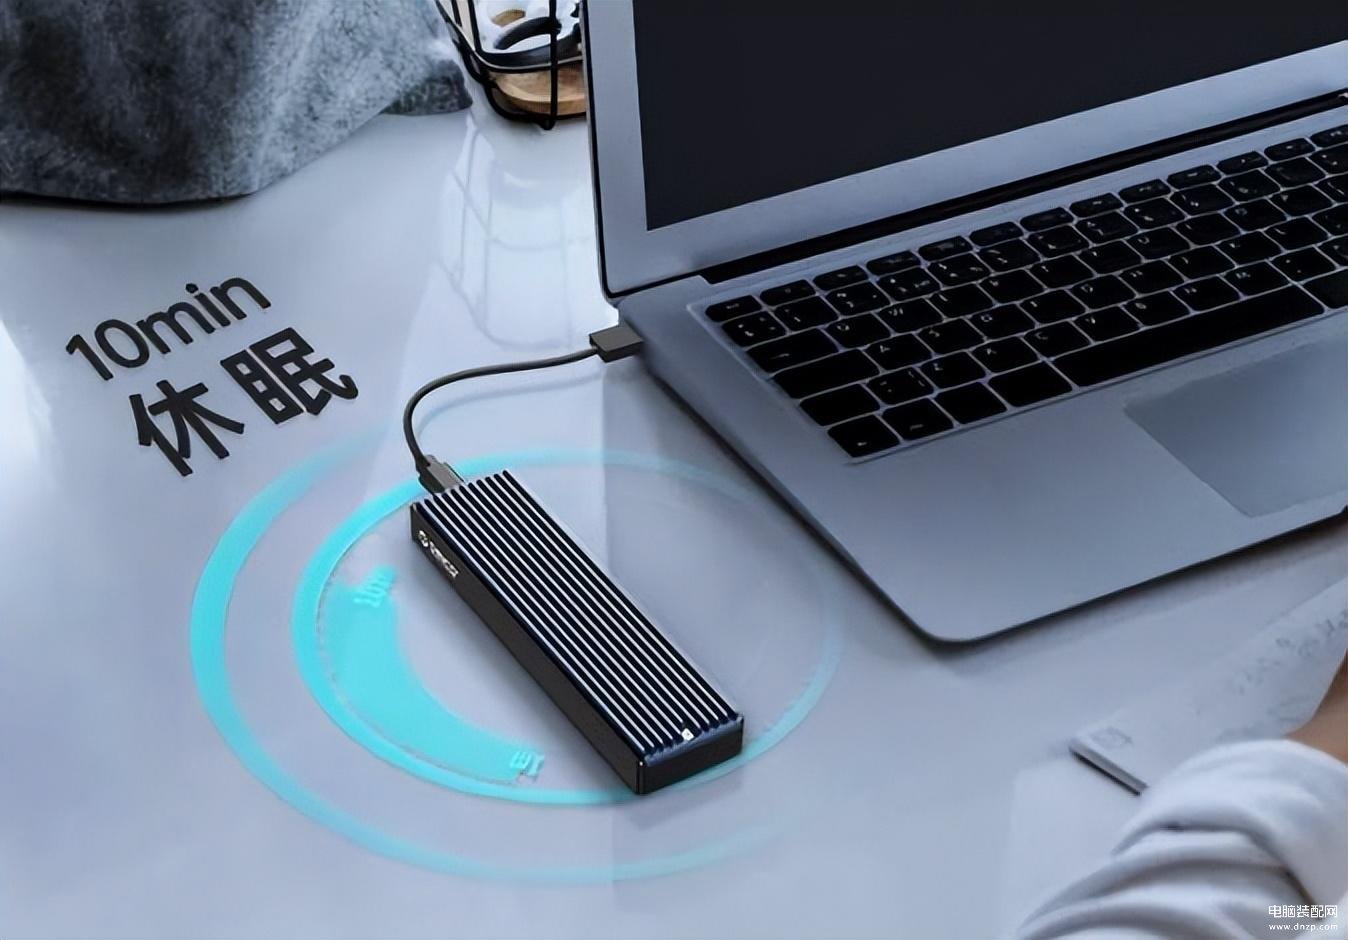
(如果是第三种情况,需要如上图那样,用一个NMVe SSD硬盘盒将新硬盘装上,然后插接到电脑上面)。
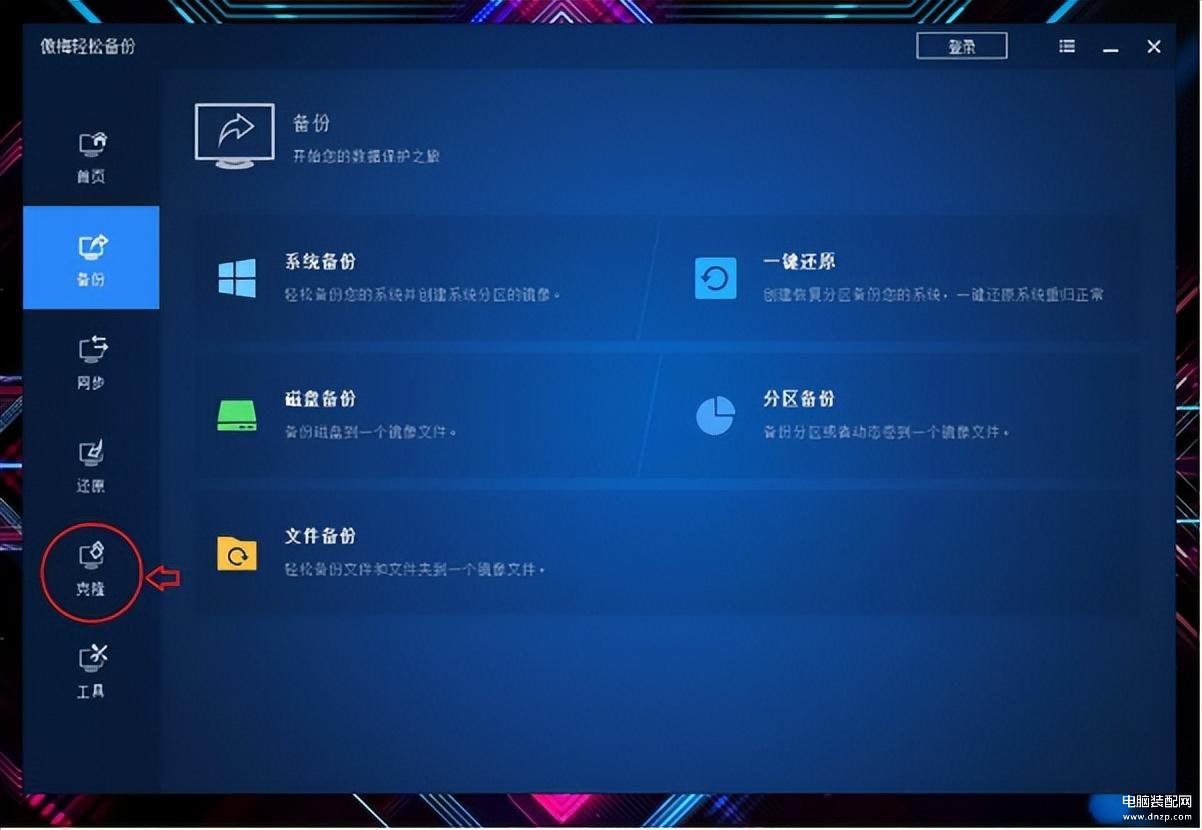
这里用到一款免费的国产备份软件:傲梅轻松备份。下载安装后,进入软件,可以看到有备份、同步、还原、克隆、工具等功能页。
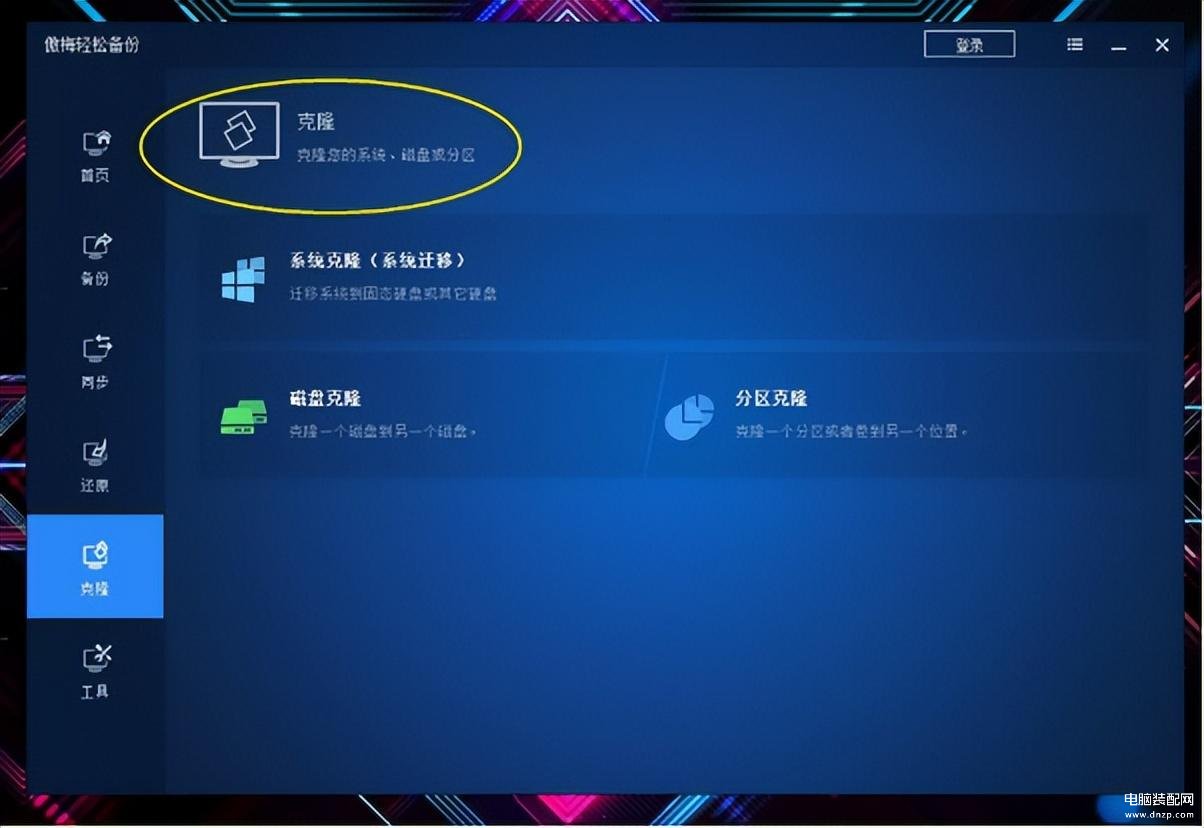
这里我们选择克隆,然后看到里面有个系统克隆(系统迁移)的功能,就是选择这个。
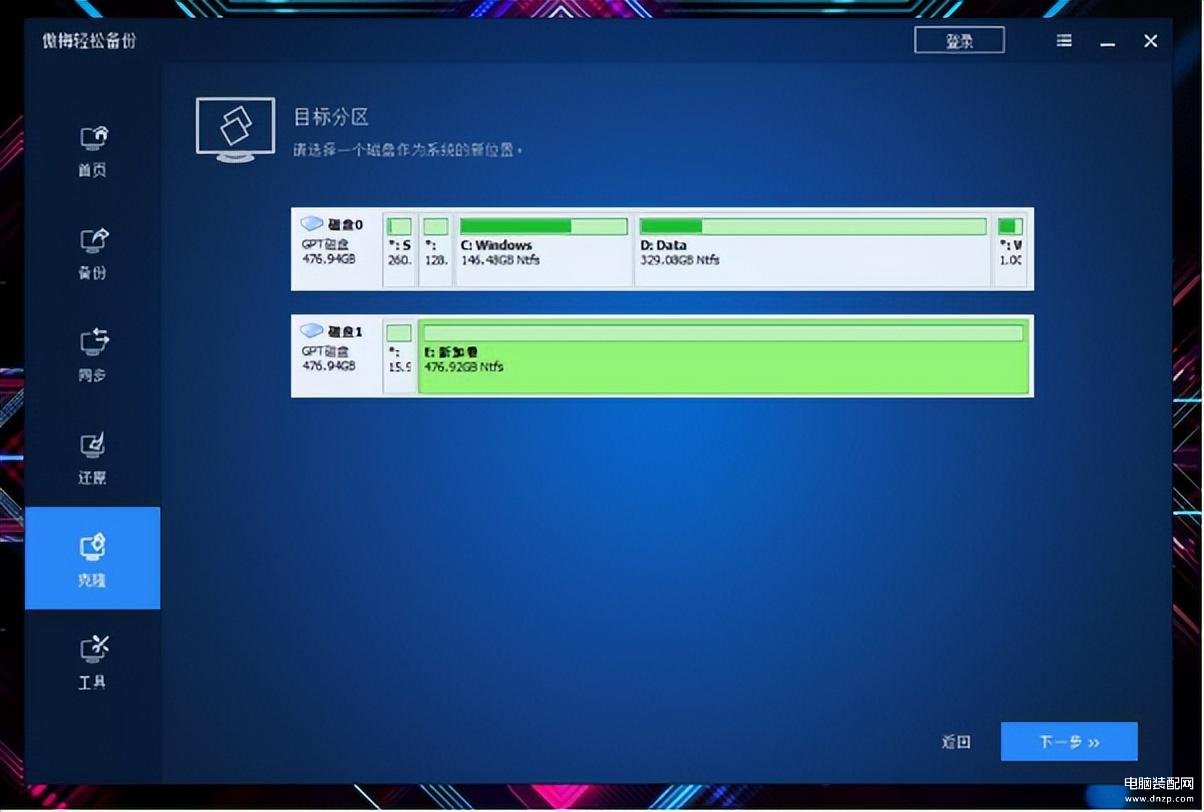
然后会出现这个画面,我们直接选择下面的新硬盘,作为系统迁移的目的地。
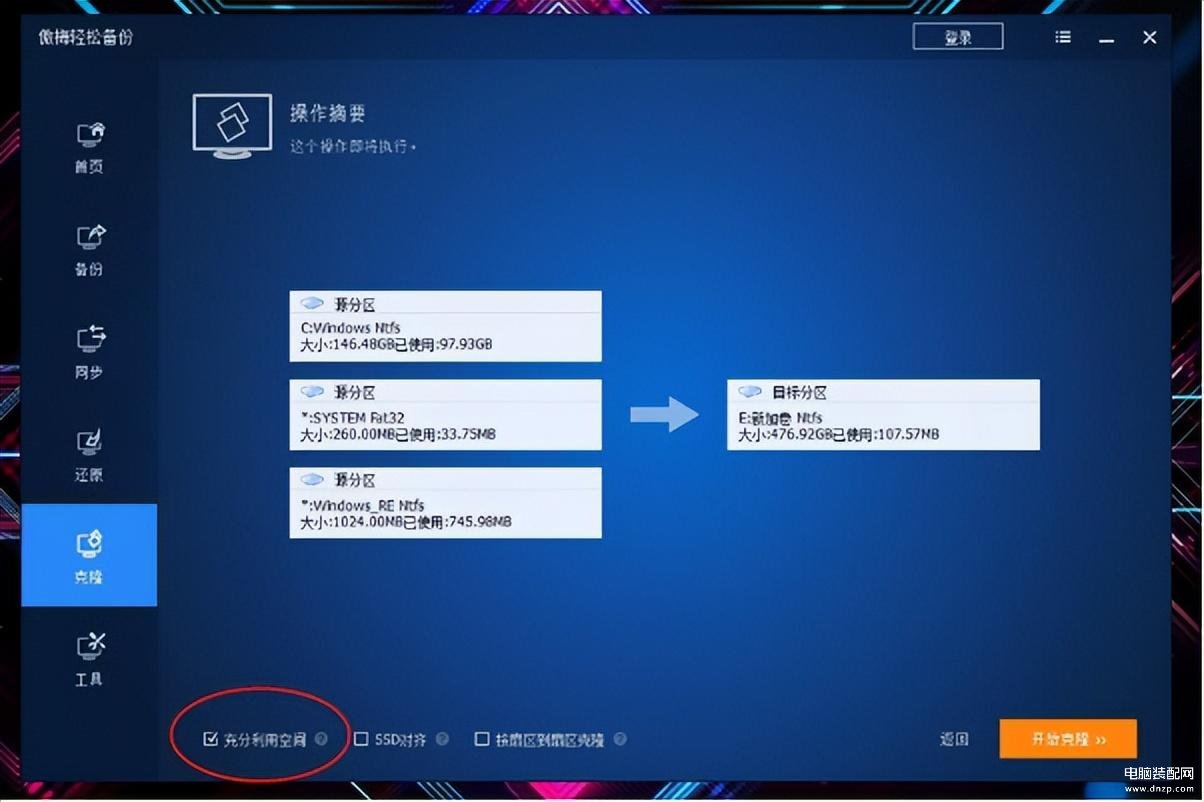
然后软件会提醒你,将要将系统迁移到新的目标分区。注意左下角有个充分利用空间的选项。勾选这个,目标分区,会被新系统完全占据,希望扩充C盘的要勾选这个。如果不勾选的话,那么系统会按照原来的大小迁移过去。
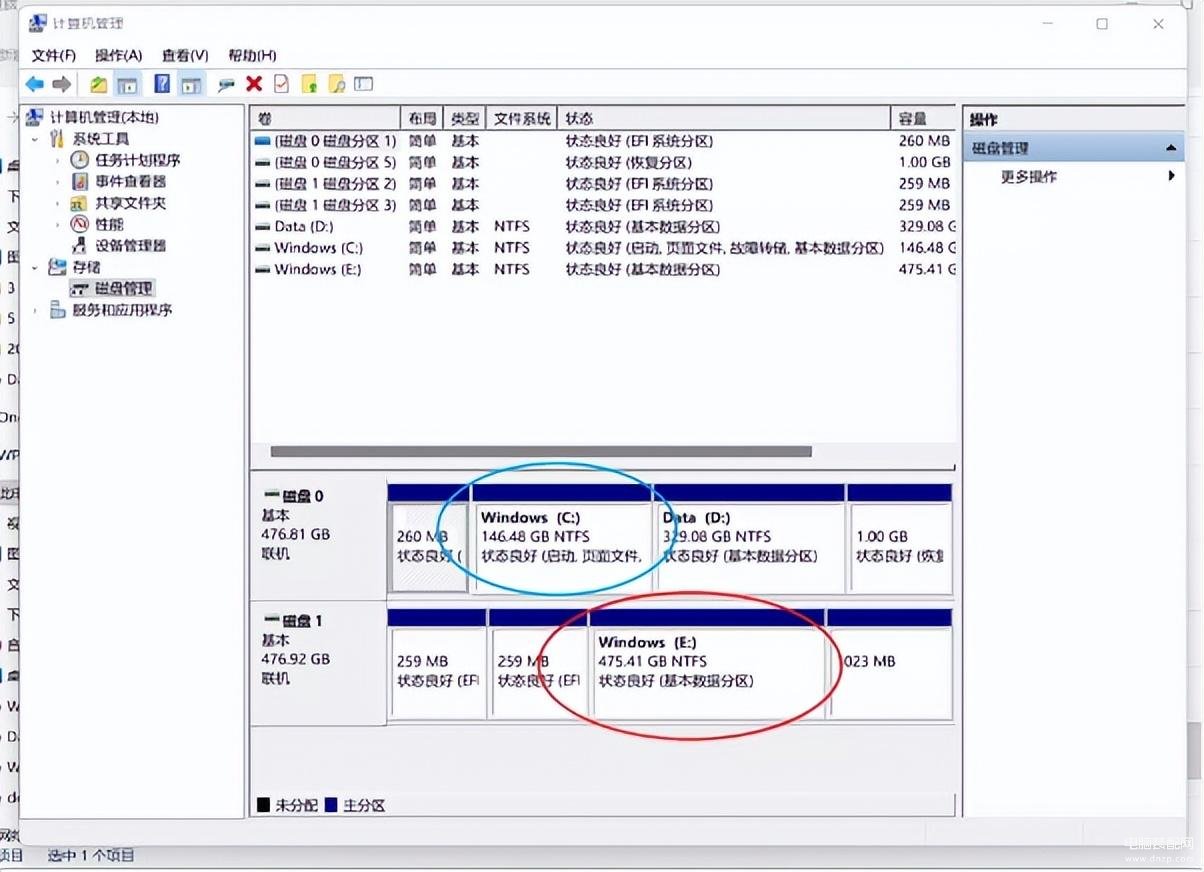
迁移很快就完成了,我们看系统里面,系统盘很大。
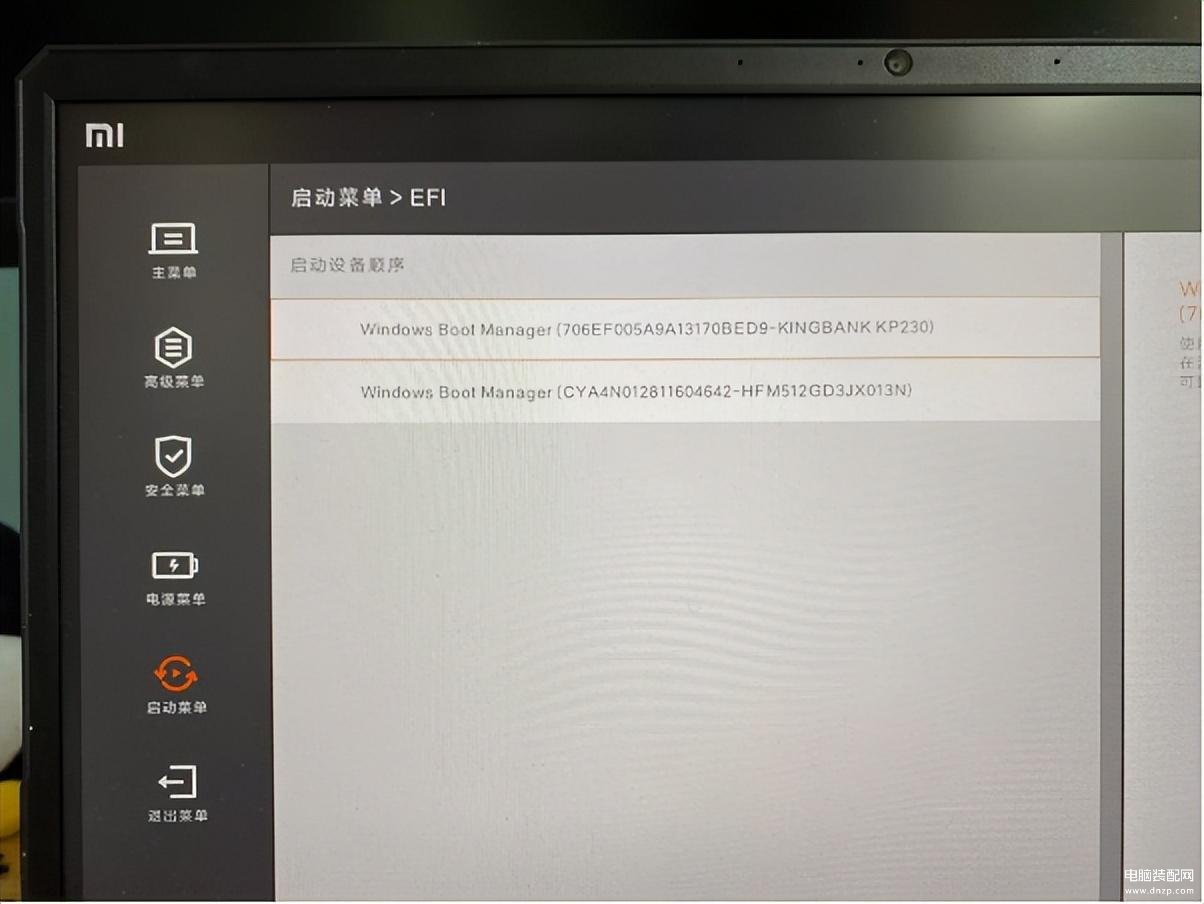
启动电脑进入UEFI BIOS,将启动顺序,变为金百达硬盘是第一启动顺序。
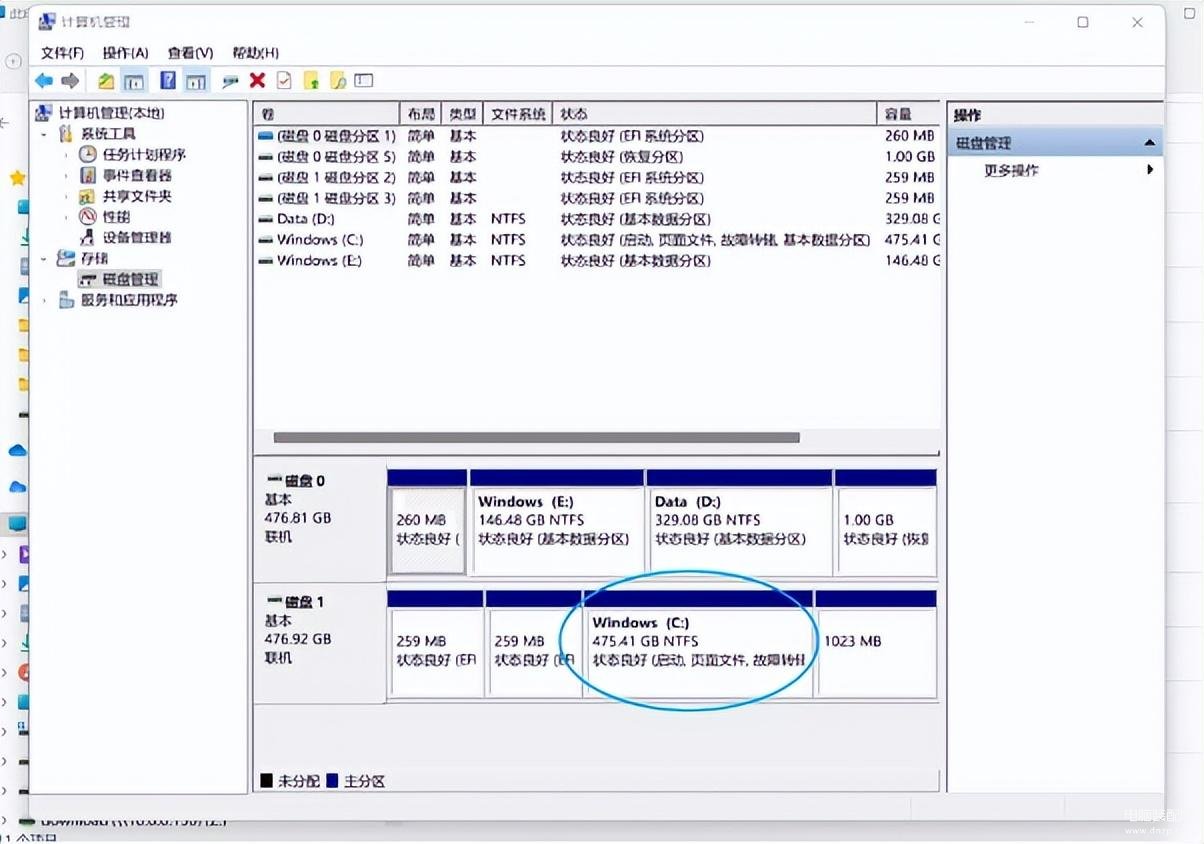
启动之后就,我们看迁移过去的系统正常启动,显示为C盘,分区是启动、页面文件。这说明系统已经正确迁移,并且可以正常启动了。
总的来说,笔记本电脑的内存扩容、硬盘增加、硬盘增容,系统迁移,只要小心按照教程 ,都是可以较为轻松的完成的。这其中最困难的部分,还是在于笔记本电脑的设计,打开后盖是否容易。