软件简介:
软件【下载地址】获取方式见文末。注:推荐使用,更贴合此安装方法!
本教程提供了一个简洁明了的步骤指南,旨在帮助用户无需U盘启动盘,直接在能正常开机的电脑上安装Windows系统。适用于Win7、Win8、Win10用户,教程覆盖了从下载系统镜像(包括专业版和家庭版)和必要工具,到系统安装、激活,以及驱动程序安装的整个过程。我们还提供了详细的指南,包括如何应对可能出现的密钥输入提示,以及如何完成系统的纯净安装,确保不保留旧数据和设置。请注意,在安装过程中,C盘数据将被清空,因此重要文件需要提前备份。最后,我们还分享了如何激活Windows系统,包括两种激活方法,确保你的操作系统完全授权使用,为你的电脑带来全新的体验。接下来,跟着羽化飞翔一起,来看看如何直接安装纯净版Windows 10 v1607吧。

安装步骤:
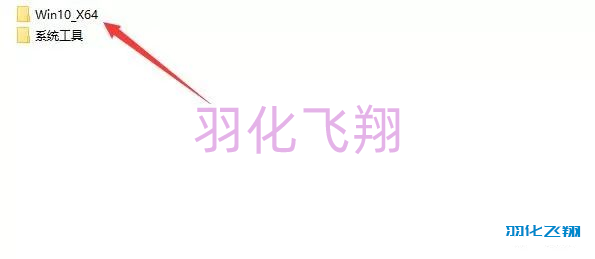
1.下载系统镜像文件与系统工具;系统工具里面包括有驱动工具、winrar 32/64位解压软件、激活工具;打开下载的系统文件夹。
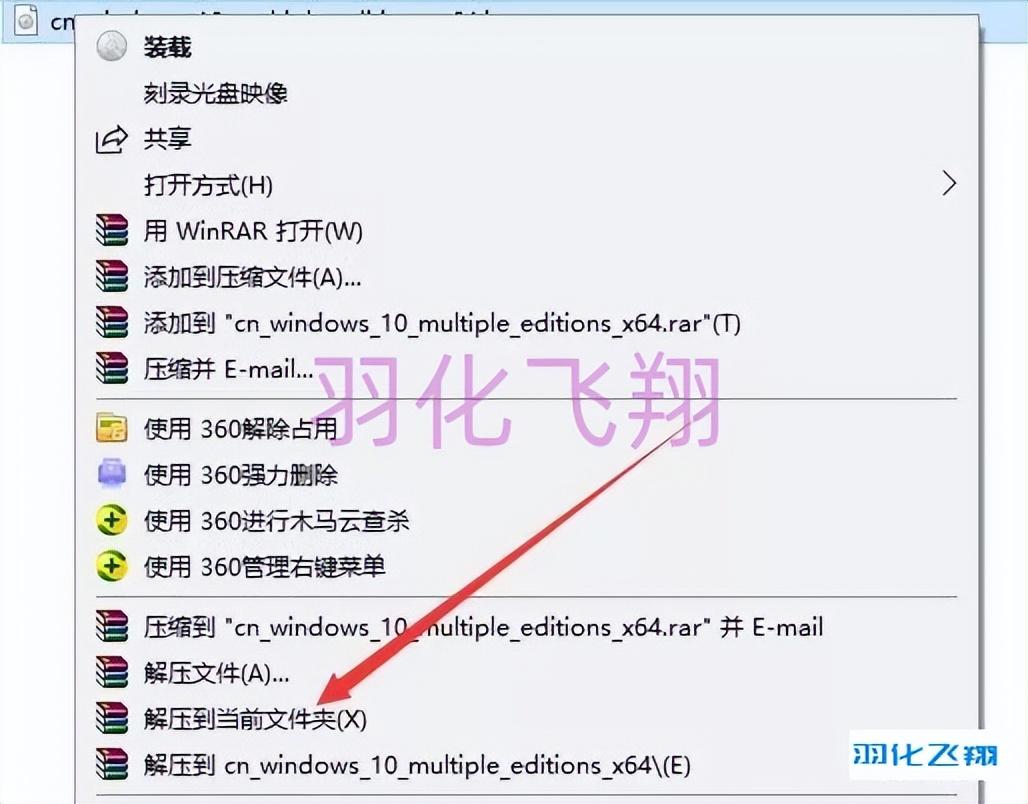
2.选择镜像文件,右键鼠标选择【解压到当前文件夹】。
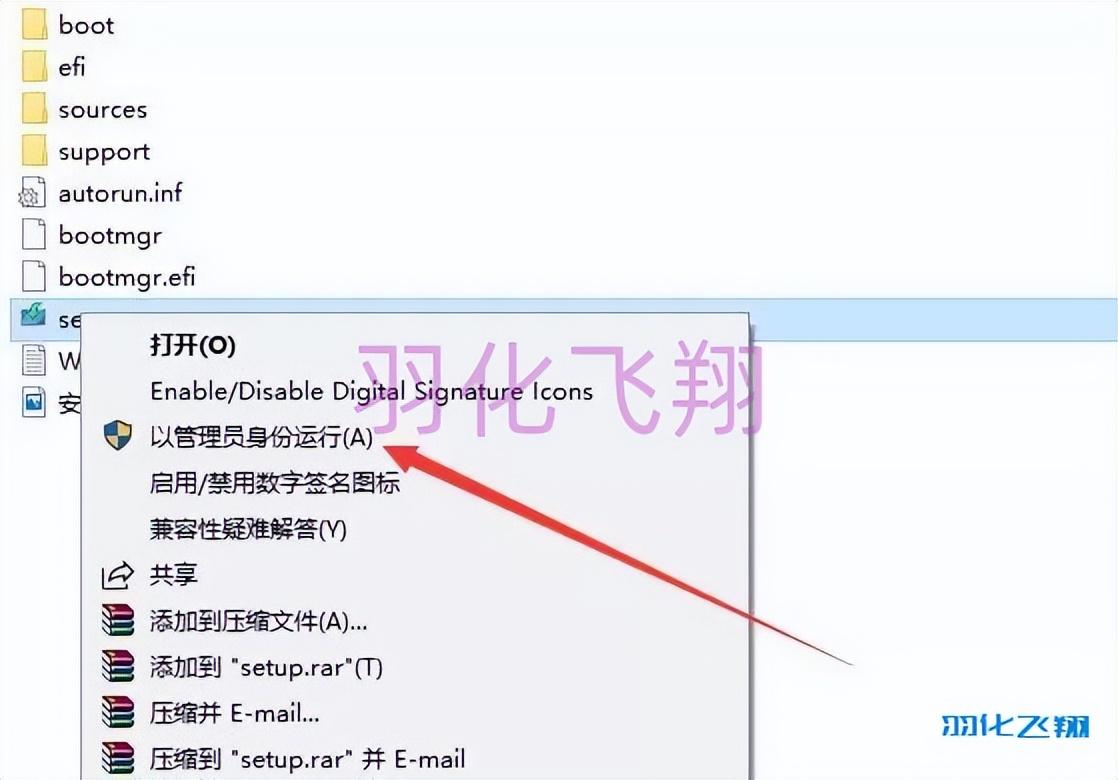
3.解压完成后,右键鼠标点击【setup】选择【以管理员身份运行】。
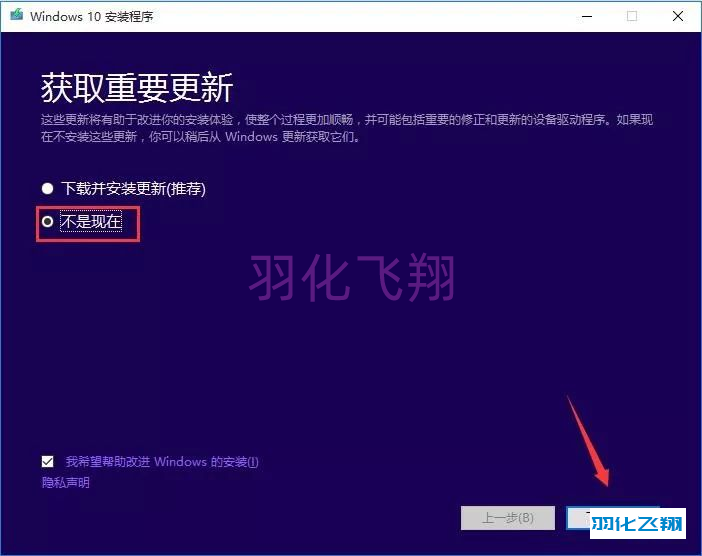
4.选择【不是现在】,点击【下一步】按钮。
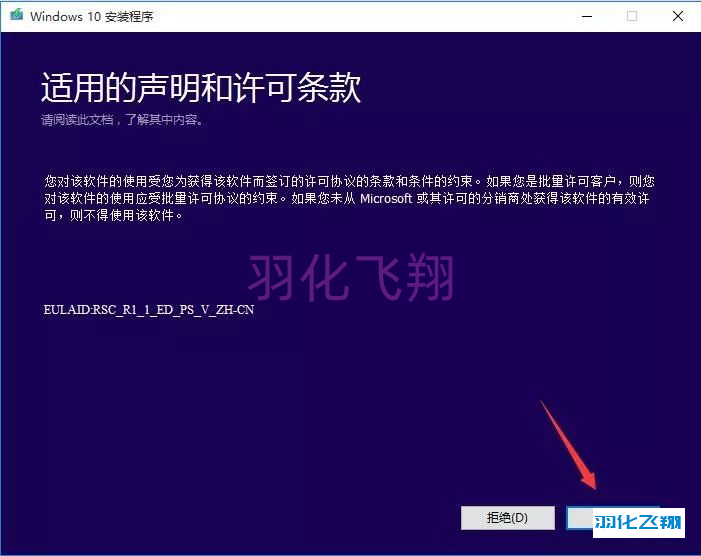
5.点击【接受】按钮。
注:有些电脑会提示输入密钥,如果不能跳过输入密钥步骤,请自行百度查找一个,或者使用U盘安装系统则无需密钥;本教程以Win10专业版重装为例,没有提示输入密钥。
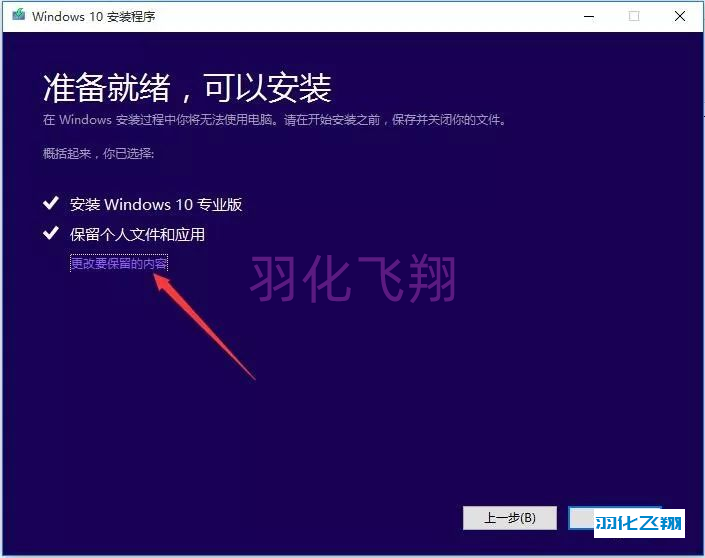
6.点击【更改要保留的内容】。
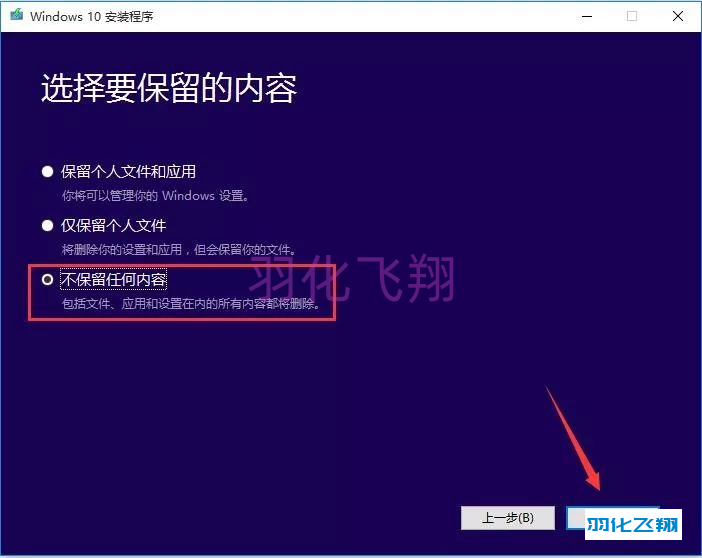
7.选择【不保留任何内容】,点击【下一步】按钮。
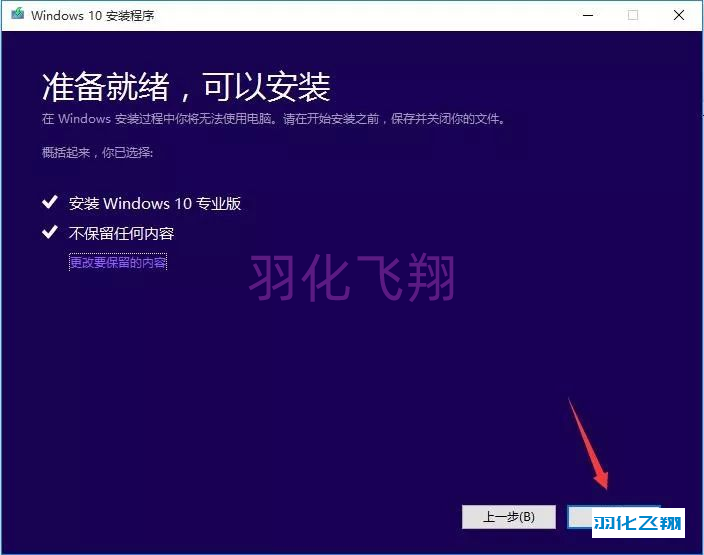
8.点击【安装】按钮。
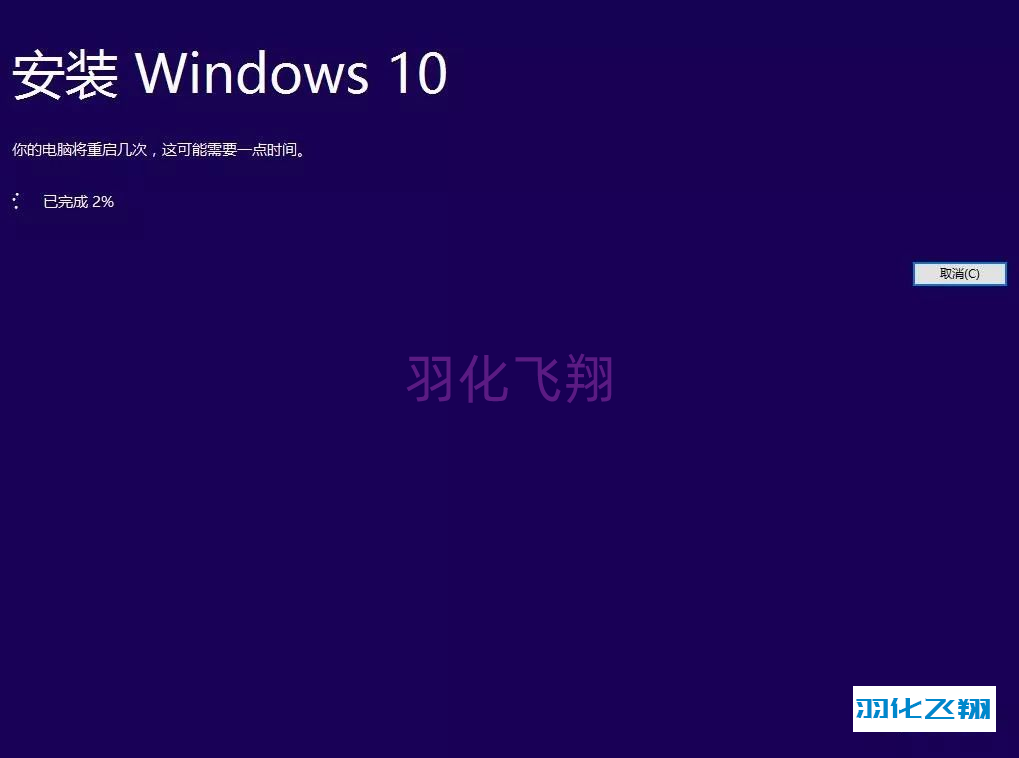
9.等待系统安装。
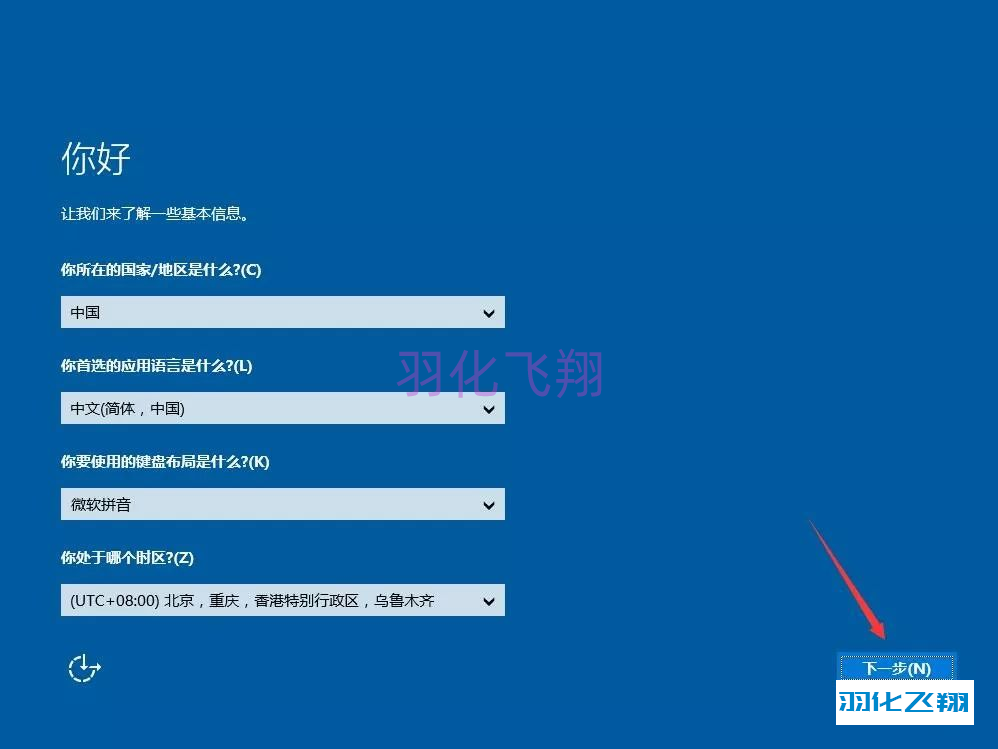
10.点击【下一步】按钮。
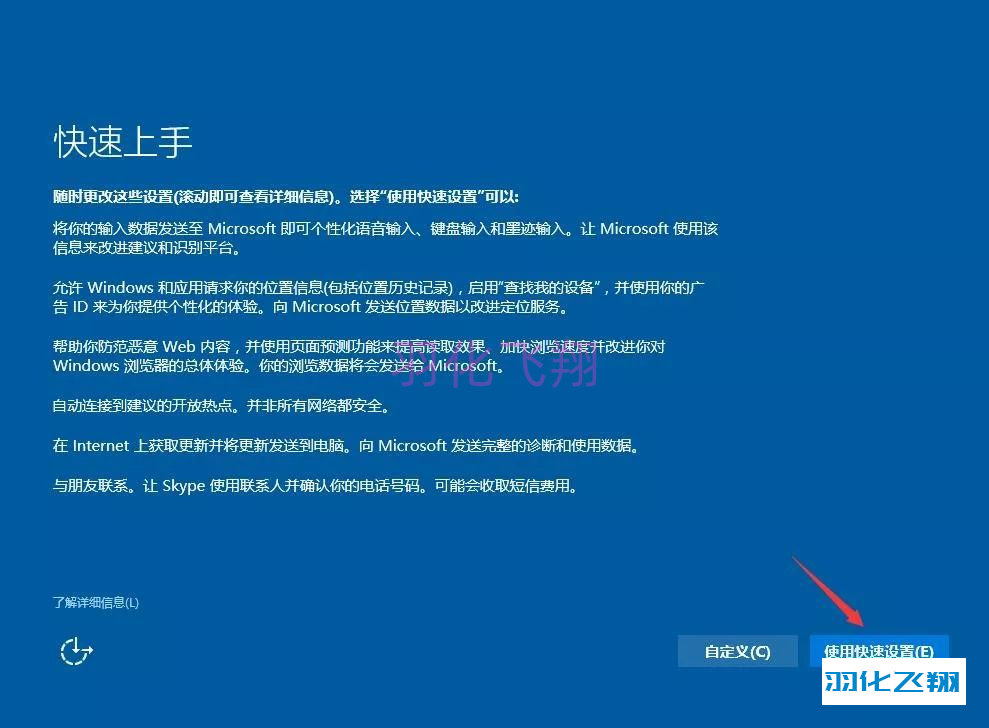
11.点击【使用快速设置】按钮。
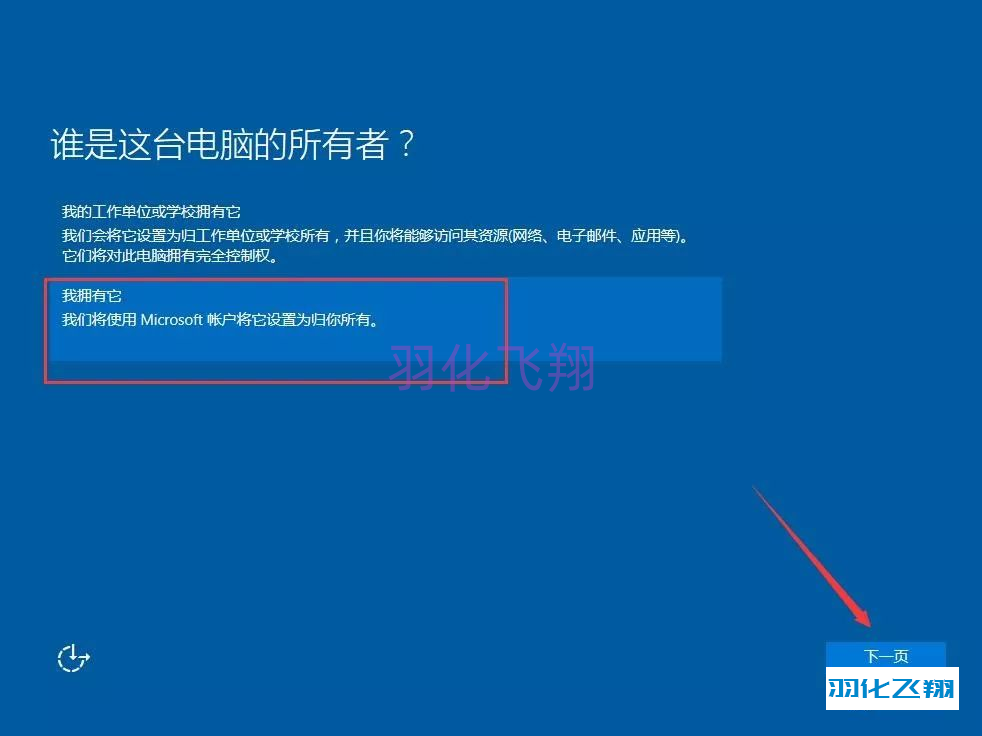
12.选择【我拥有它】,点击【下一页】按钮。
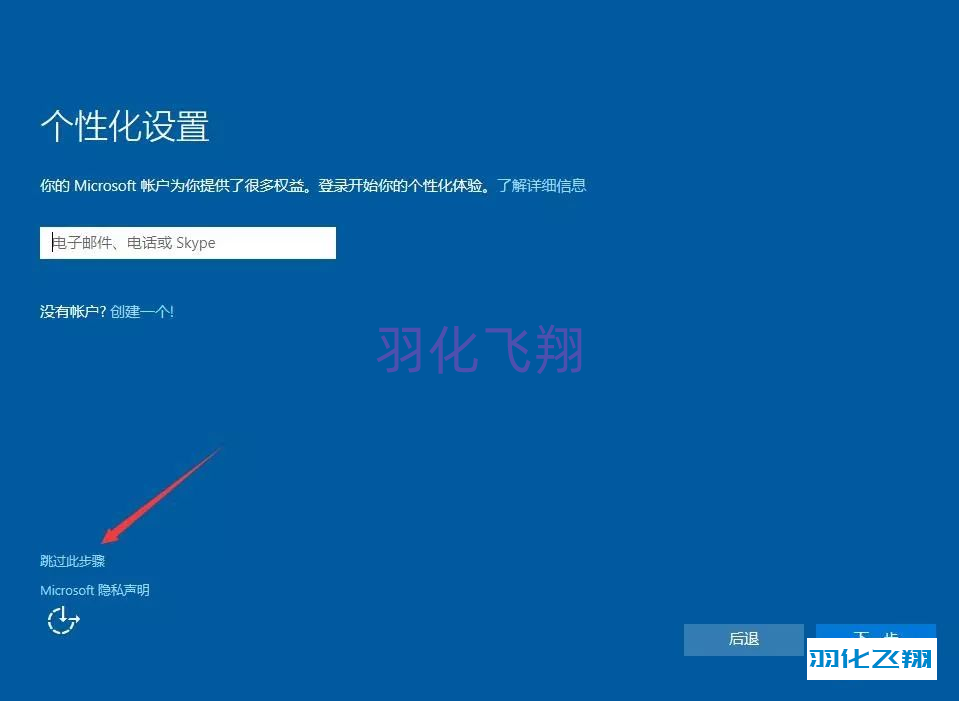
13.点击跳过此步骤。
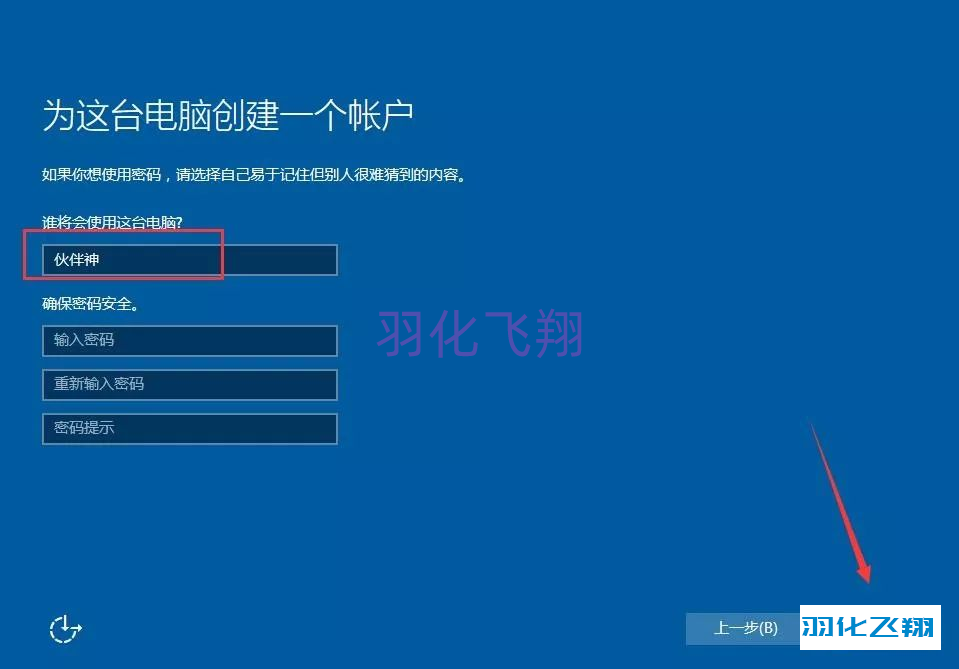
14.按自己需求设置用户名,支持中英文用户名,点击下一步。
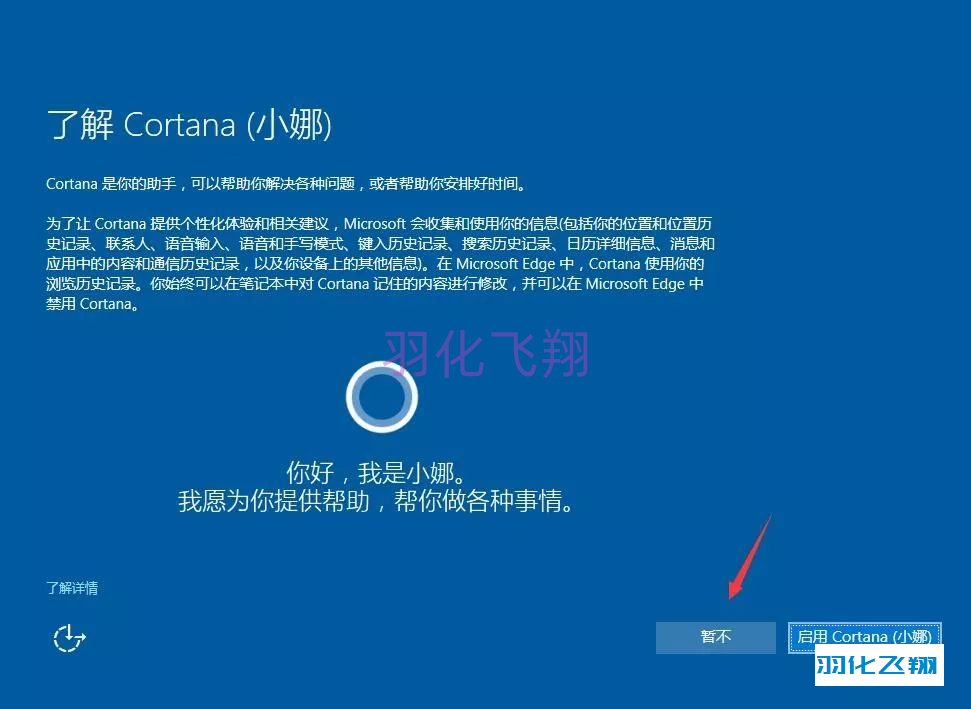
15.点击【暂不】按钮。
16.接下来来到纯净无任何软件插件系统界面。

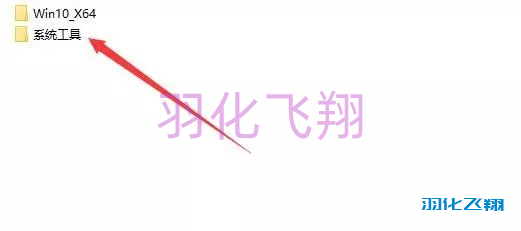
17.打开桌面上的【回收站】,在电脑分区中找到【系统工具】。
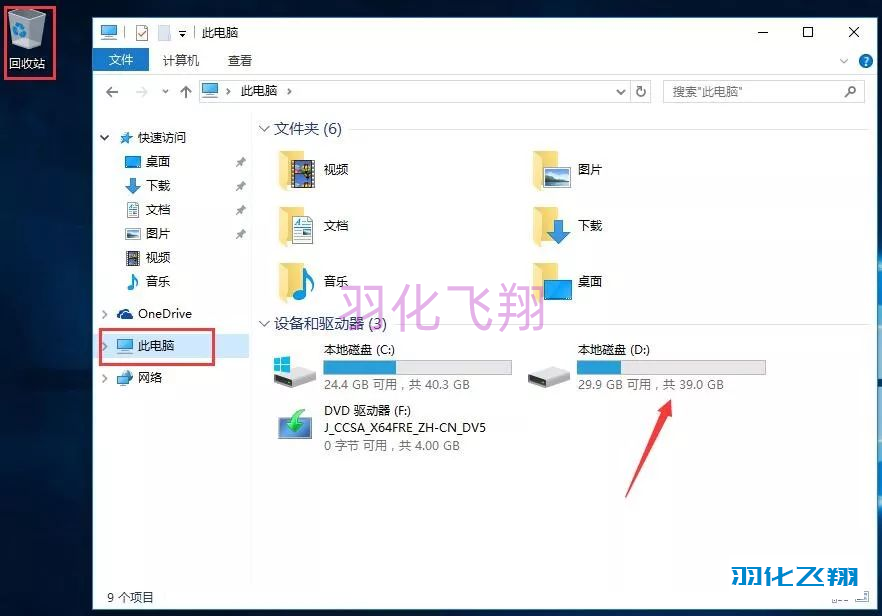
18.双击打开【系统工具】文件夹。
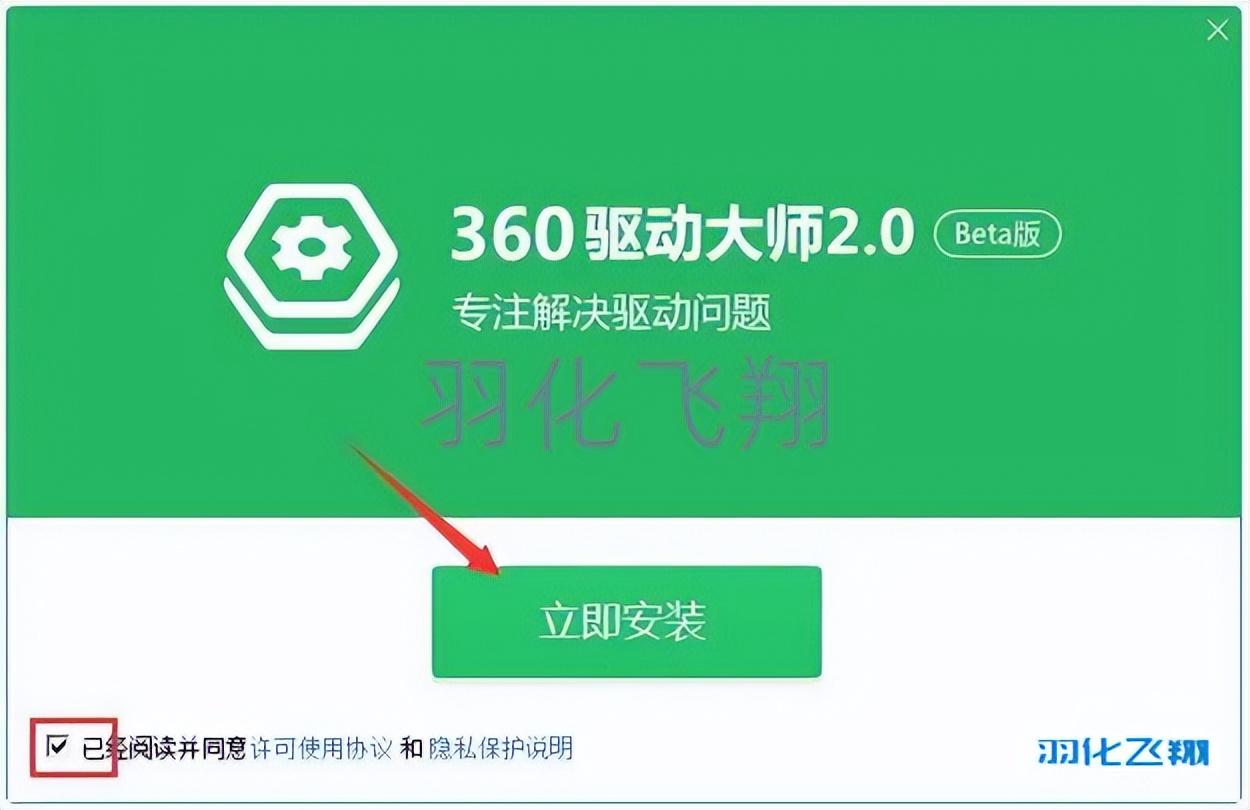
19.右键鼠标点击【360驱动大师】或【驱动精灵万能网卡版】选择【以管理员身份运行】,此驱动软件集成网卡驱动程序。

20.勾选【已并同意阅读】后点击【立即安装】按钮。
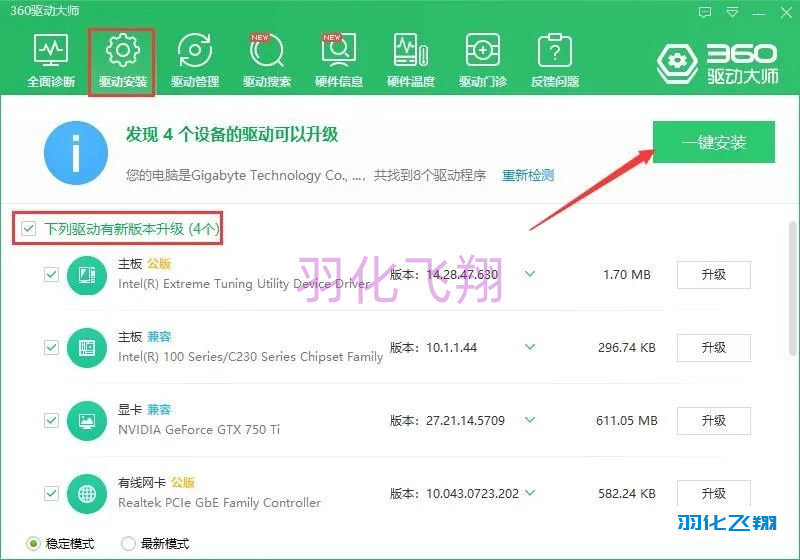
21.打开驱动大师后点击【驱动安装】界面,自动检测电脑需要安装的驱动,点击【一键安装】。
22.进入压缩软件文件夹,右键鼠标选择【以管理员身份运行】安装解压软件。

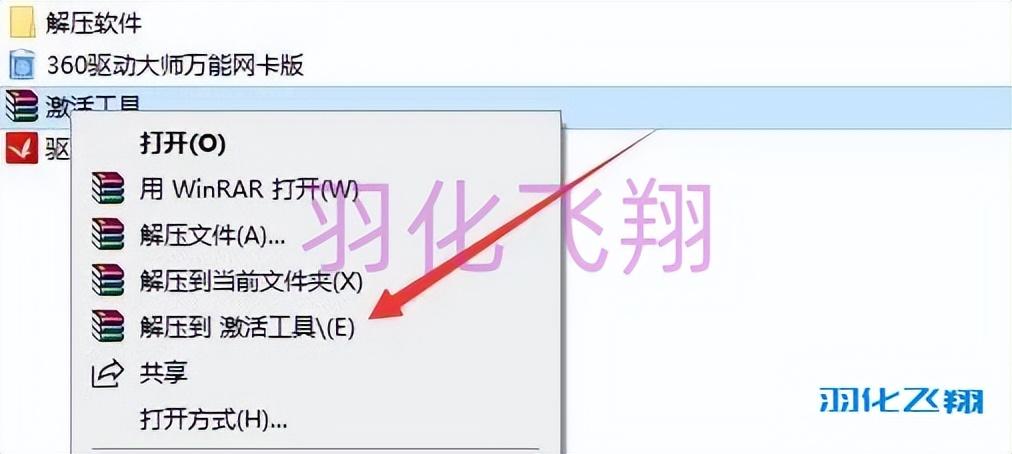
23.安装完成后,右键鼠标点击【激活工具】选择【解压到激活工具】。
24.解压后得到二个激活工具,进行系统激活操作。
注:如果没有License或打不开此程序,请关闭电脑杀毒软件和防火墙(Win10系统还需要关闭Defender实时保护)后重新解压。
方法一:
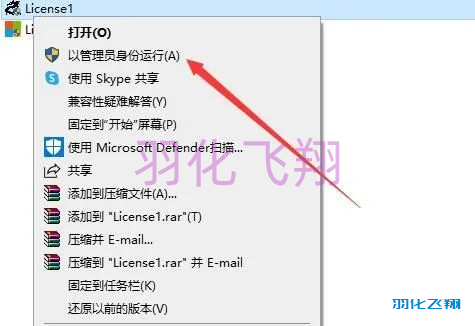
1)右键鼠标选择【以管理员身份运行】打开License1。
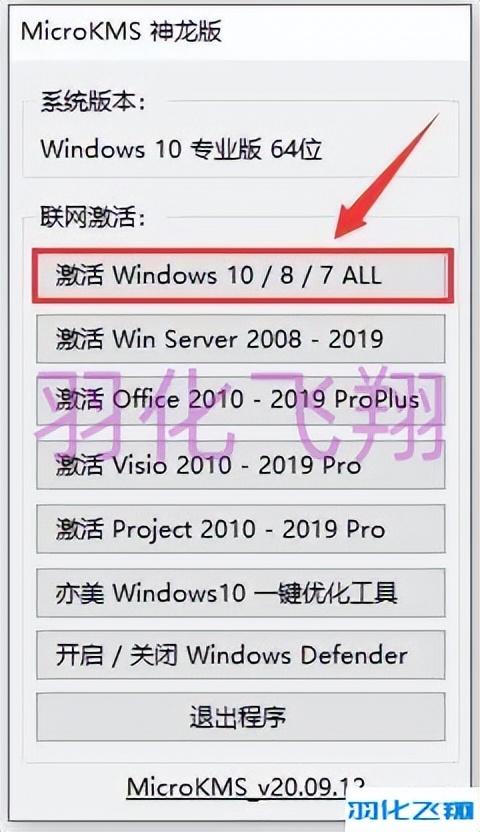
2)点击【激活Windows 10】。如果激活不成功,可以多点击几次激活(此为联网状态下的激活方式)。
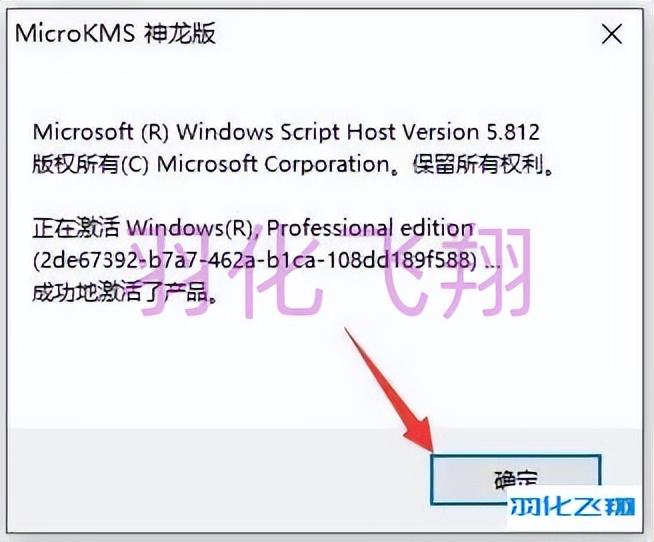
3)点击【确定】按钮。
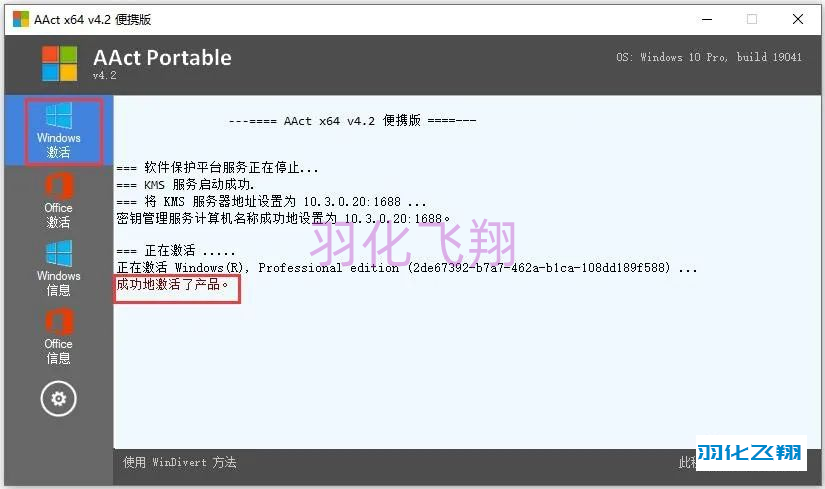
方法二:
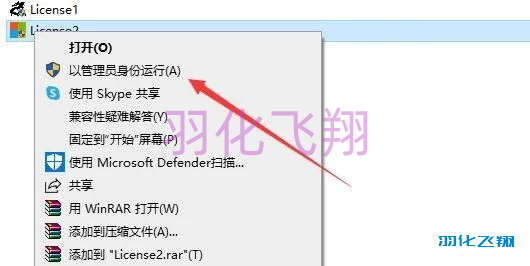
1)右键鼠标选择【以管理员身份运行】打开License2。
2)点击【Windows激活】,激活成功会显示【成功地激活了产品】。
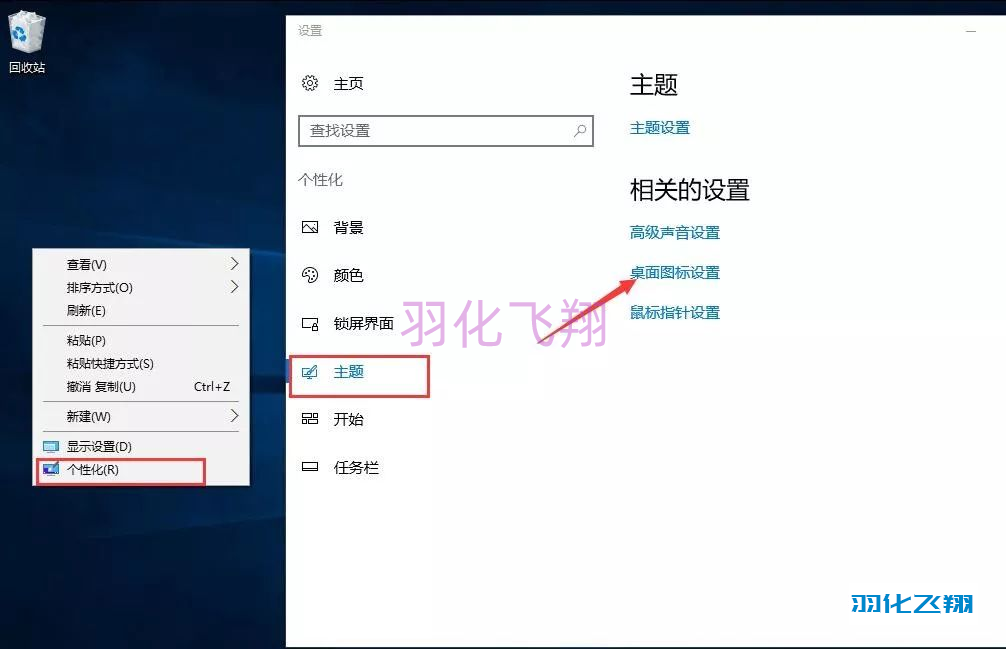
25.在桌面空白处,右键鼠标选择【个性化】,点击【主题】界面,点击【桌面图标设置】。
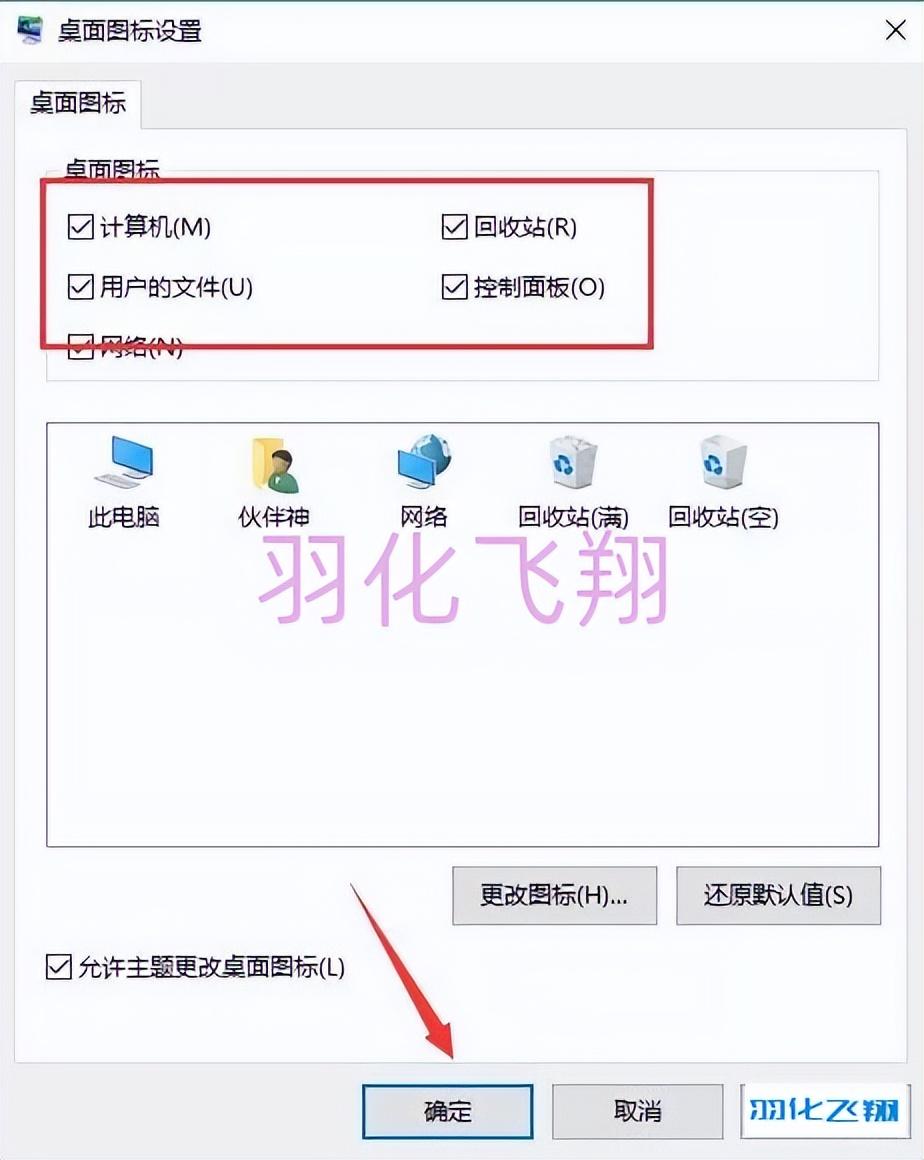
26.全部勾选后,点击【确定】按钮。
27.在桌面的【此电脑】右键鼠标选择【属性】,查看激活状态,显示windows已激活。

茶余饭后:
无言

关键词【下载5107】