


我们假设,台式机主板没有蓝牙模块,需要您适配一个蓝牙适配器。本文主要解读在Windows11操作系统平台中,给台式机连接蓝牙耳机。
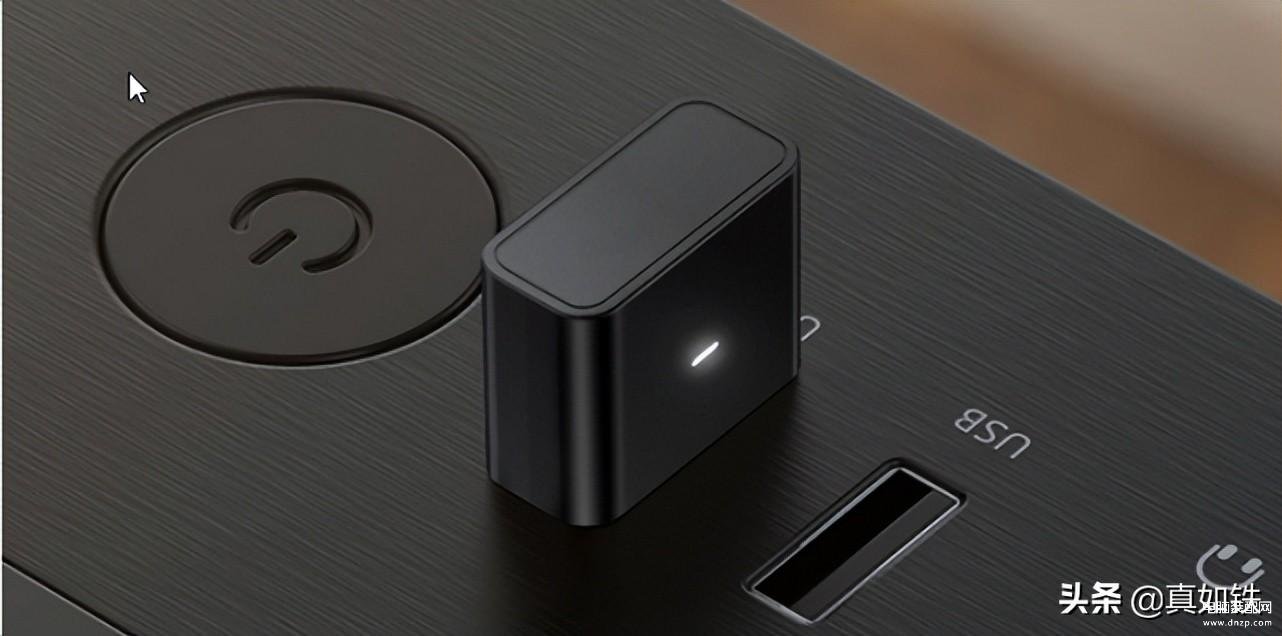
一般情况下,都是插在闲置的电脑USB接口上。
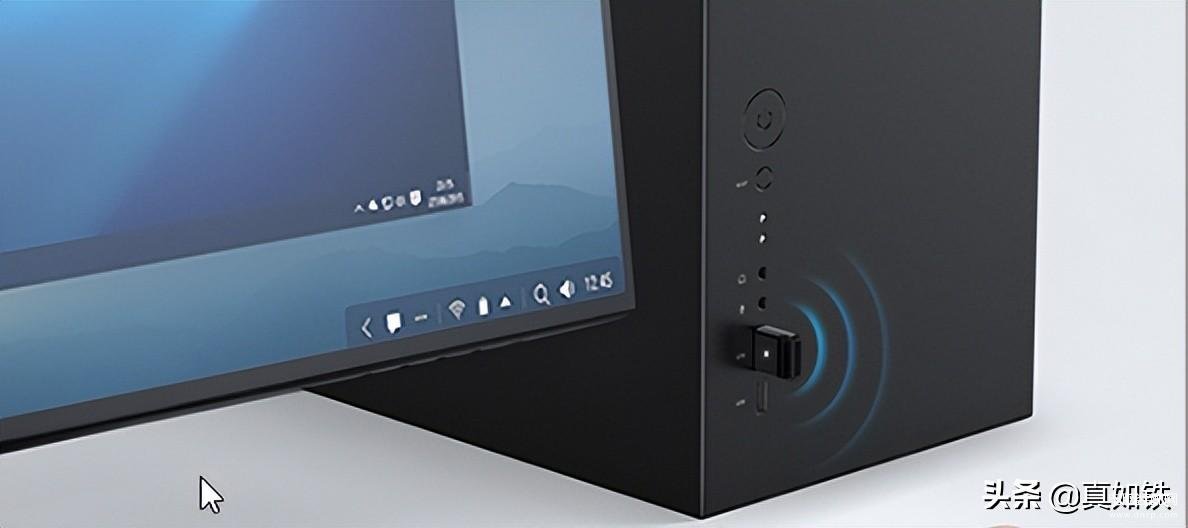
大家可以在图中看到,我把蓝牙适配器插在了主机的前置面板上。
但是建议,如果您对蓝牙适配器寄托了很多任务,就把蓝牙适配器插在,主机的后置面板上,供电效果更强,受到的干扰更少。

用途?因人而异!
本文,仅仅以连接无线耳机为例,解读适配过程!
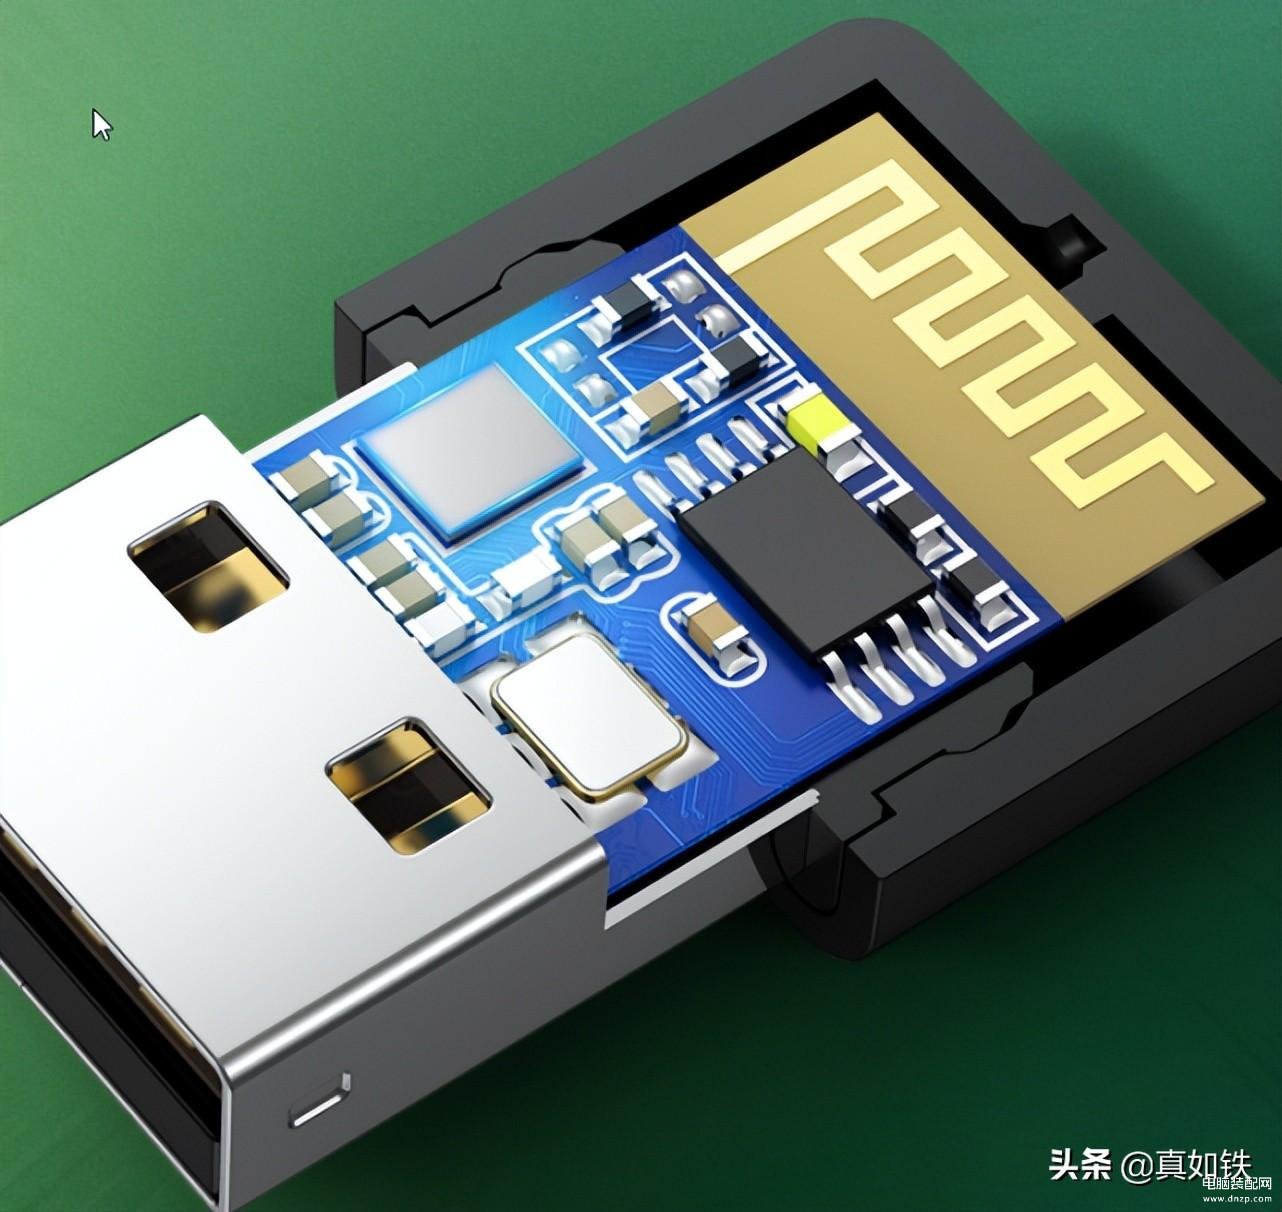
第一步,选择一个闲置的USB端口,插入蓝牙适配器。
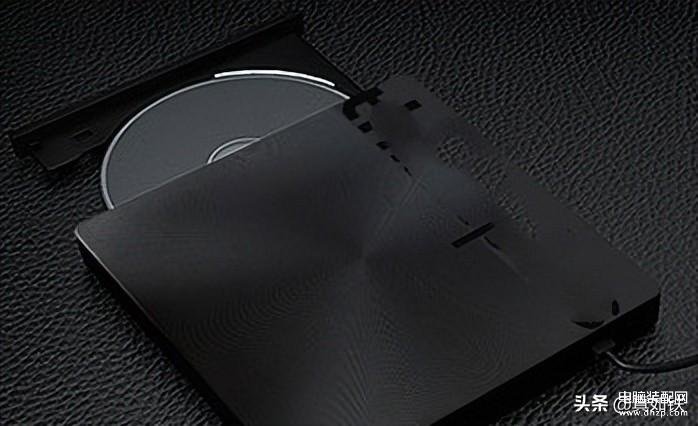
第二步,查看包装清单!完成驱动安装。当然,有些蓝牙适配器是免驱动的。
USB蓝牙适配器×1,驱动光盘×1。
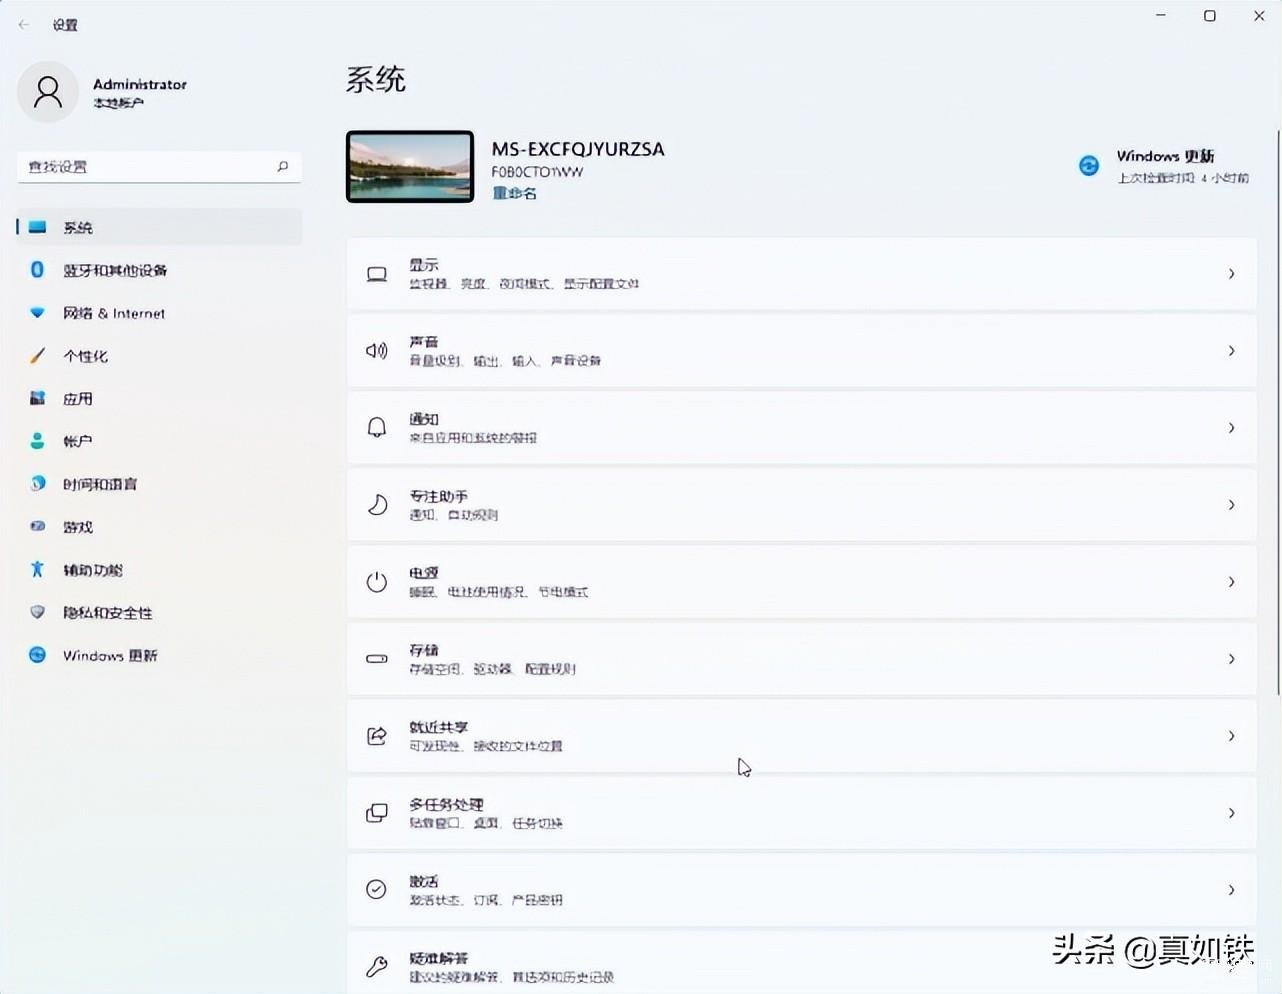
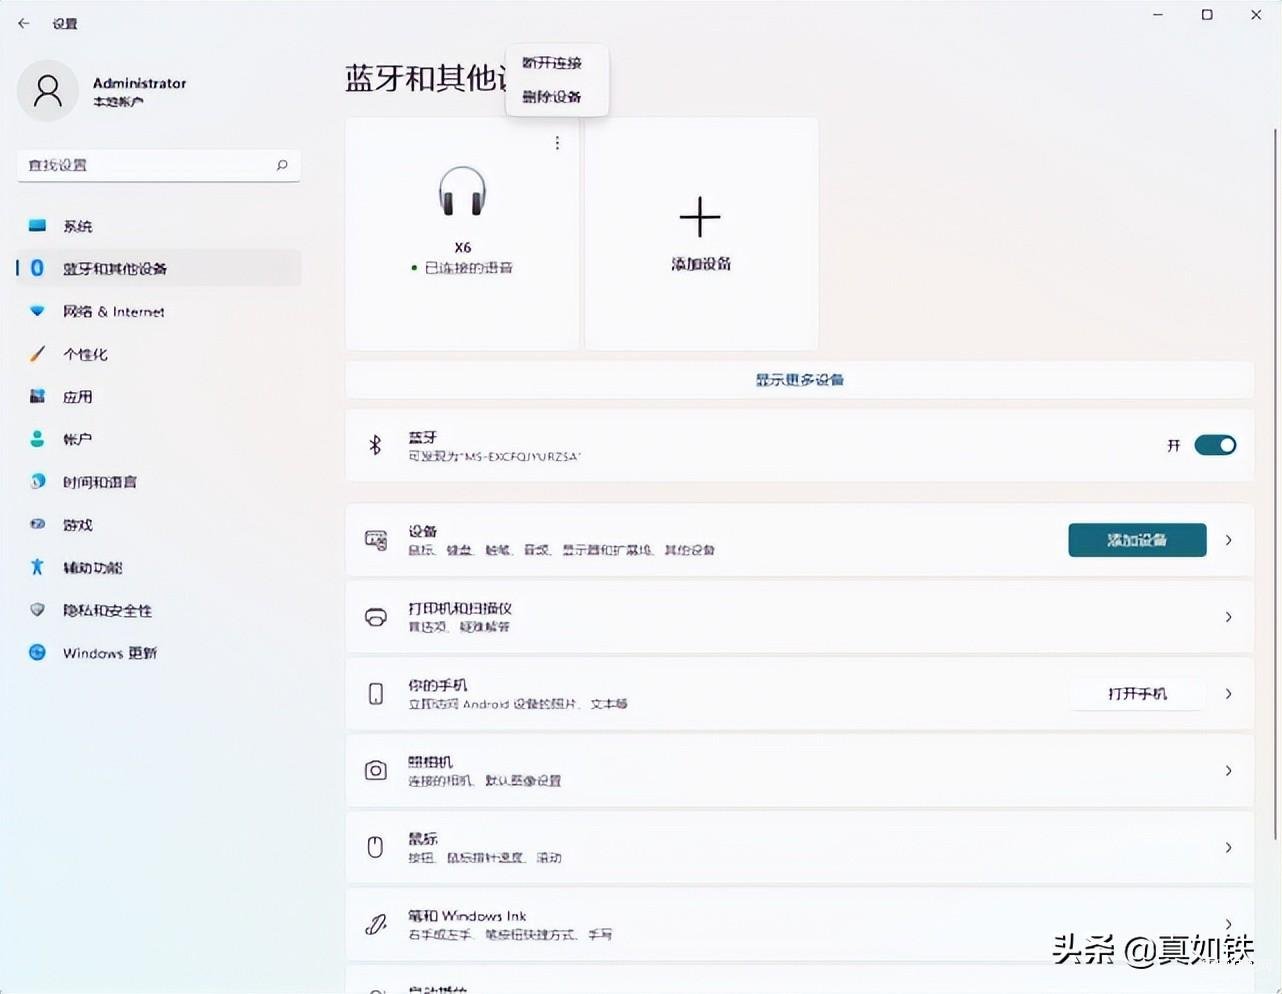
第三步,在Windows11中打开设置面板,找到蓝牙和其他设备,如图所示。
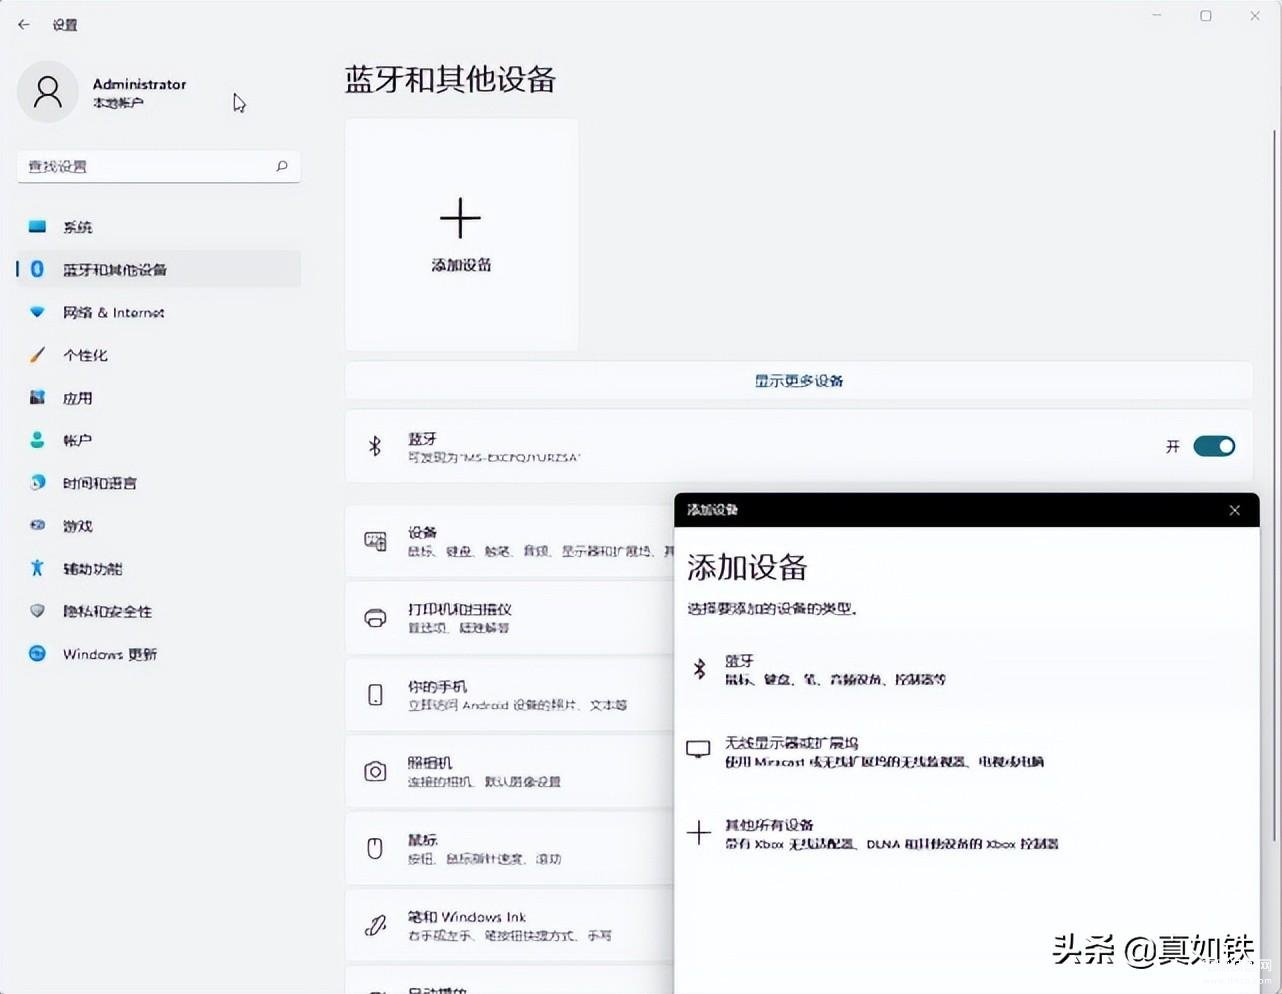
第四步,打开蓝牙,添加设备,如图所示。
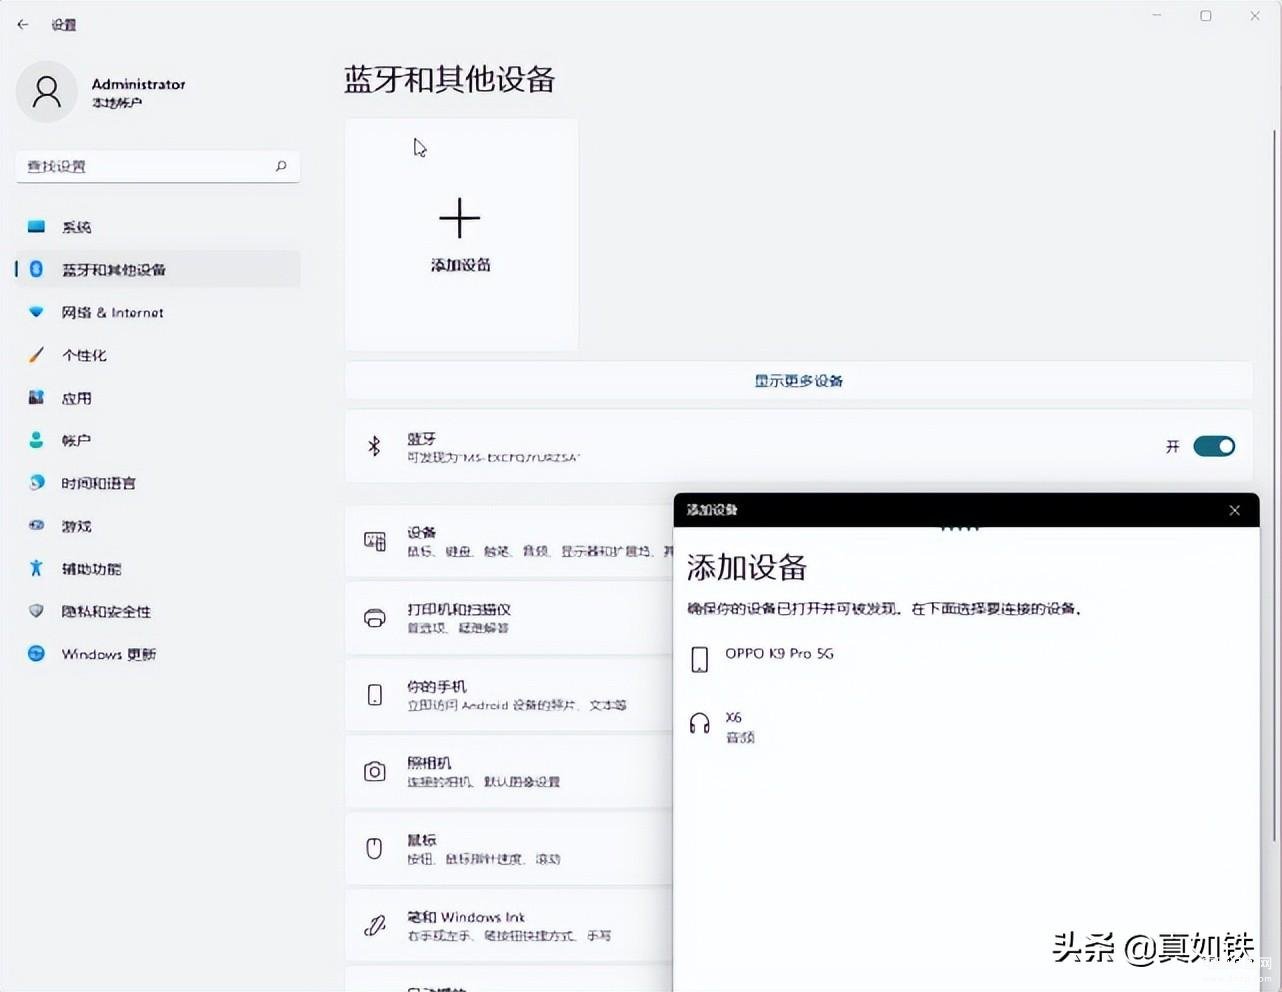
第五步,确保设备打开,并被发现,选择要连接的设备。
第六步,系统提示,设备已经准备就绪,如图所示。
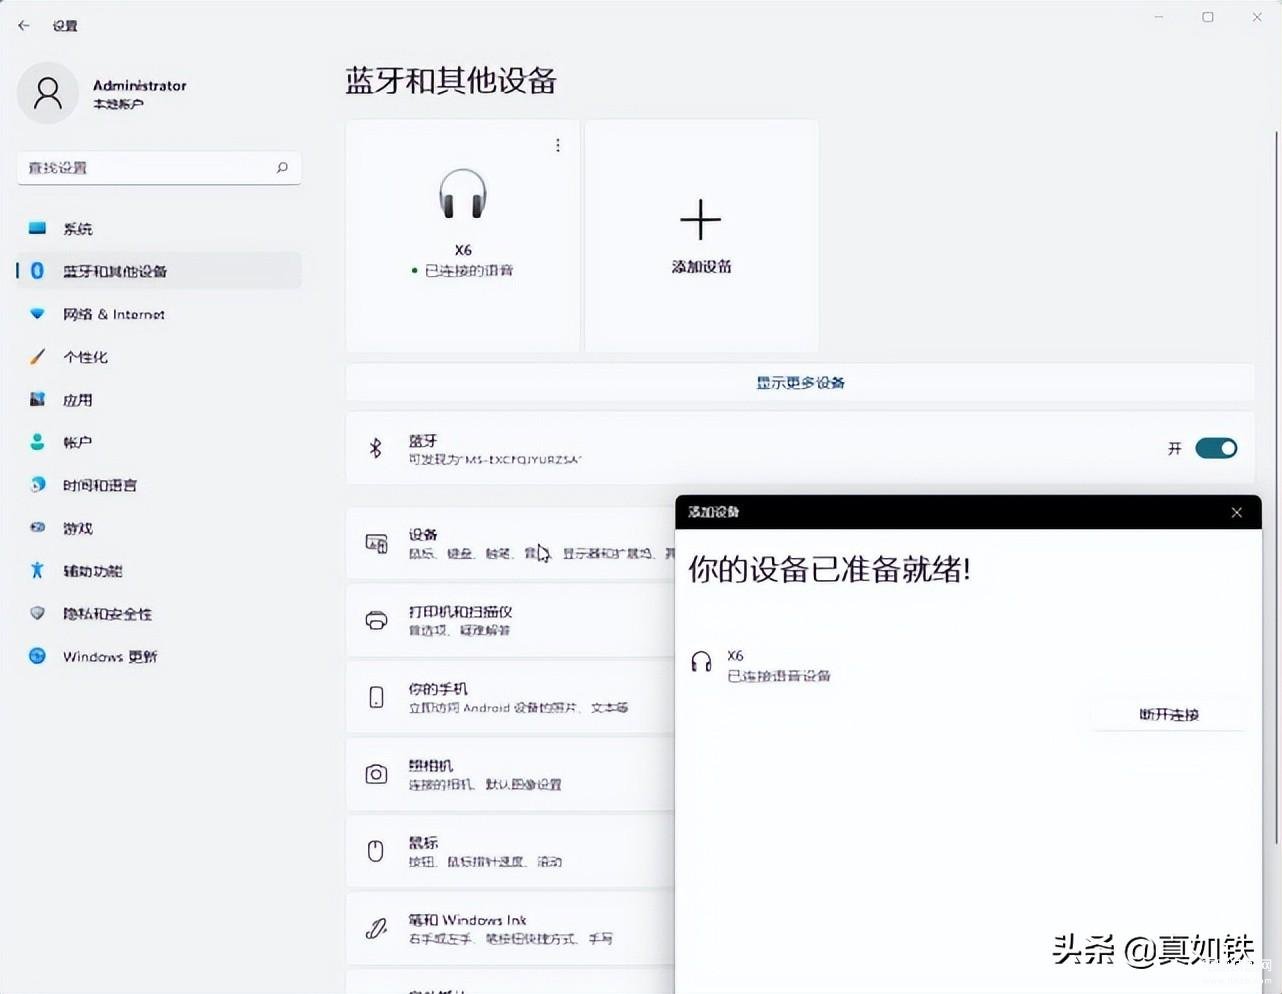
第七步,根据需求,可以选择断开连接或者删除设备。
现在我们拓展一下思路,如果您想连接鼠标键盘,音箱、耳机,蓝牙手柄,手机,平板等设备。
我们在选配蓝牙适配器的时候,要关注更低的延迟、更高的音质、更远的距离、更稳定的传输。
在这里不得不提一句,即使我们选择的是免驱动的蓝牙适配器,也要关注商家给出的说明,一般情况下,win7操作系统还是需要安装驱动的。