


新买的电脑,用了没有多久,你的电脑感觉越来越慢,越来越卡顿,很大原因就是内存占用过高导致,需要我们对内存进行一些优化和释放,掌握几个小技巧,瞬间让你的电脑满血复活。

windows 内存诊断
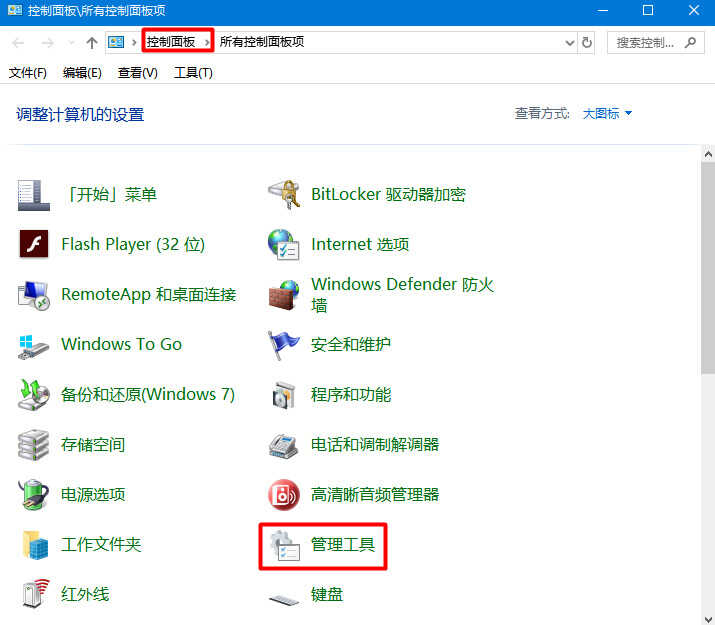
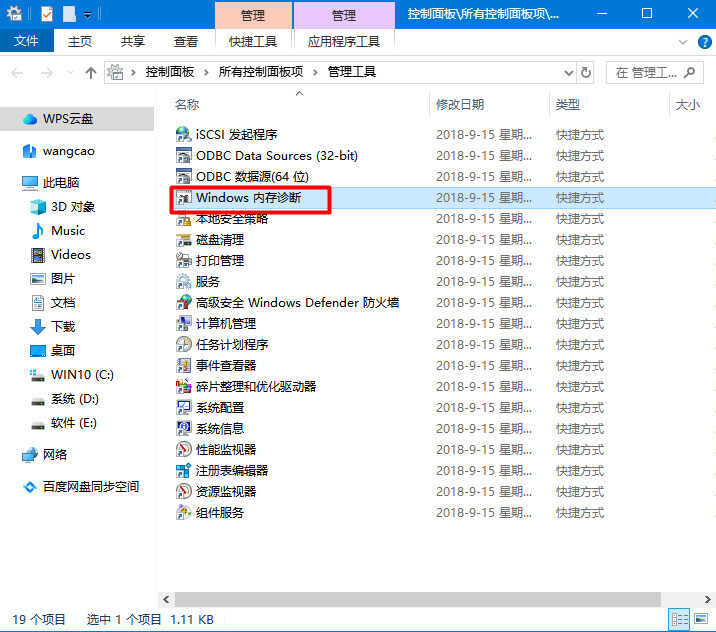
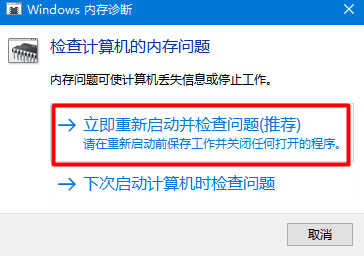
点击左下角开始,选择windows系统打开【控制面板】->【管理工具】->【windows 内存诊断】->【立即重新启动并检查问题】即可完成系统内存诊断,释放一些内存。
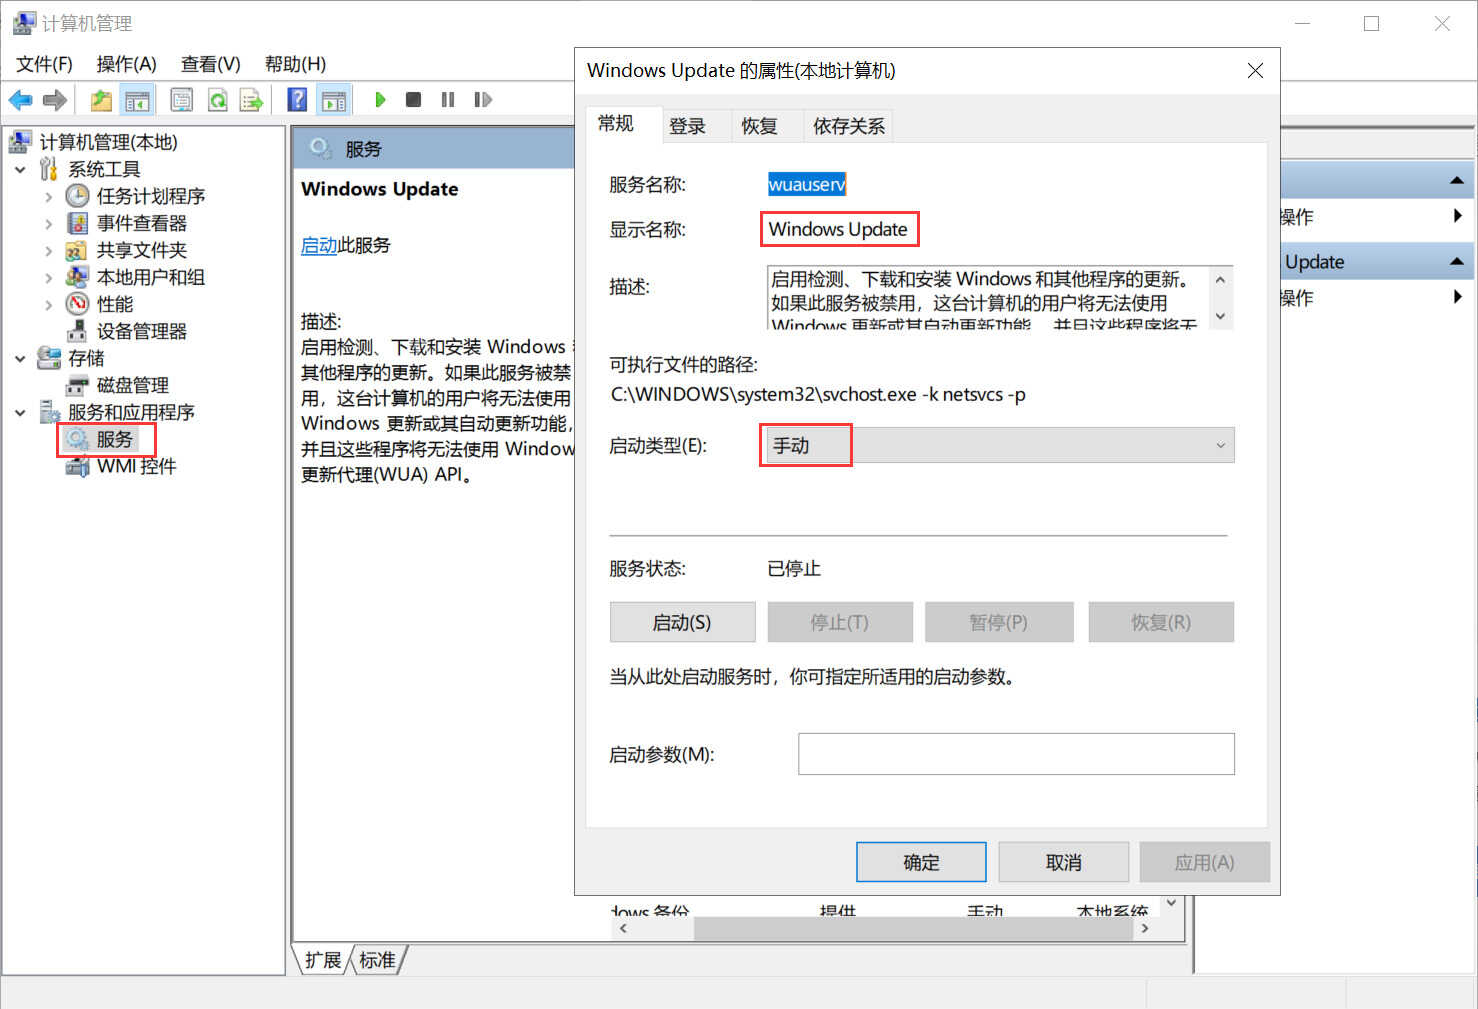
关闭系统自动更新服务
系统自动更新会在你使用电脑的过程中,忽然后台运行更新,会吃你的内存和CPU以及网络等,建议将其禁用。如果需要更新系统,可以手动或者通过火绒、360等安全软件进行更新。
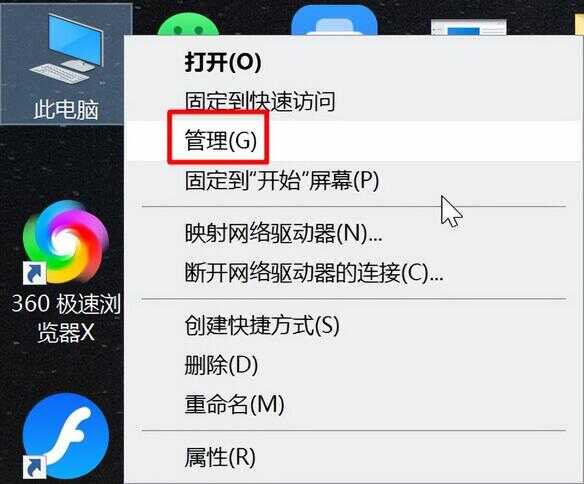
鼠标右键点击【此电脑】选择【管理】,点击【服务】选择windows update,设置为手动更新,这样系统不会定时去检测更新,节约系统开销,提升运行性能。
优化视觉效果,关闭“视觉效果”中不需要的效果
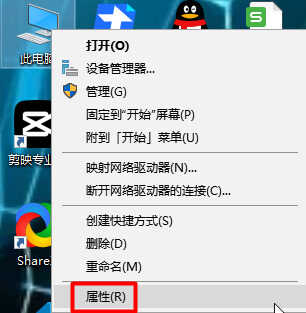
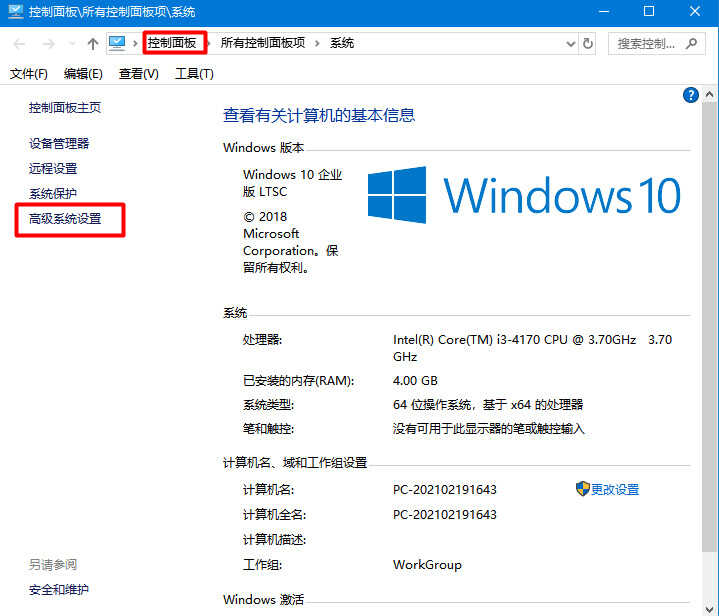
右键单击【我的电脑】->【属性】->【高级系统设置】->【性能】->【设置】->【视觉效果】->【自定义】,在这里把所有特殊的外观设置都关闭掉,我们就可以省下“一大笔”内存。
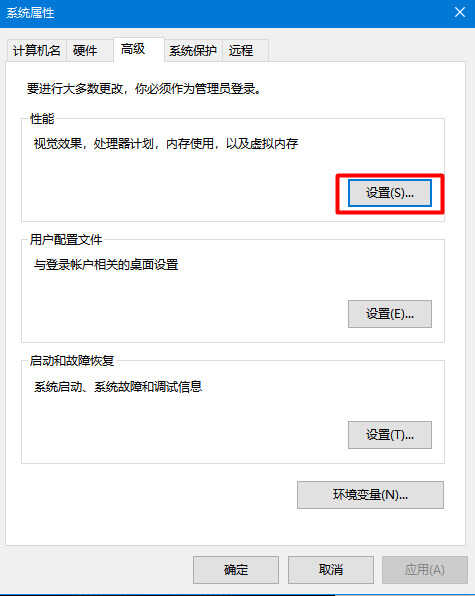

科学设置性能参数和虚拟内存参数
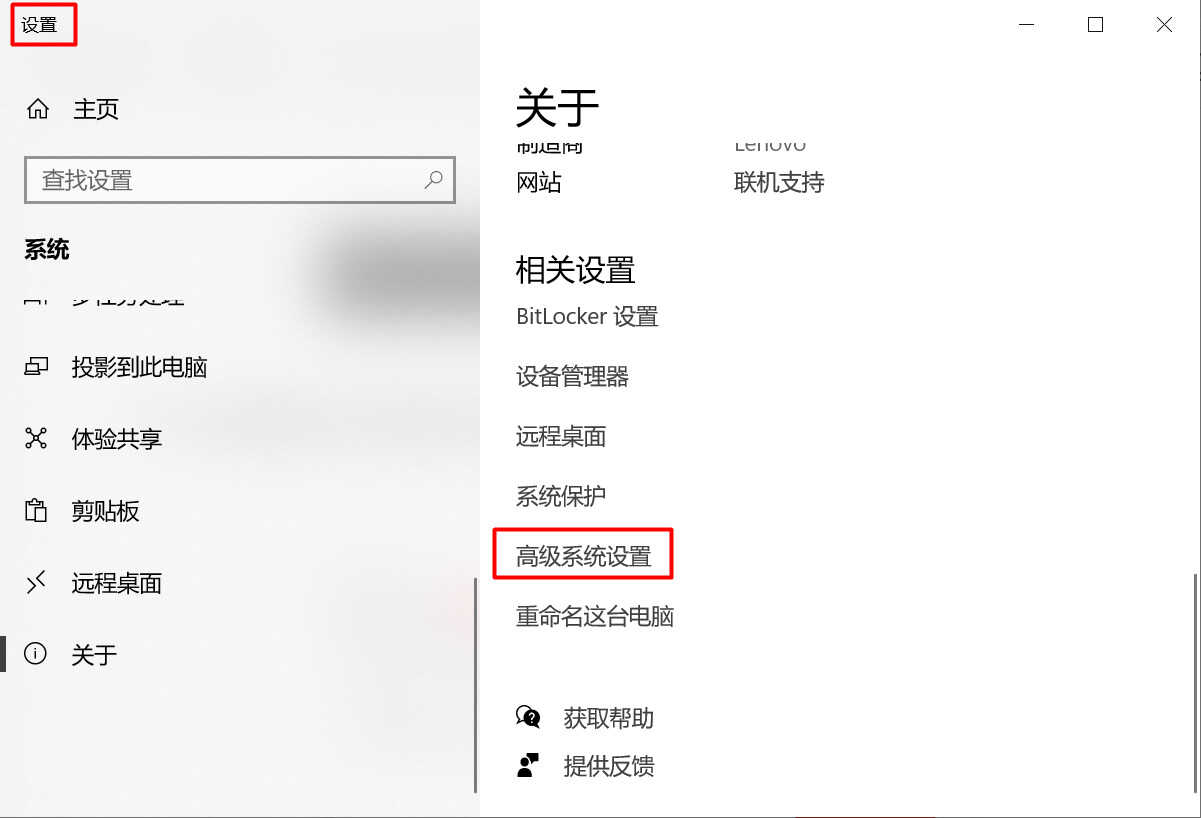
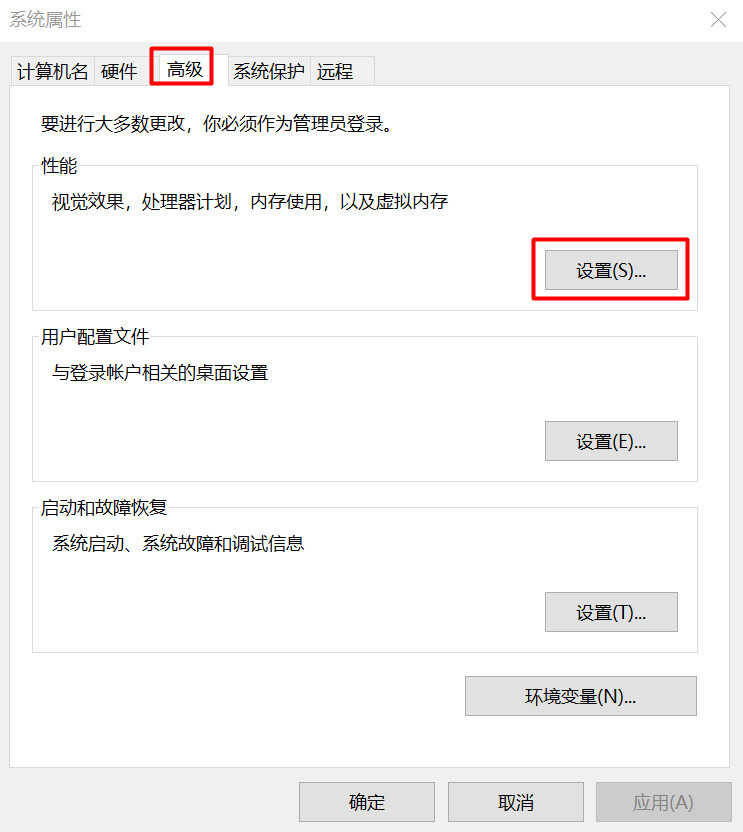
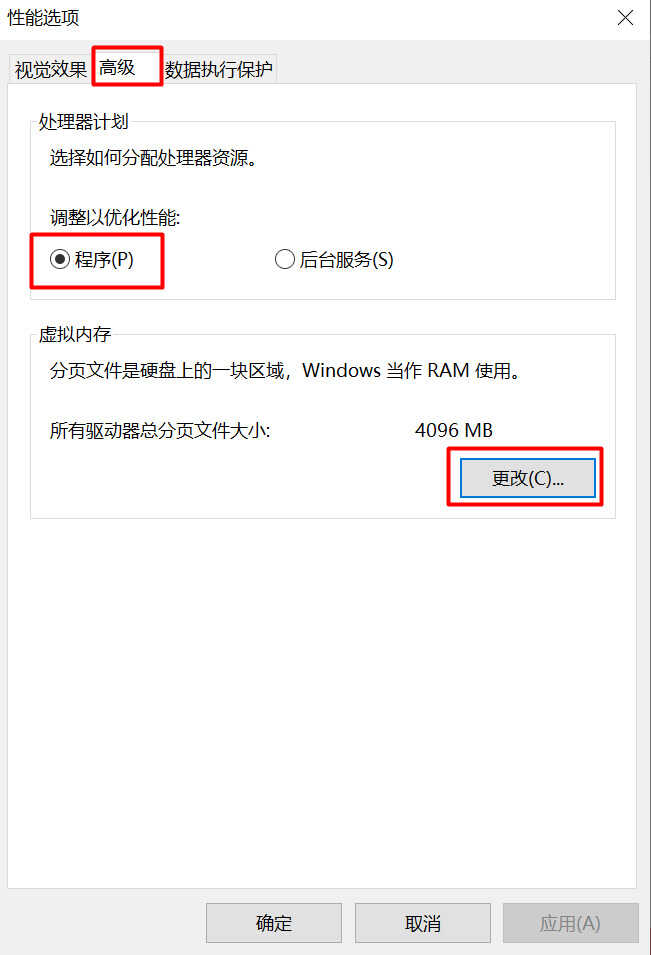
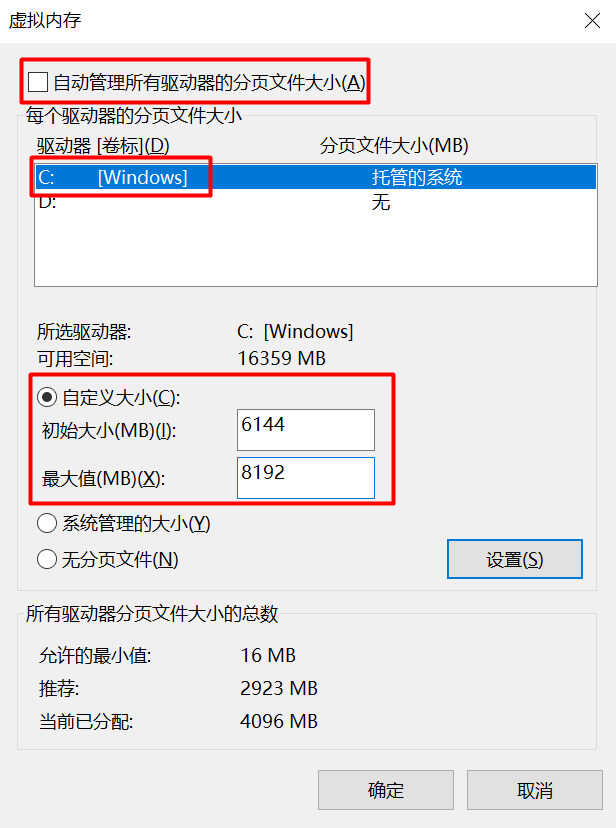
在设置中点击【高级系统设置】->【高级】->【性能】->【设置】->【高级】->【程序】->【更改】->不勾选【自动管理所有驱动器文件分页大小】,选择C盘,自定义大小:在虚拟内存中优化参数,初始大小调整为系统内存的1.5倍,最大值为系统内存的2倍进行设置。
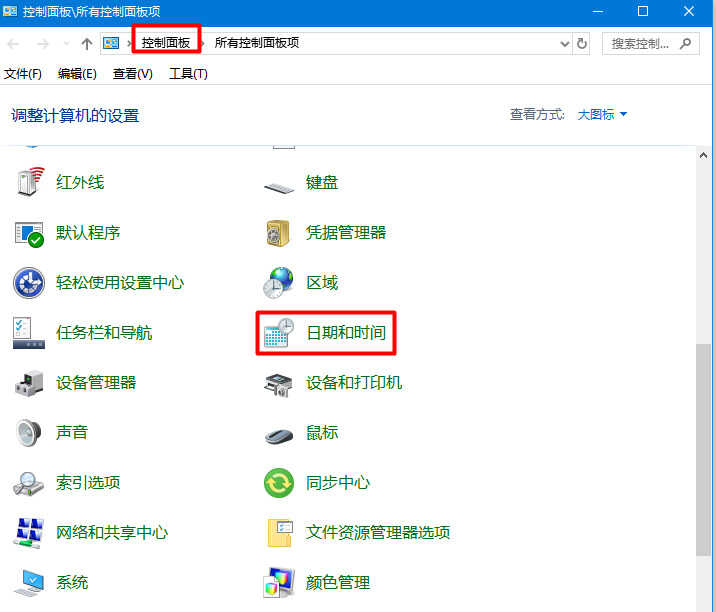
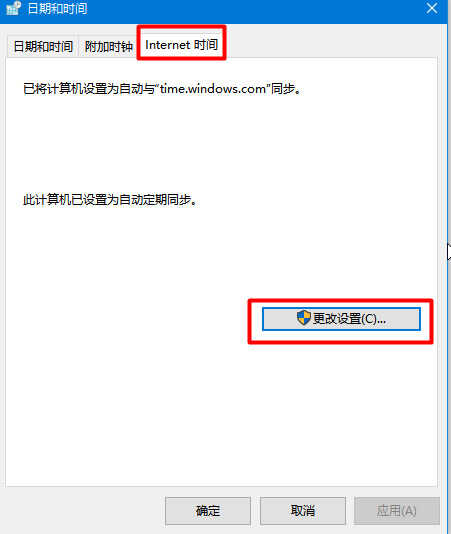
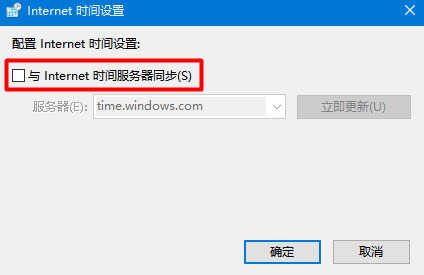
关闭“Internet时间同步”功能
依次单击【开始】->【控制面板】->【日期和时间】->【Internet时间】->取消【
lnternet时间服务器同步】,如果时间不对再手动更新一次即可。
通过任务管理器终止部分进程
在键盘上同时按下Shift+Ctrl+Esc打开任务管理器,点击任务管理器工具栏上的【进程】,即可查看内存整体占用情况。
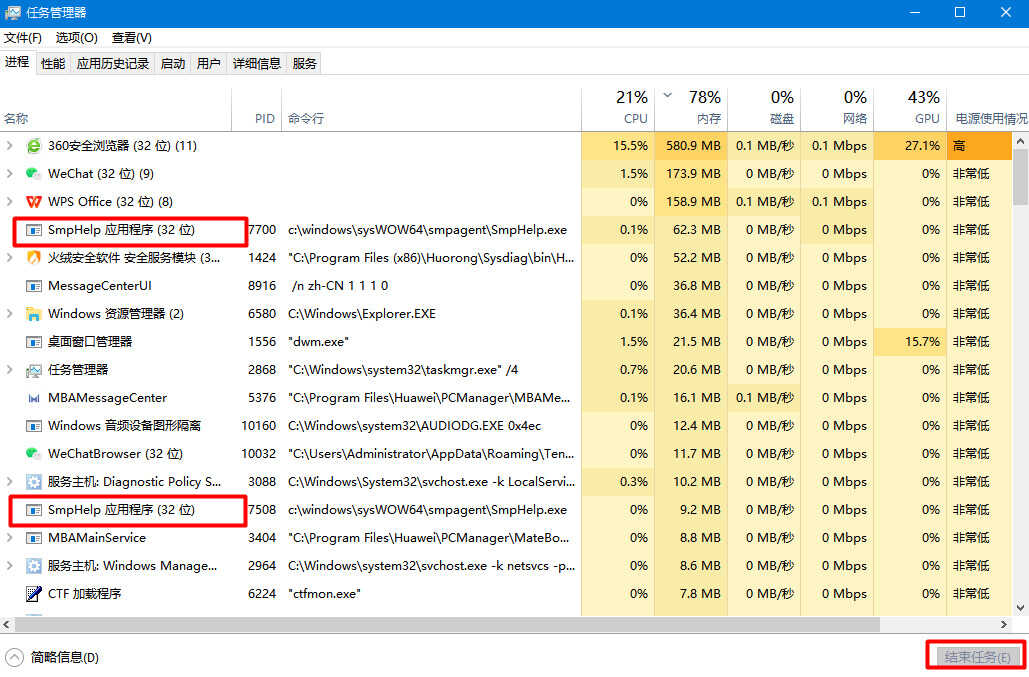
如果看到有进程自己并没有用到但在后台运行着,导致内存占用过高,可以结束进程,同时可进入相关软件设置禁用自动开启。