


在使用Windows系统的一些特定场景中,我们需要将电脑在指定的时间点自动关机。那么,电脑如何设置自动定时关机呢?小雨以Windows10系统为例为大家做一个详细的介绍,其它版本的Windows系统设置方法类似。

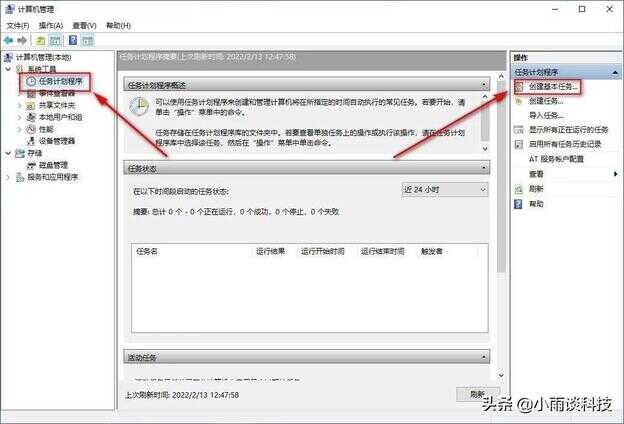
首先,在桌面的【此电脑】点击右键,选择“管理”,进入Windows系统的计算机管理界面。

然后从左侧目录中依次点击“系统工具——任务计划程序”,接下来在右侧点击“创建基本任务”。
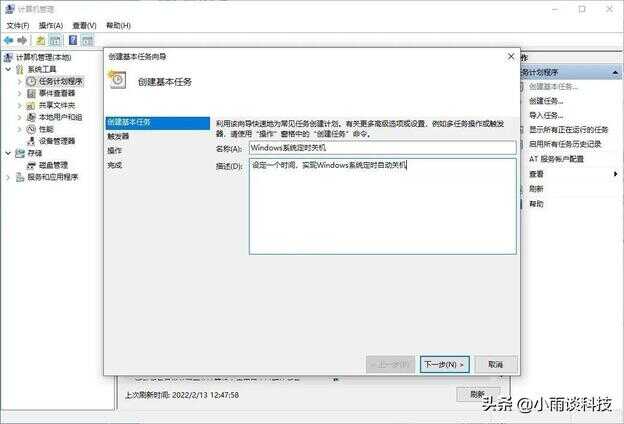
根据Windows系统的任务向导,输入任务的名称和描述。
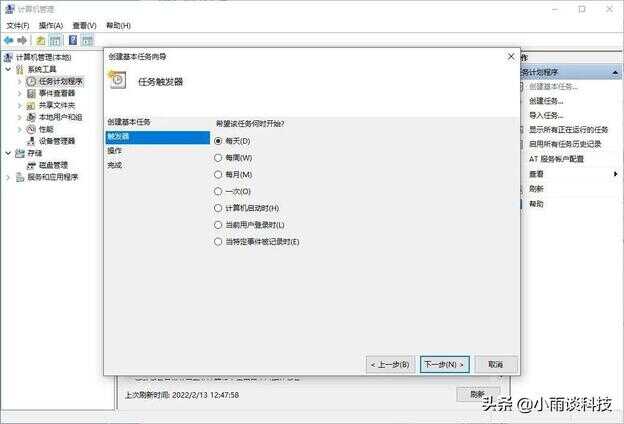
点击【下一步】选择任务开始的周期,大家根据自己的实际情况选择每天、每周、每月或者一次。
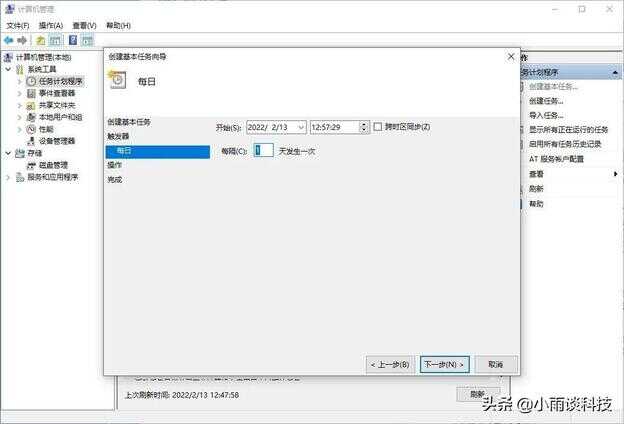
点击【下一步】设置具体的日期和时间。这里的时间表示从某天的某时开始运行任务,每隔多长时间运行一次。
点击【下一步】,选择“启动程序”。
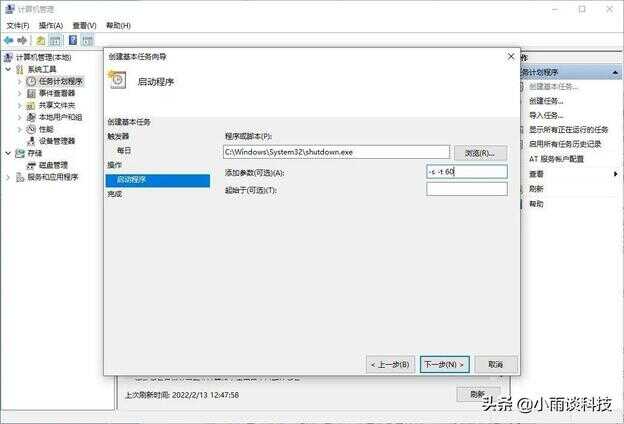
点击【下一步】,在程序或脚本中输入下面的这行内容:
C:\Windows\System32\shutdown.exe
添加参数中输入:-s -t 60
-s的意思是关闭计算机;
-t 60的意思是设置关闭计算机前的超时时间为60秒,意味着到时间关机,有60秒的倒计时。
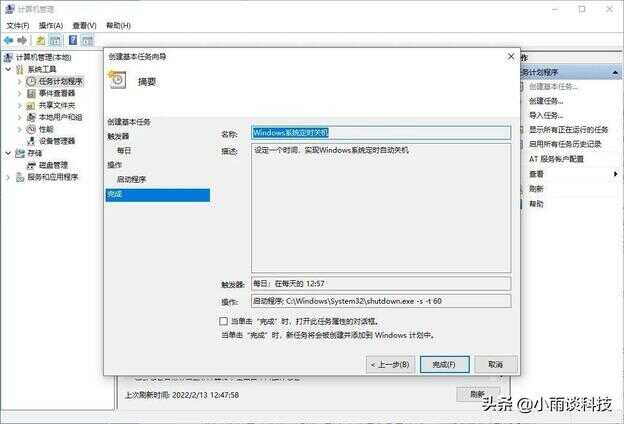
点击【下一步】再点击【完成】。
以上就是Windows系统添加定时自动关机功能的方法,原理是利用了Windows系统的任务计划在指定时间运行特定的“shutdown.exe”应用程序来实现的。大家可以举一反三,利用这个原理来定时运行其它的应用程序以实现相应的功能。