


VMware WorkStation虚拟机软件是一款桌面计算机虚拟技术,让用户能够在单一主机上同时运行多个不同的操作系统。每个虚拟操作系统的硬盘分区、数据配置都是独立的,而且多台虚拟机可以构建为一个局域网。Linux系统对硬件设备的要求很低,我们没有必要再去买一台电脑。而且VM支持实时快照、虚拟网络、拖曳文件以及PXE(Preboot Execute Environment,预启动执行环境)网络安装等方便实用的功能。
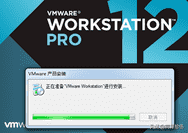
虚拟机软件的安装向导初始界面
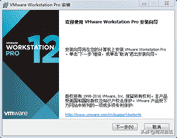
虚拟机安装向导
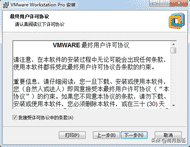
接受许可条款
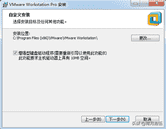
选择虚拟机安装路径
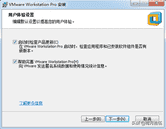
虚拟机用户体验设置

虚拟机图标快捷方式设置
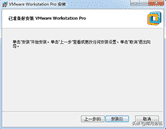
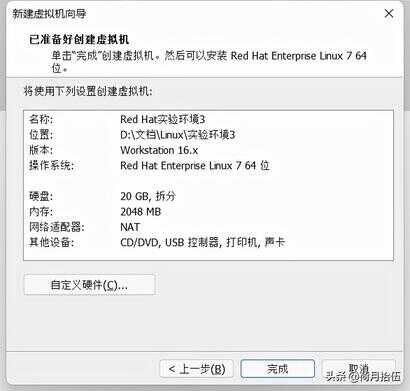
准备开始安装虚拟机
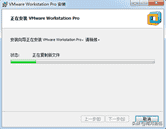
等待安装虚拟机
安装Rhel或者CentOS系统时,您的电脑的CPU需要支持VT(Virtualization Technology,虚拟化技术)。所谓VT,指的是让单台计算机能够分割出多个独立的资源区域,并让每个资源区按照需要模拟出系统的一项技术,其本质就是通过中间层实现计算机资源管理和在分配,让系统资源的利用率最大化。其实只要您的电脑不是五六年前买的,价格不低于三千元,它的CPU就肯定会支持VT的。如果开启虚拟机后依然提示“CPU 不支持VT技术”等错误信息,这就需要重启电脑并进入BIOS中把VT虚拟化功能开启即可。
桥接模式:相当于在物理主机与虚拟机网卡之间建设了一座桥梁,从而可以通过物理主机的网卡访问外网;
NAT模式:让VM虚拟机的网络服务发挥路由器的作用,使得通过虚拟机软件模拟的主机可以通过物理主机访问外网,在真机中NAT虚拟机网卡对应的物理网卡是VMnet8;
仅主机模式:仅让虚拟机内的主机与物理主机通信,不能访问外网,在真机中仅主机模式模拟网卡对应的物理网卡是VMnet1;
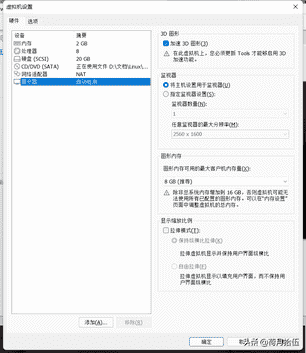
把USB控制器、声卡、打印机设备等不需要的设备统统移除掉。移除掉声卡可以避免在输入错误后发出提示声音,确保自己在实验中不被打扰。
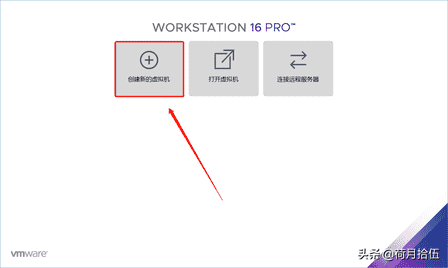
选择“创建新的虚拟机”
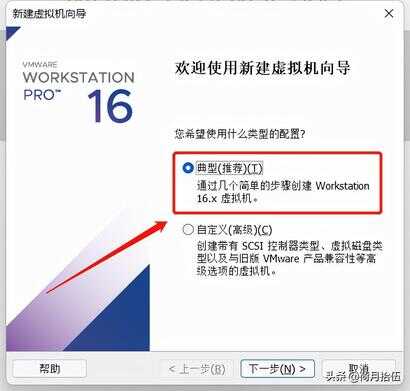
选择“典型”单选按钮
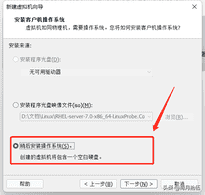
选择“稍后安装操作系统”单选按钮,然后点击“下一步”按钮
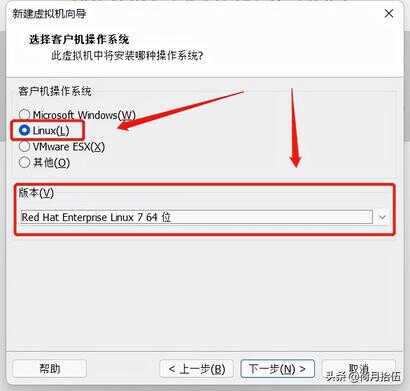
客户机选择操作系统类型和版本,然后单击“下一步”按钮
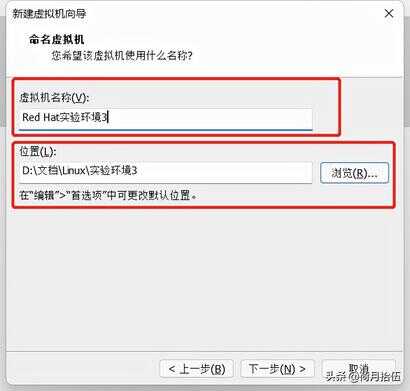
填写“虚拟机名称”字段,并在选择“安装位置”之后单击“下一步”按钮
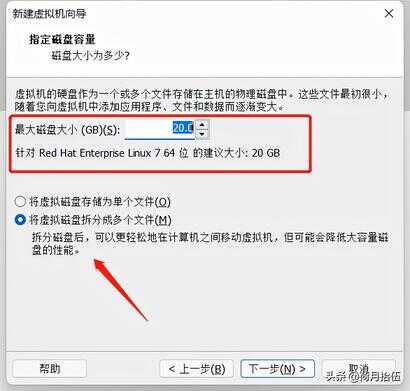
将虚拟机的“最大磁盘大小”设置为20.0GB(默认即可),然后单击“下一步”按钮
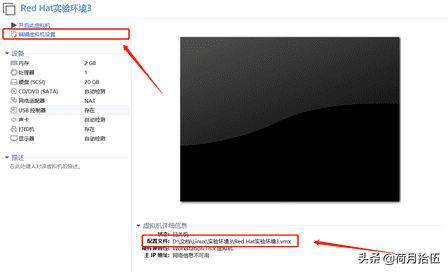
虚拟机配置界面

建议将虚拟机系统内存的可用量设置为2GB,最低不应低于1GB。
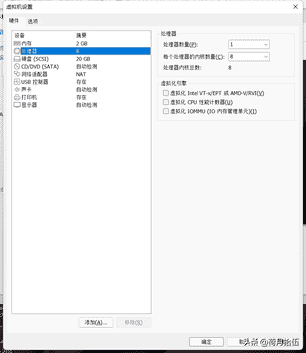
设置虚拟机的处理器参数
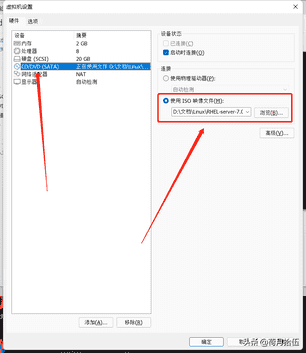
“使用ISO镜像文件”中选中下载好的RHEL系统文件
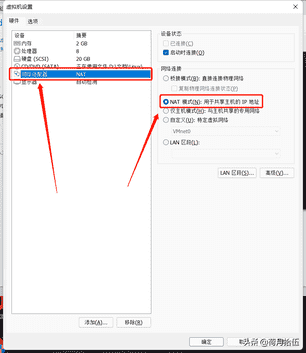
设置虚拟机网络适配器
最终的虚拟机配置情况
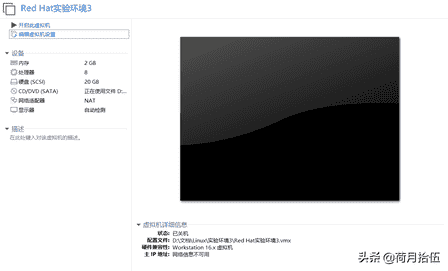
配置好的界面
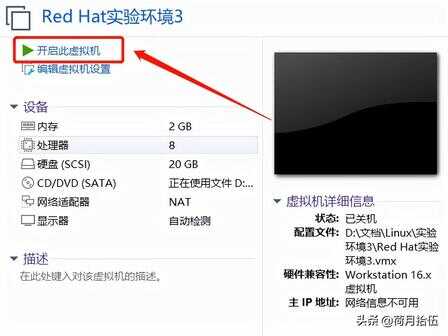
开启虚拟机
在虚拟机管理界面中单击“开启虚拟机”按钮后数秒就可以看到系统安装界面,在界面中,Test this madia & install Red Hat Enterprise Linux7.0和Troubleshooting的作用分别是校验光盘完整性后再安装以及启动救援模式。此时通过键盘的方向键选择Install Red Hat Enterprise Linux 7.0选项来直接安装Linux系统。
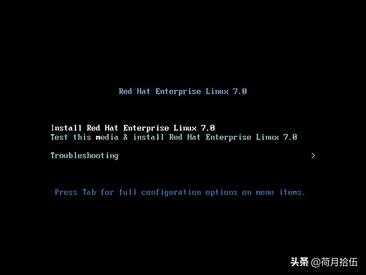
系统安装界面
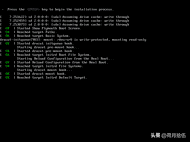
安装向导初始化界面
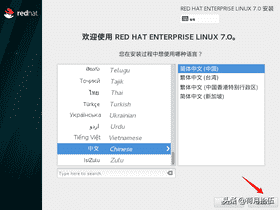
选择在使用时的语言,点击“继续”按钮
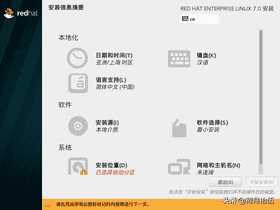
安装系统界面

日期和时间
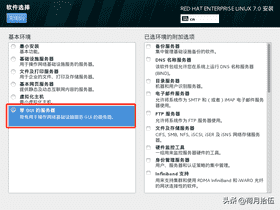
选择系统软件类型带GUI的服务器,单击“完成”按钮
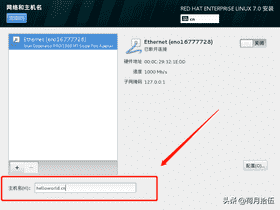
配置网络和主机名称,单击“完成”按钮
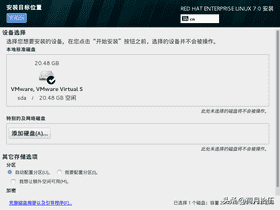
系统安装媒介选择
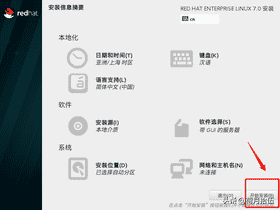
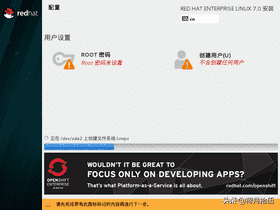
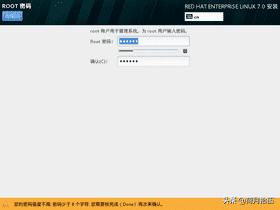
设置root管理员密码
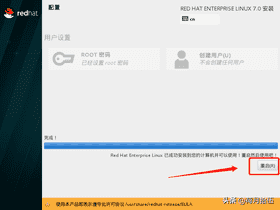
系统安装完成,完成后单击“重启”按钮
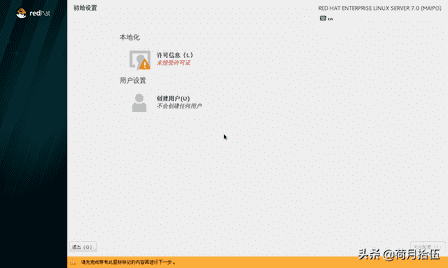
系统初始化界面
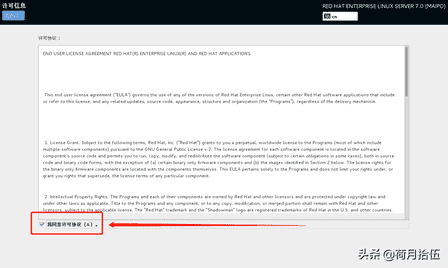
同意许可说明书
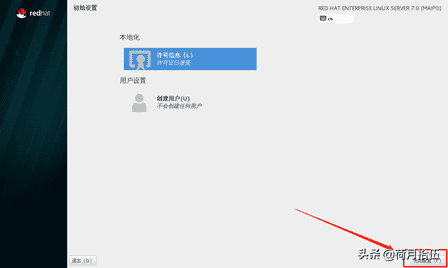
单击“完成配置”按钮
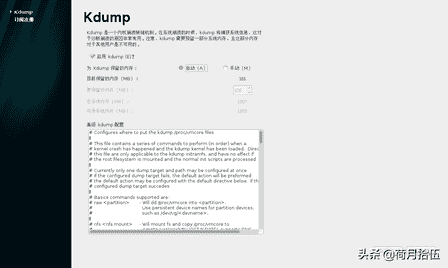
禁用Kdump服务,点击“前进”按钮
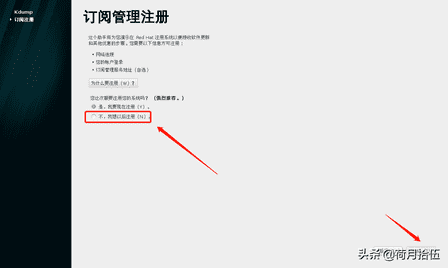
不对系统进行注册
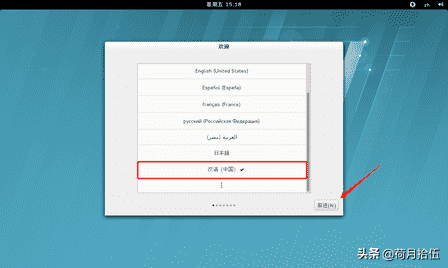
系统的语言设置
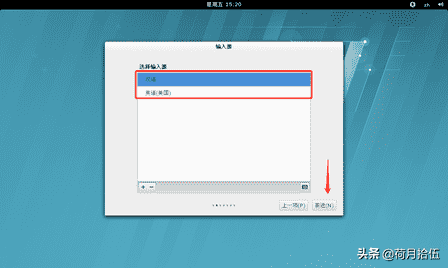
输入源设置

创建普通用户
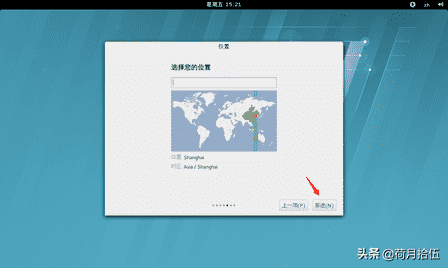
设置系统时区
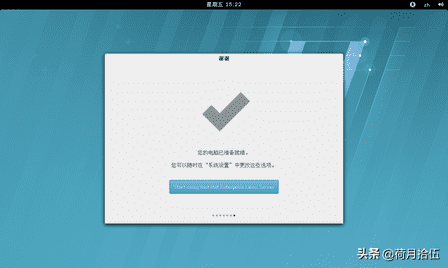
系统初始化结束界面
安装完成