此教程仅支持GHOST系统,后缀为GHO,WIM格式的,不支持原版系统!
两个忠告:
胆大心小,勇于去尝试
数据无价,请注意备份
本教程仅演示GHO镜像安装,其它格式不适用,教程所用到的PE系统与GHO镜像请自行准备,基本通用的。
操作步骤:
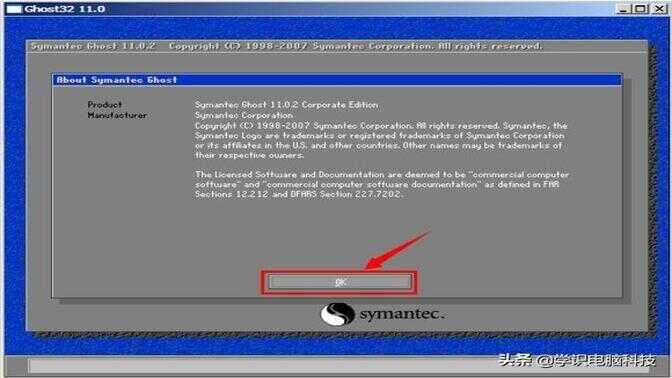
(1)通过光盘或U盘启动盘启动至PE系统中,运行以下图标(一般的PE在桌面或开始菜单中都能找到)

温馨提示:为达到更好的效果与减少出错率,运行本工具还原前可自行格式化一下需还原安装的系统盘!
(2)点“OK”
(3)按下图中的 1--2--3 顺序来选择
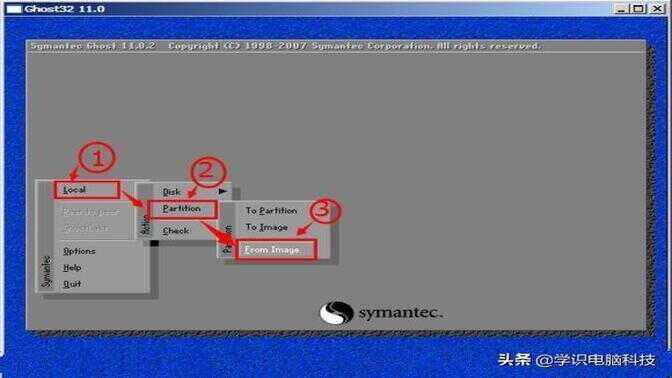
温馨提示:在此步选错后可退出软件重新选择!否则后果严重!
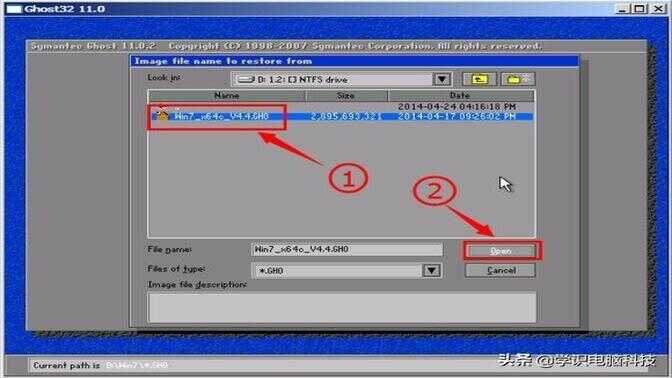
(4)找到你下载的系统镜像所在的盘(建议把系统镜像放在盘的根目录,以更方便找到)

(5)楼主是放在D盘中,打开D盘后找到系统GHO镜像点打开“Open”
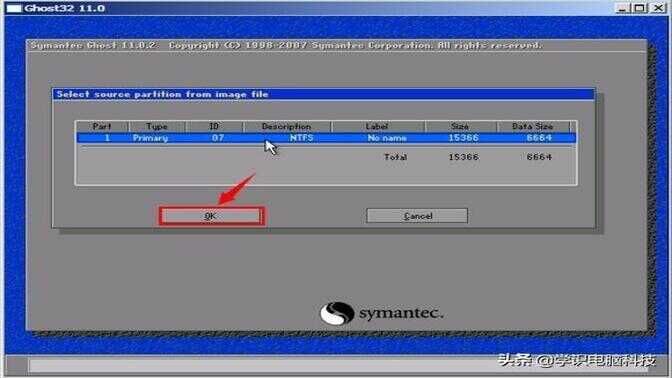
(6)然后点"OK" (默认选第一个)
(7)这步为选择安装在哪了个硬盘的(默认为第一个即可)
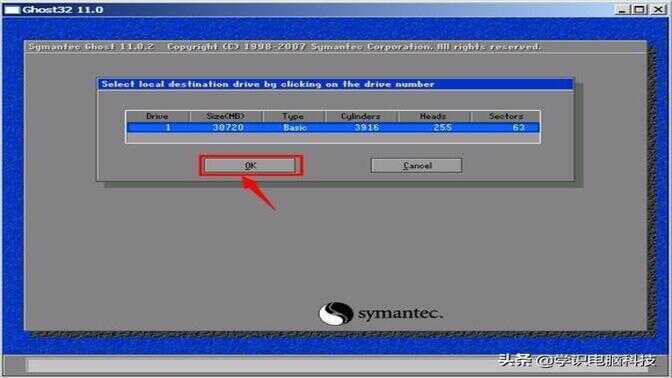
温馨提示:如电脑多个硬盘,请注意不要选错盘,同时如果插有U盘这里也会显示出来的,U盘可从后面的"Size"大小中分辨出来!(亲,把系统装在U盘里就在这里实现的,要试试吗?)
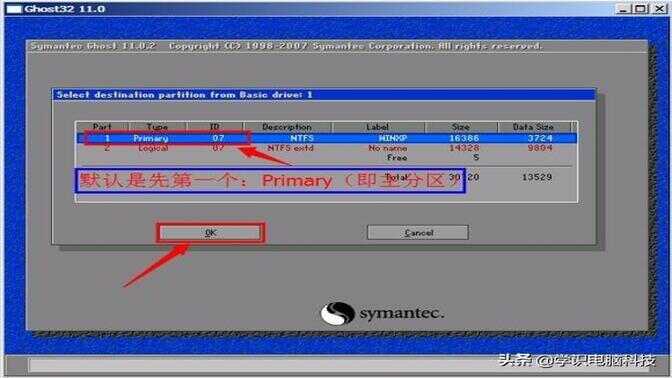
(8)选择还原安装分区(默认为第一个:即主分区Primary)
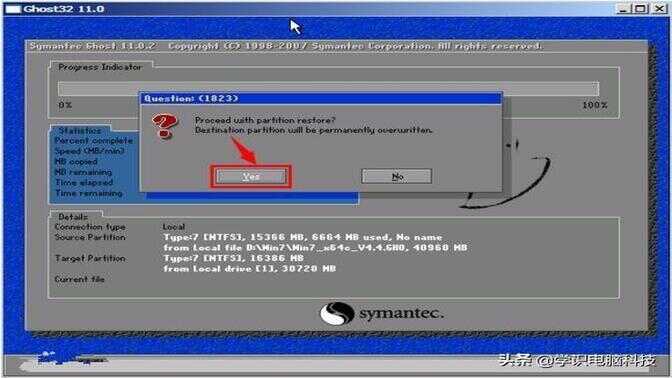
(9)然后在弹出的窗口中点“YES”
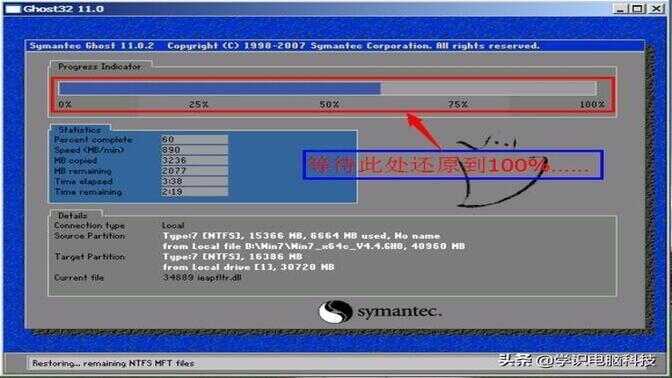
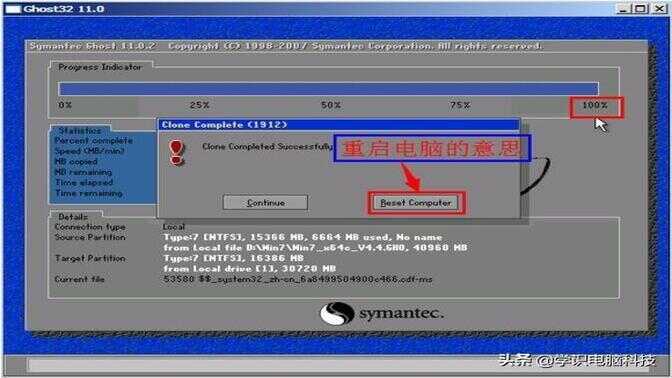
(10)等待还原进度条走到100%
(11)进度条走到100%后会弹出如下窗口,选择“重启电脑”
(12)重启后会进入系统安装界面,楼主示例的吻妻系统是全自动的,等待完成即可