


操作方法:
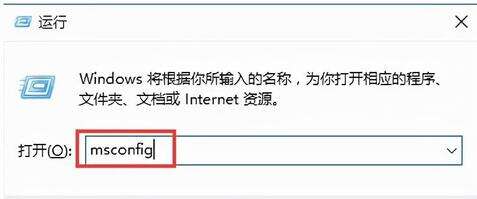
1、进入win10系统中,我们在键盘上同时按下“Win+R”快捷键调出运行,在运行输入框中输入“msconfig”命令,并点击确定,如下图所示:
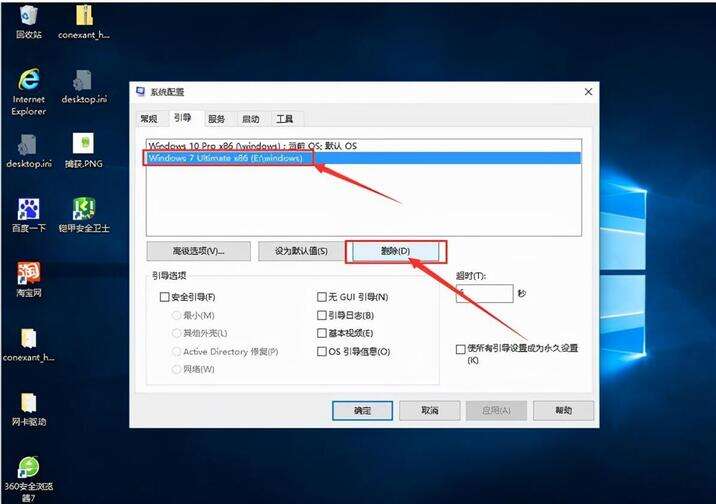
2、在系统配置窗口中,切换到引导选项卡中,我们选择windows 7选项,点击删除按钮,如下图所示:
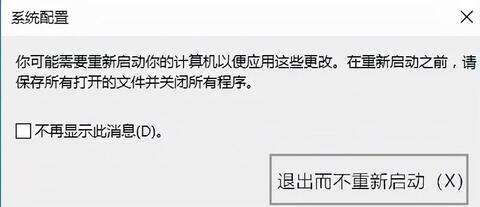
3、弹出提示框口,我们点击退出而不重新启动(X)按钮,如下图所示:
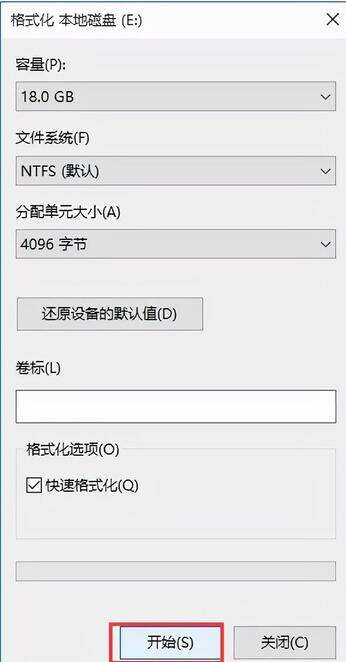
4、接着打开此电脑,右键单击安装win7所在的磁盘,点击格式化,如下图所示:

5、在弹出的窗口中会显示该磁盘的相关信息,确认后点击开始按钮即可,如下图所示:
6、再弹出一个提示框,点击确定按钮进行格式化,如下图所示:

7、最后格式化完毕,点击确定按钮即可,如下图所示:
