


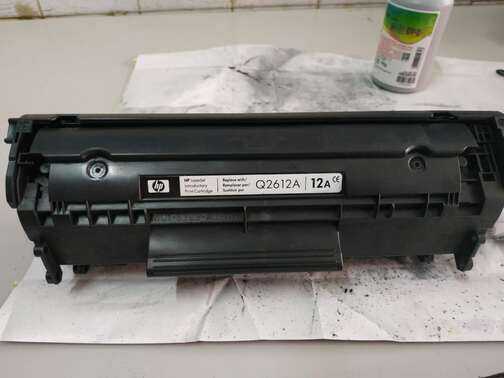
以HP M1005一体机为例,这个硒鼓很多机型都是通用的,原装碳粉用完后,对于新手来说加粉是不可能的,可想而知难度很大,换个新的原装硒鼓价格贵,代用的打印效果不理想,小编在此为大家奉上教程,学会了能省上一大笔钱。
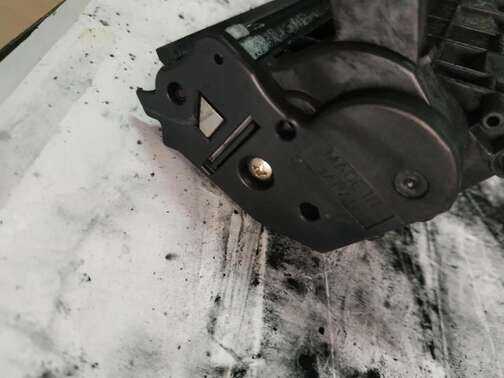
一、把下图三个螺丝拧下,取出盖子
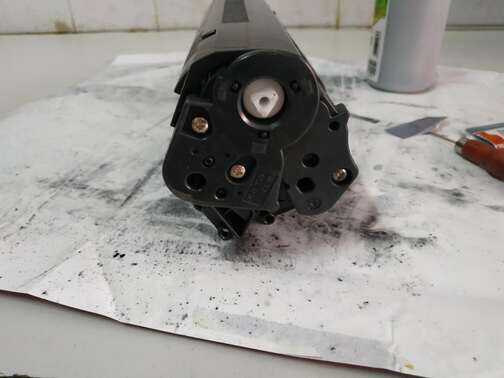
二、取下绿色鼓芯,小心不要划伤了
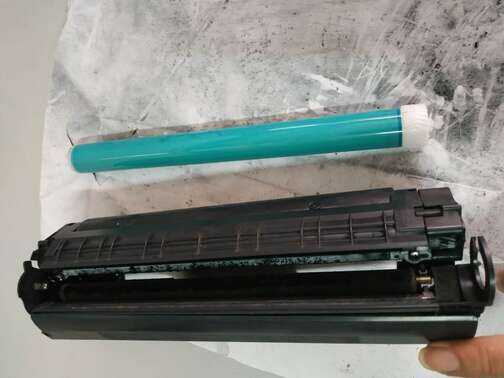
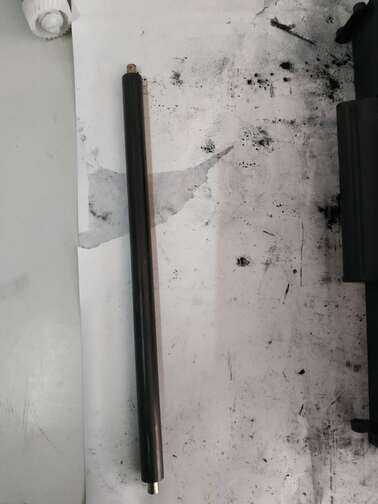
三、取下鼓芯下方的充电棍
四、取下鼓芯弹簧
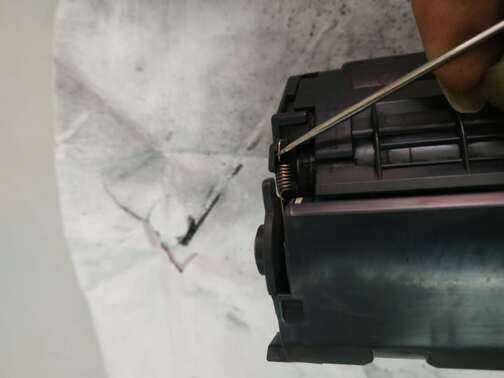
五、随后用小锥子用力把插削挤出
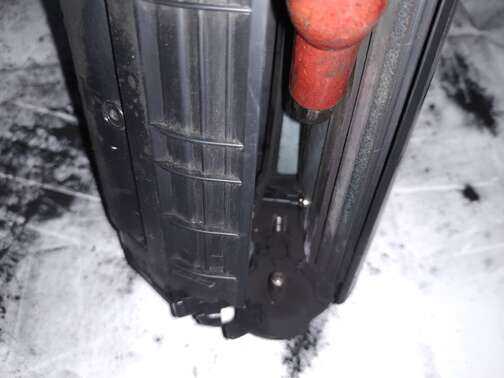
六、挤出一点后用考虑钳拉出来,就可以把硒鼓分成两半
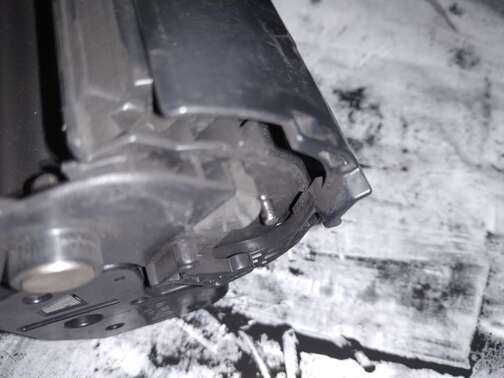
七、分离两半后把下图刮板取了,把里面的废粉清理干净(如果不清理废粉后续会造成打印的纸张很脏),清理完成后再装回刮板
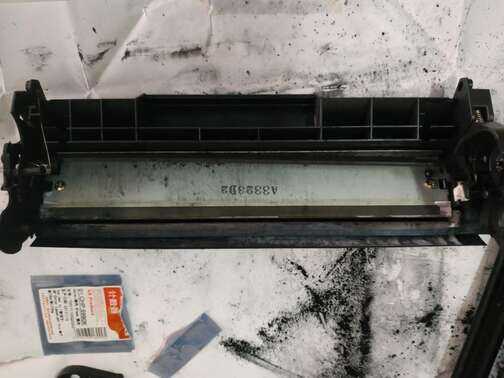
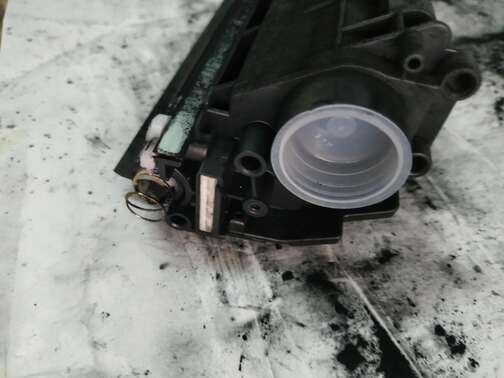
八、此处打开就看到加粉口了
九、加粉口盖子可以直接用手取下,然后把瓶装碳粉倒进去就好
加粉完成后,按照倒顺还原硒鼓即可,最难的是第六步,小编第一次操作的时候用了将近半个小时才加粉完成。原装的硒鼓很耐用,大概可以加五、六次碳粉,如果是代用的硒鼓就没必要加了,后续要换硒鼓的话建议换易加粉硒鼓。
小编后续会出更多打印机维修、加粉之类的文章,喜欢的朋友可以关注、转发或私信小编