


帅气小伙拿12年从我店内购买的戴尔灵越N4050进行最后的升级,记得当年他还是个刚刚高考完的小孩子,如今他的小孩都两岁多了,真是时光匆匆,我已是中年大叔一枚了,哎。。。
配图升级开始啦
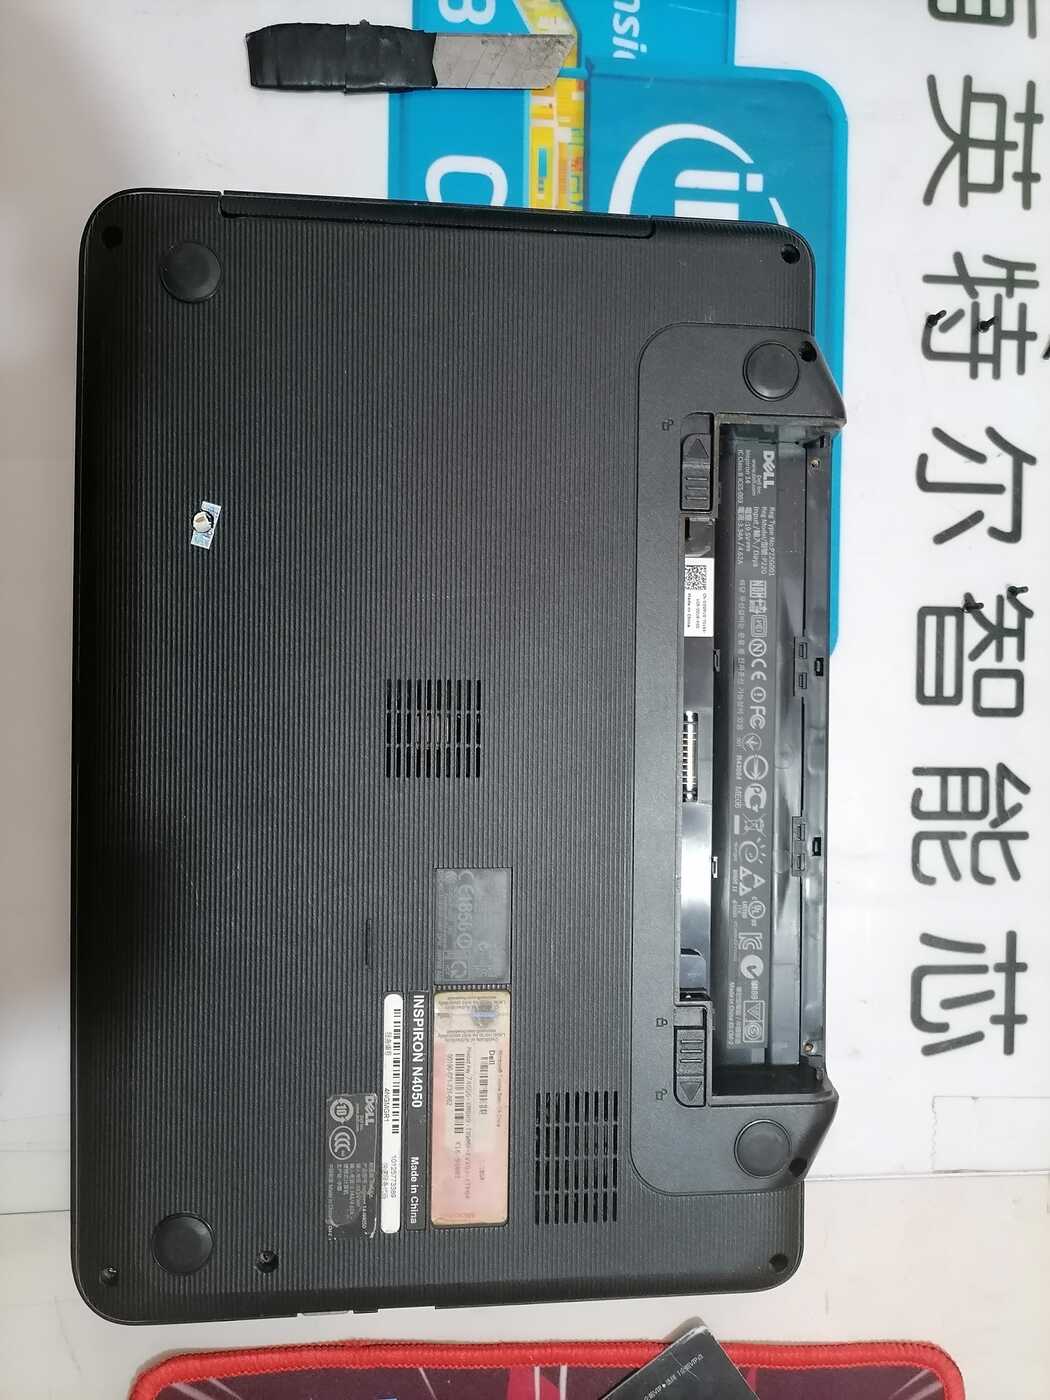
拆掉你能看到的所有的背部螺丝
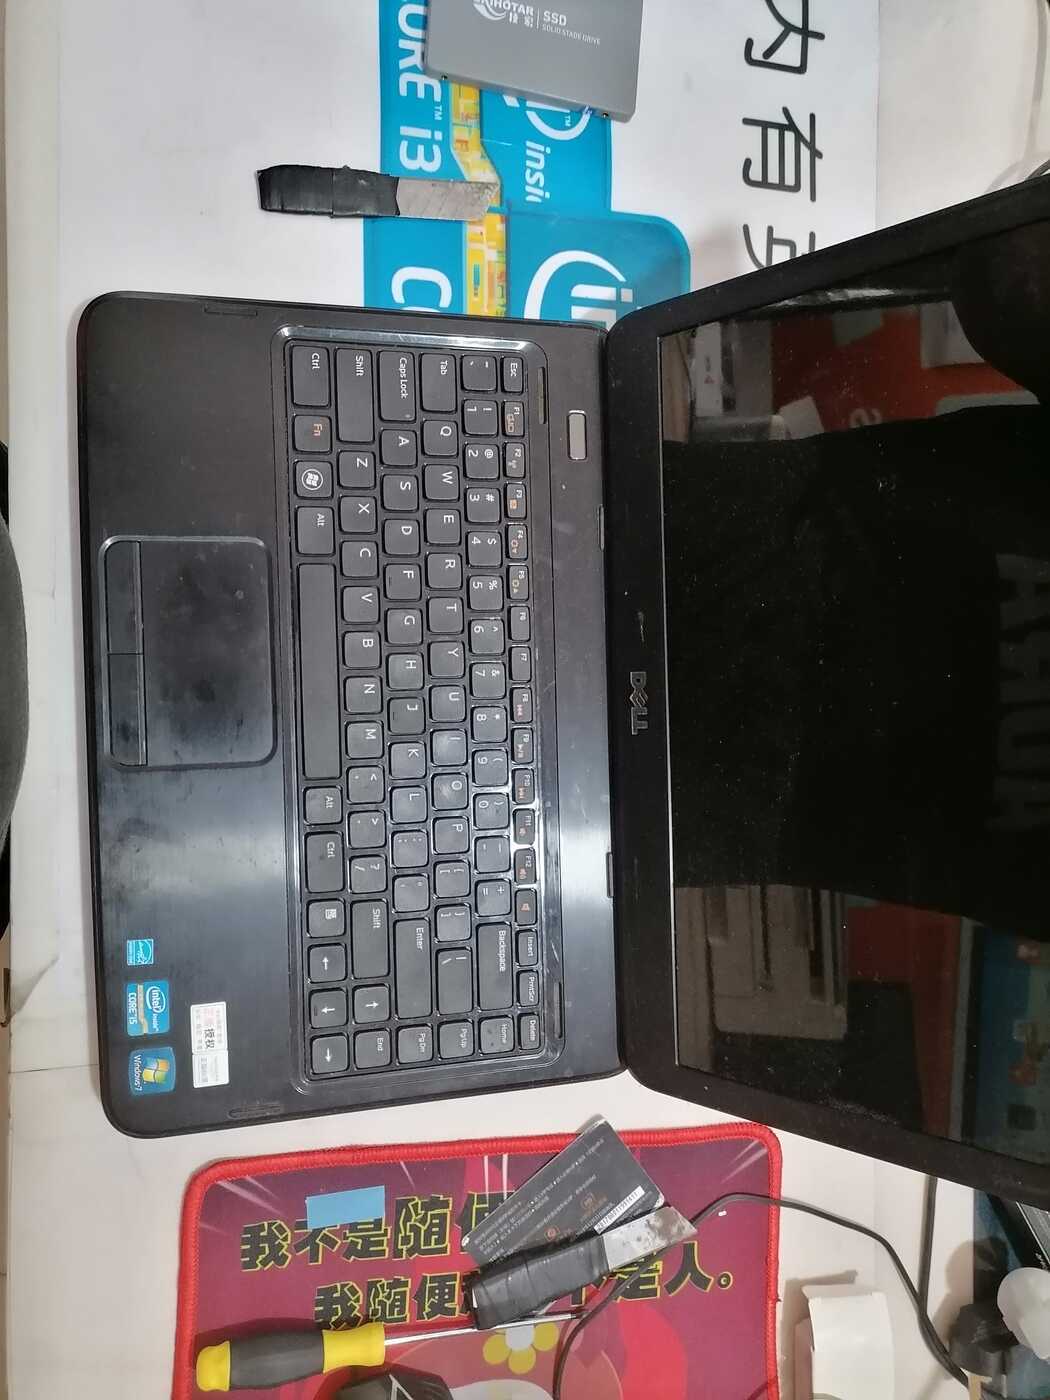
用刀片撬开键盘上方的四个卡扣,取下键盘
拆掉里面所有能看到的螺丝,之后取下光驱
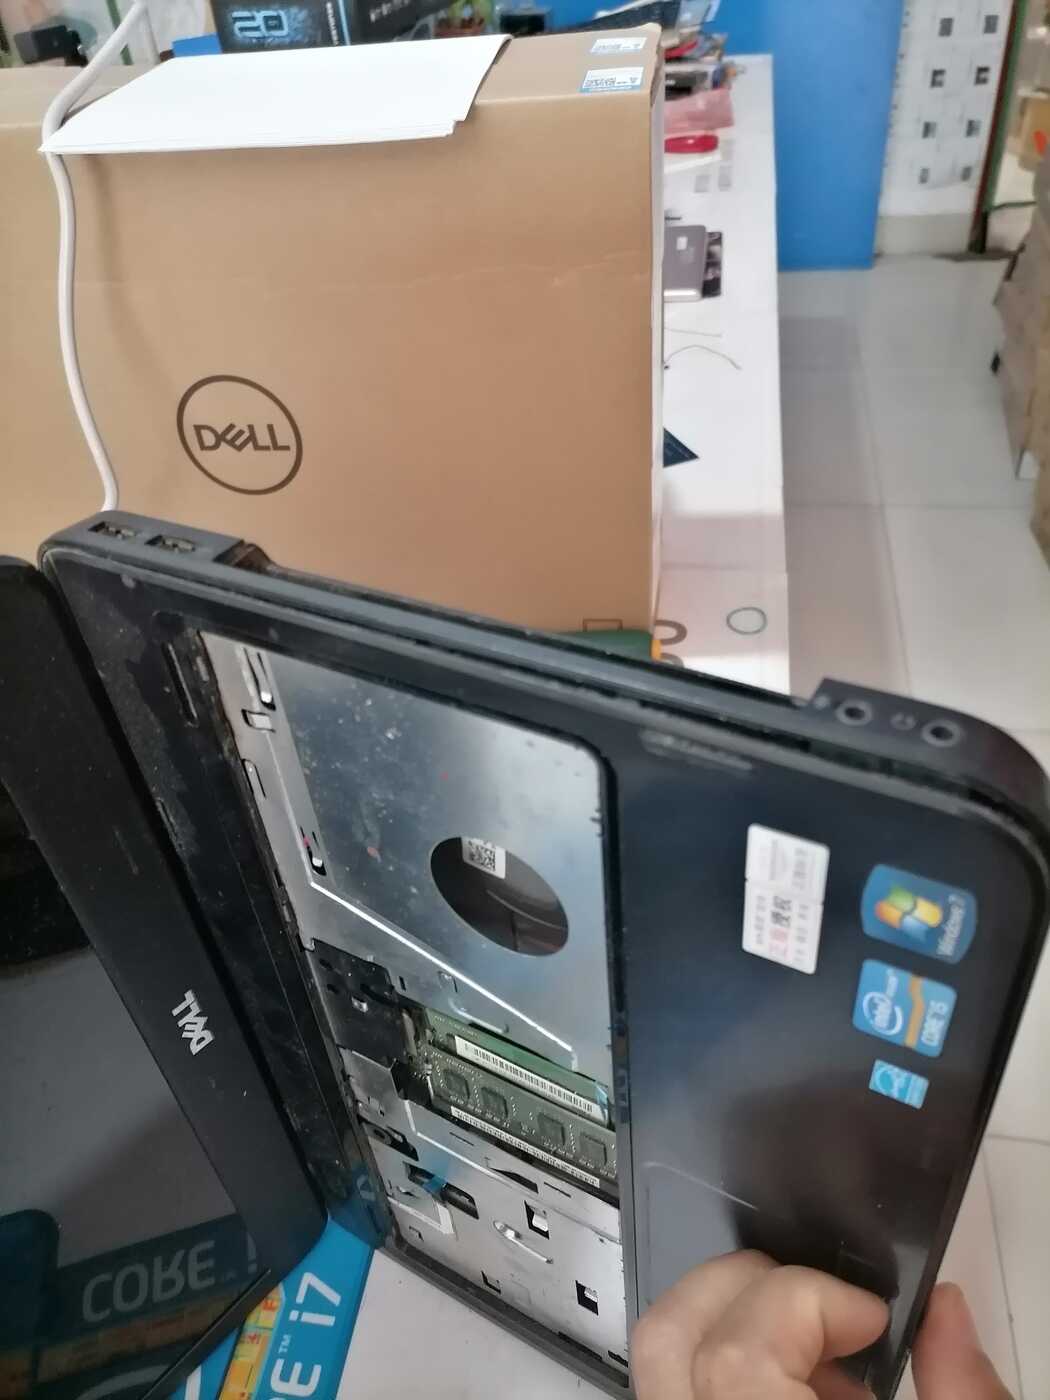
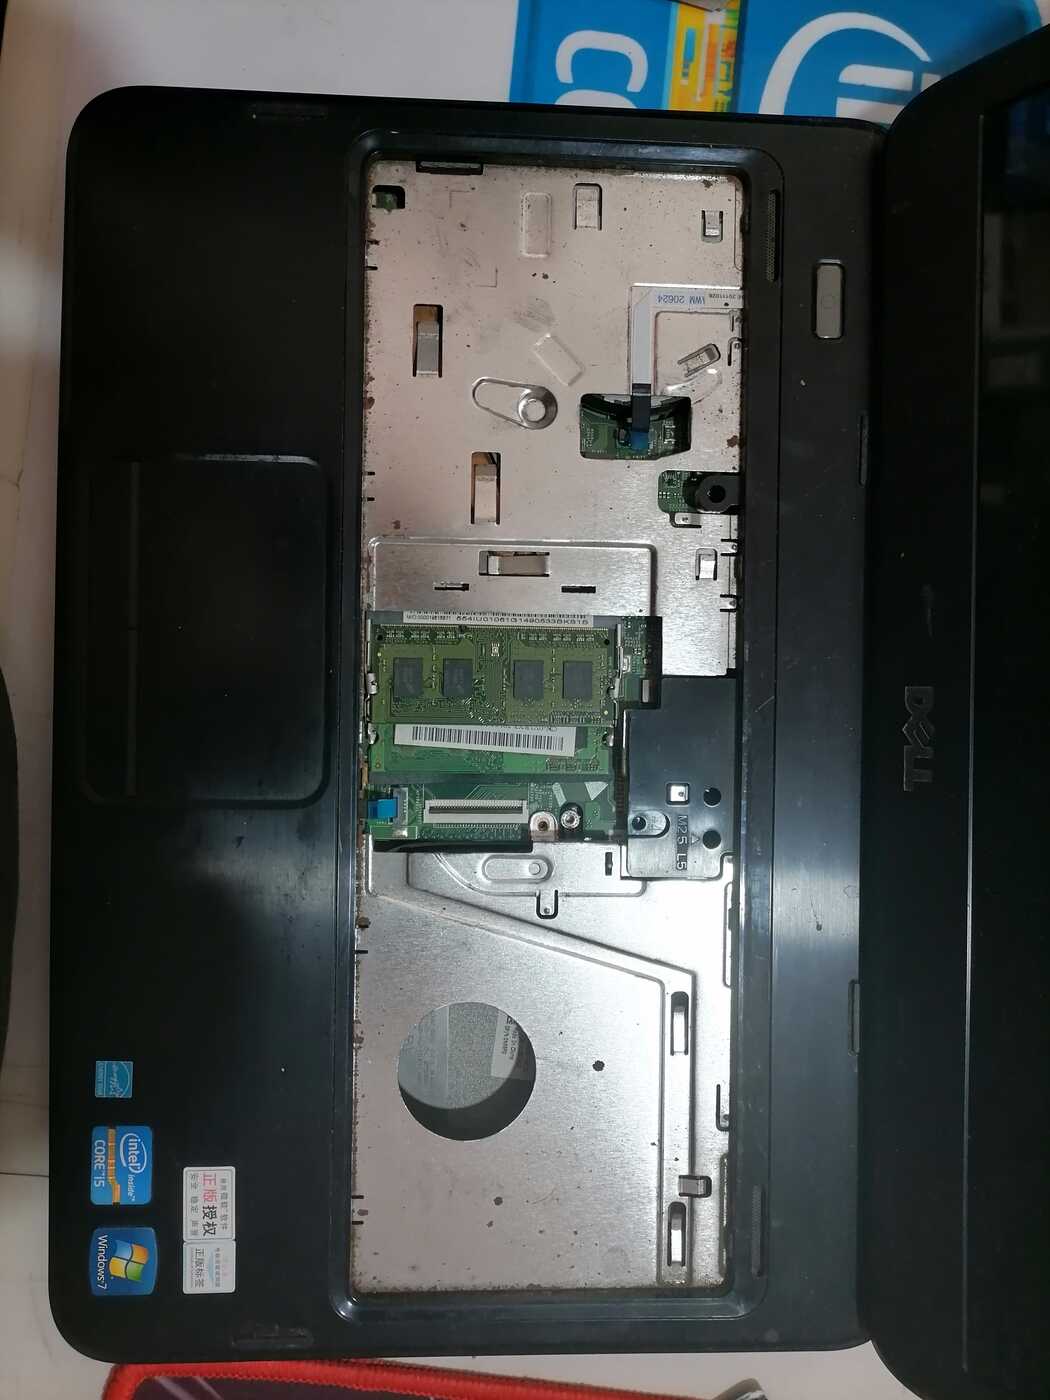
用卡片撬开边框,取下C壳

取C壳时,注意电池底部的卡扣,可以用平口螺丝刀给顶下去
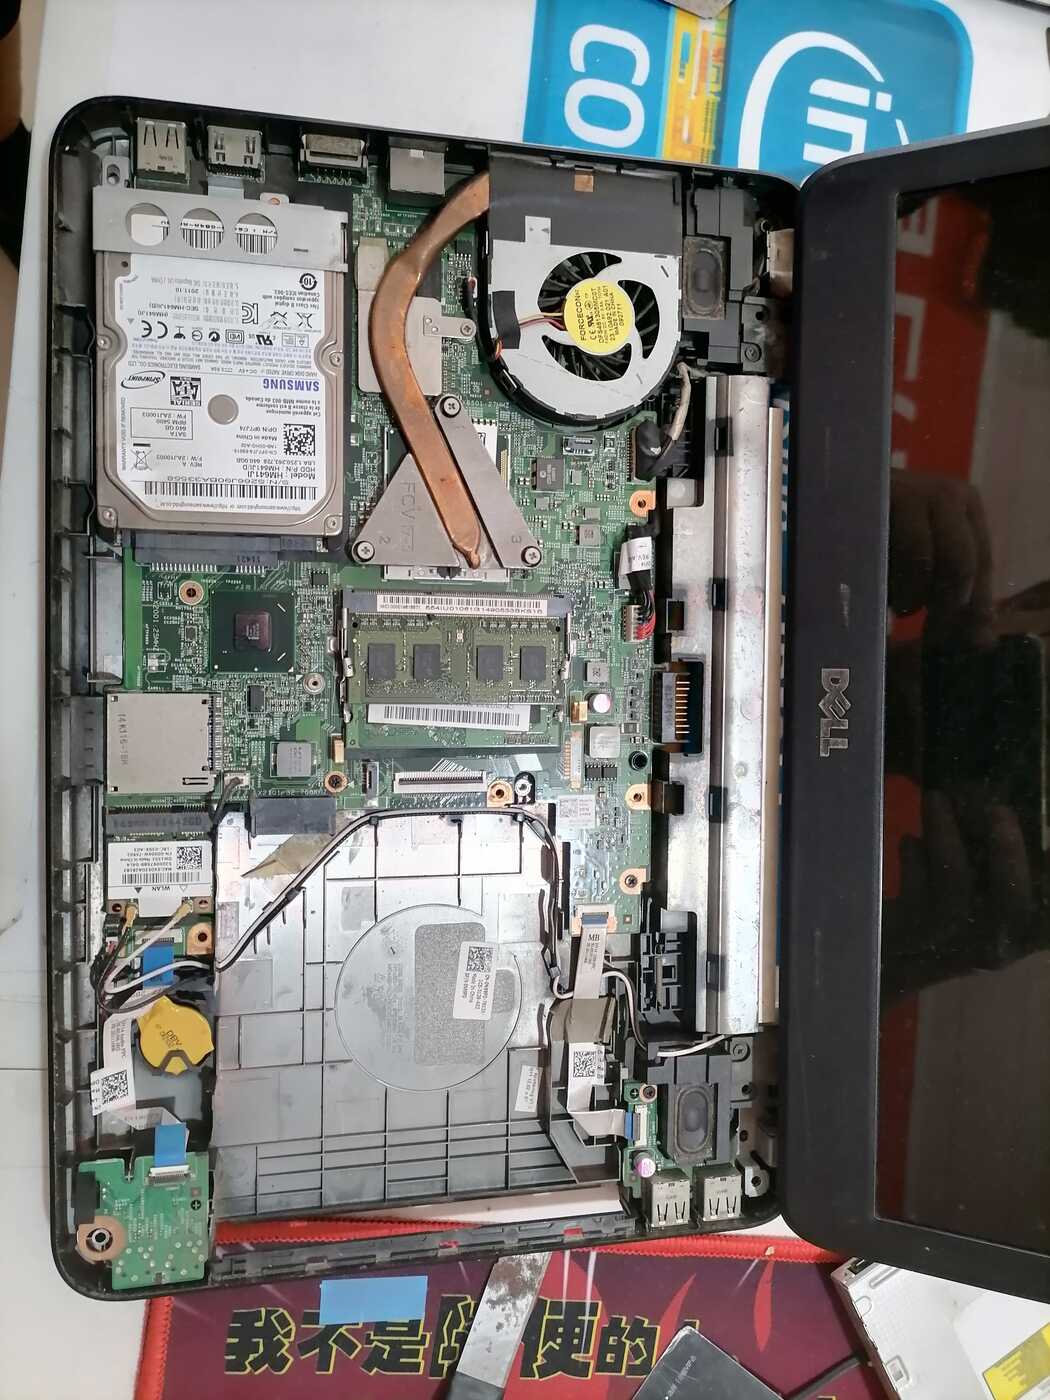
拆掉机械硬盘
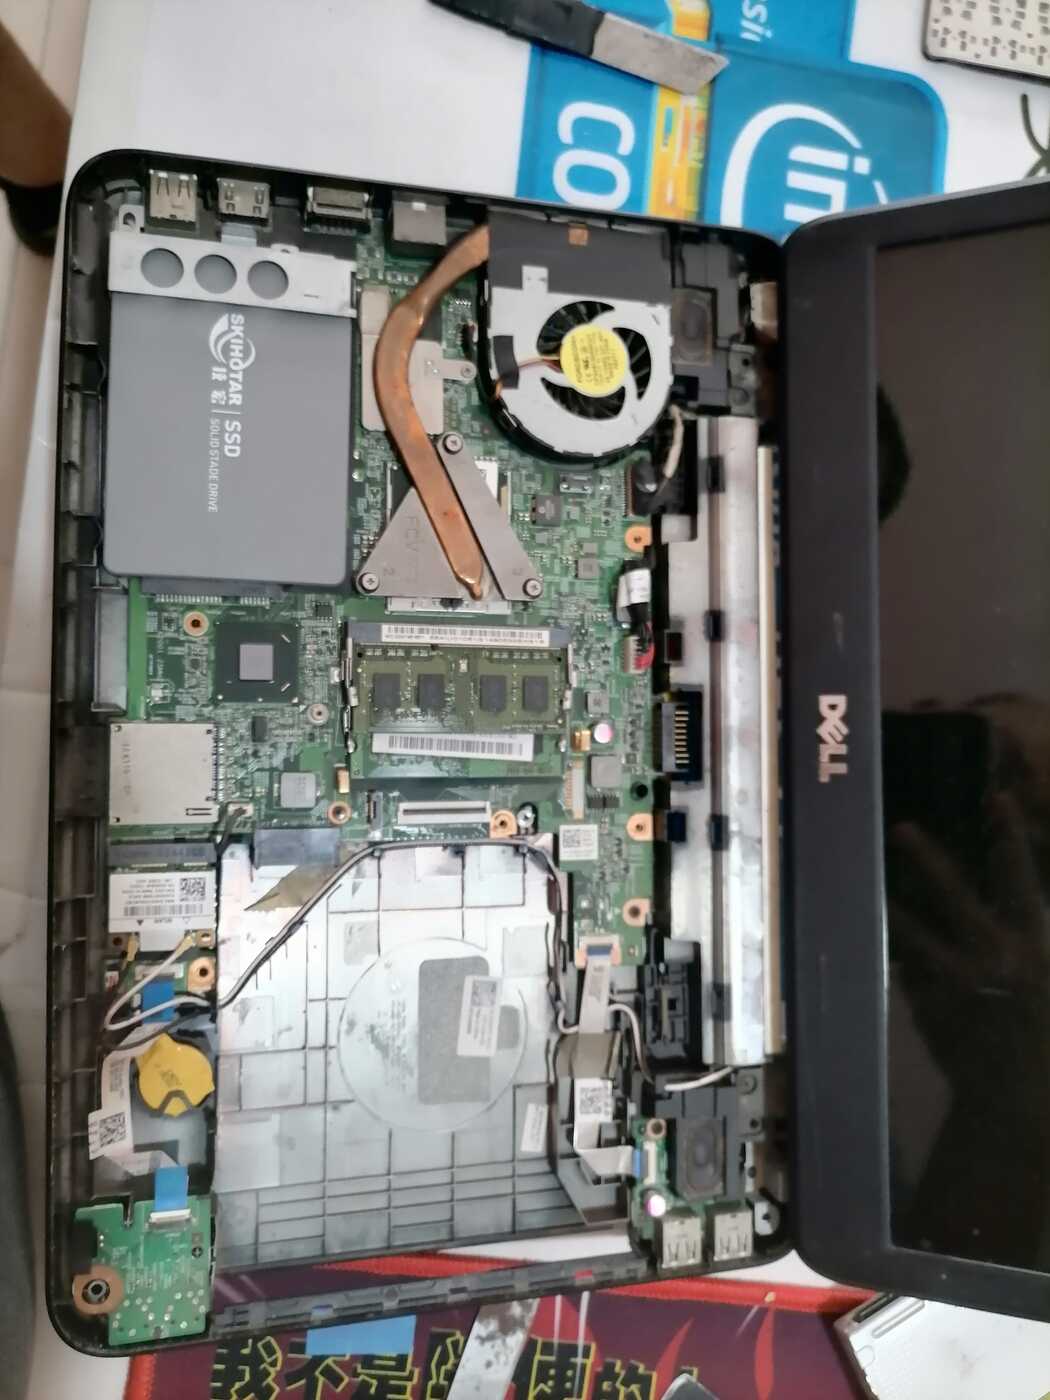
插入内存和固态硬盘
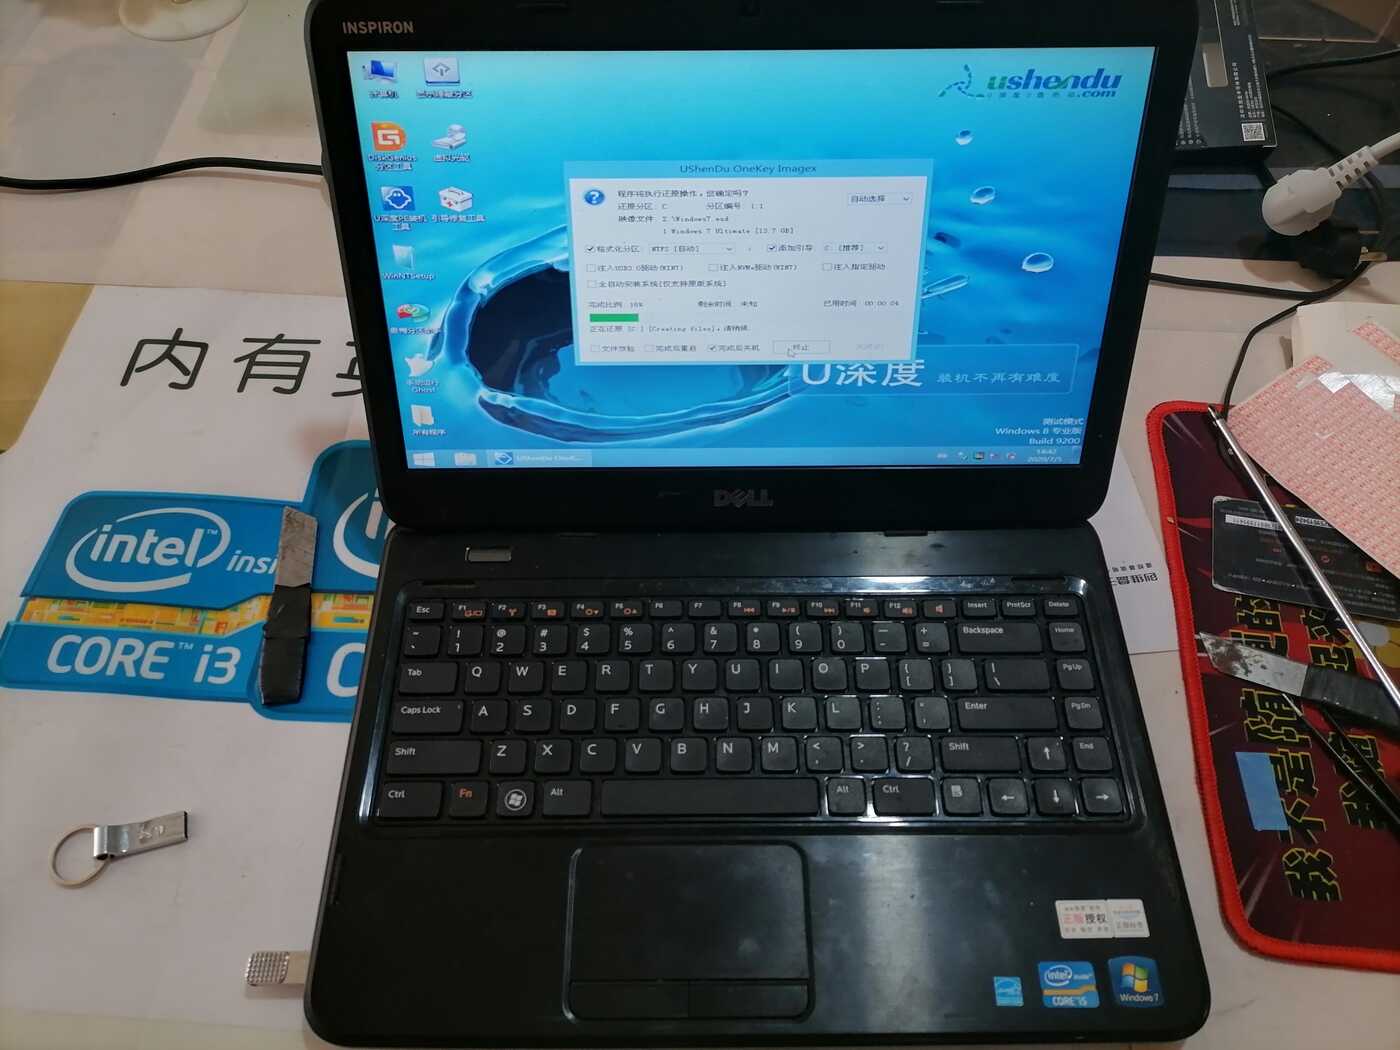
拆下的配件重新装配起来,重装系统
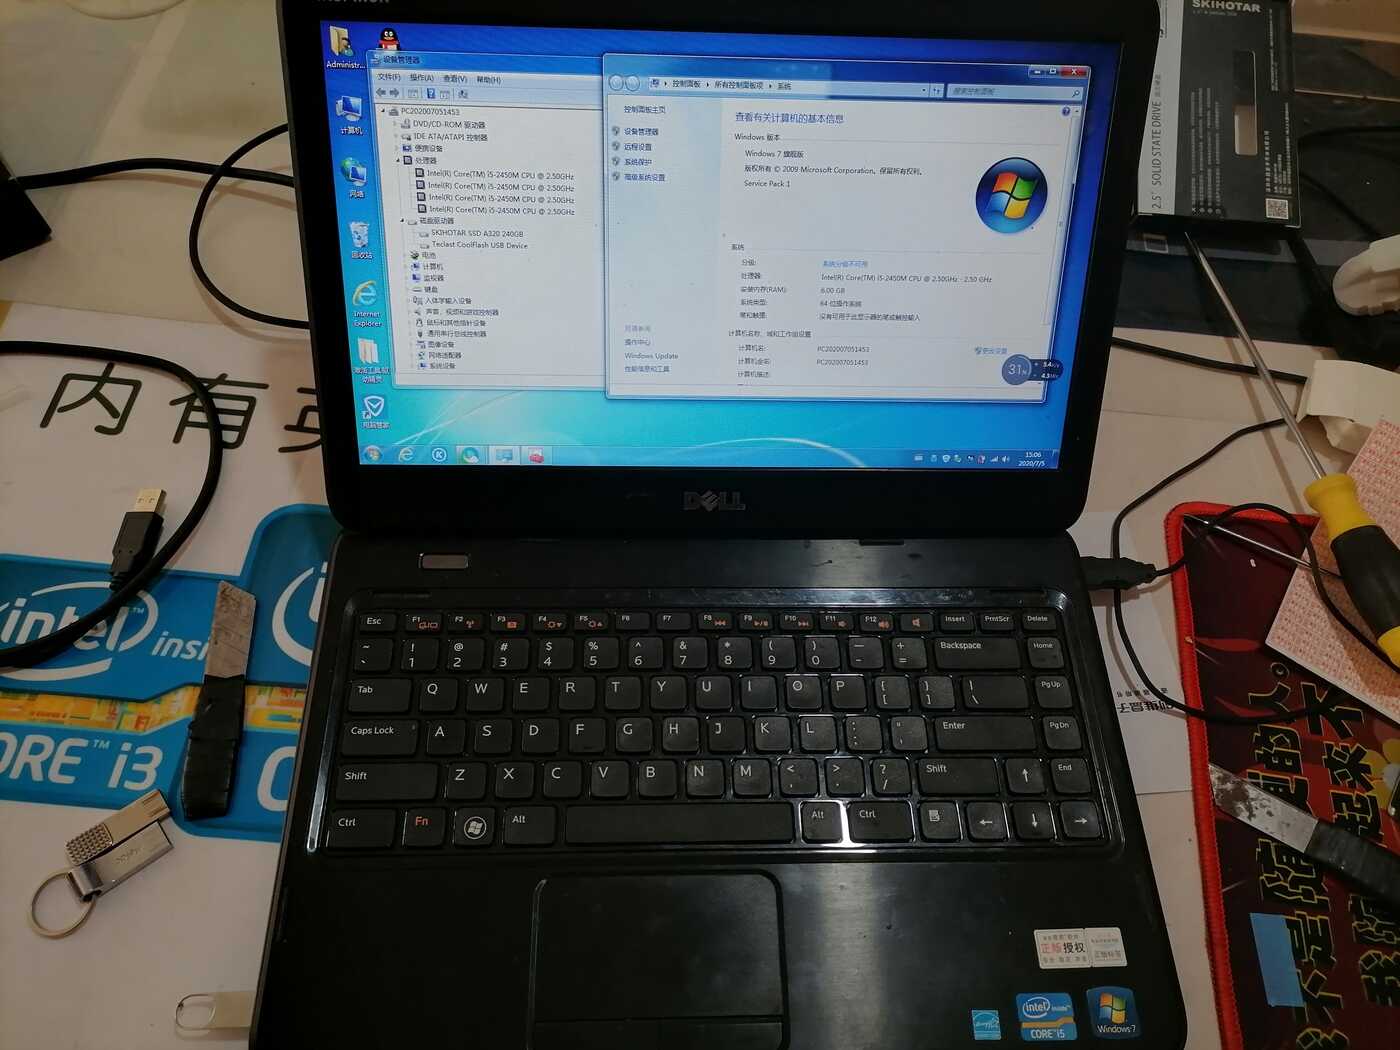
OK,大功告成。
老电脑又焕发了新生命,学习、办公、影音自然是非常非常流畅的。