


拆前壳底座连接件螺丝,取下连接件及喇叭:
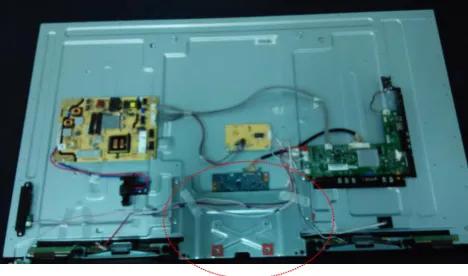
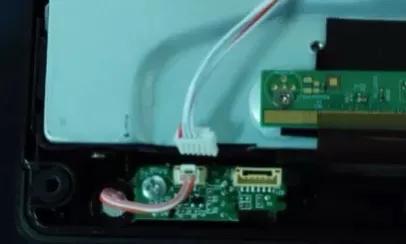
拔掉遥控板排线,撕开机器左下角处导电布
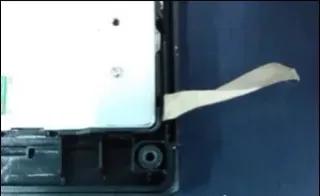
拆下屏FFC线,并拆下SOURCE板上4颗螺丝。注意做好防静电措施,拆螺丝时不能撞坏贴片元件。
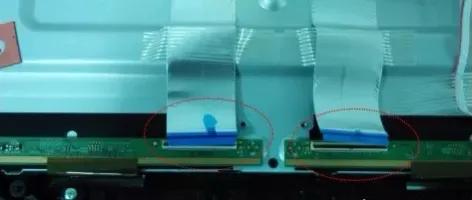
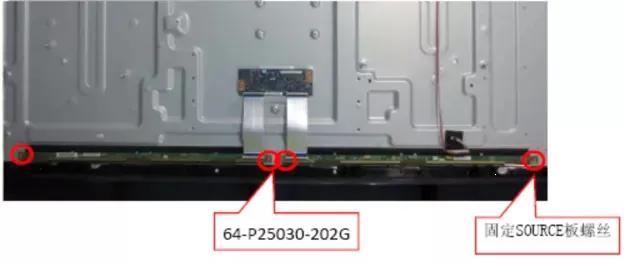
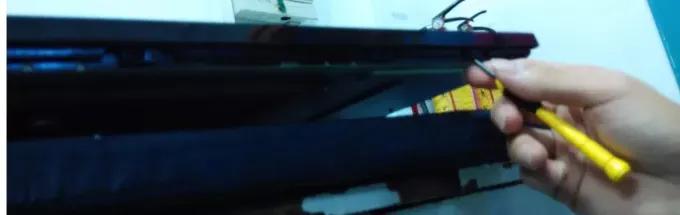
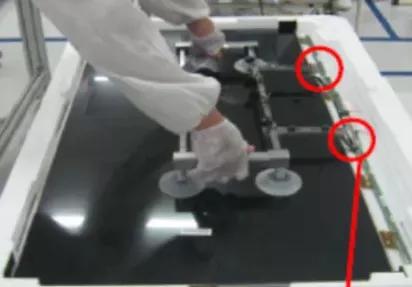
如SOURCE板上有纤维胶纸固定的需撕下;如SOURCE板卡在塑料扣子上也要轻拆下来,拆下面箭头所指的颗丝(需用小批头)。
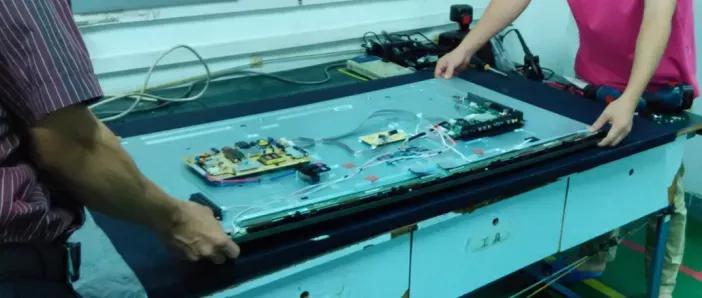
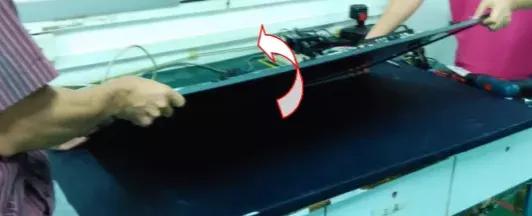
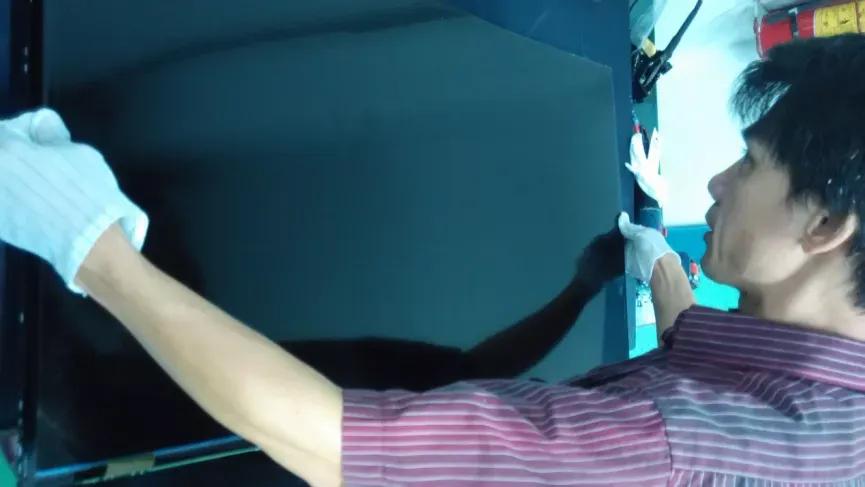
如图示,两人用手轻抓前壳及屏模组将其翻转。(手不要大力压在屏玻璃上,防止裂屏)
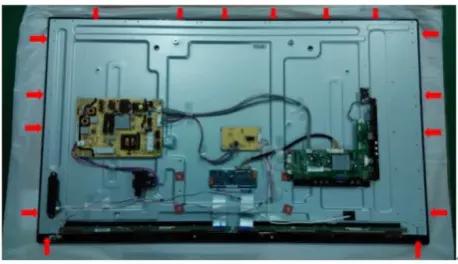
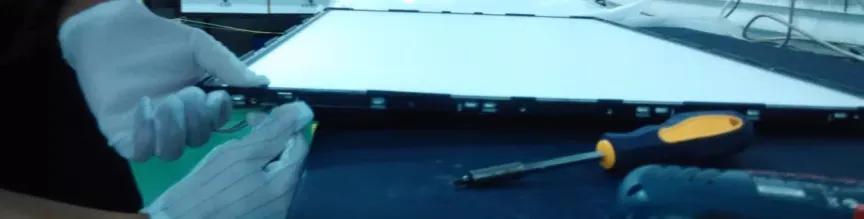
用小一字螺丝刀轻撬前壳扣位,取下前壳;
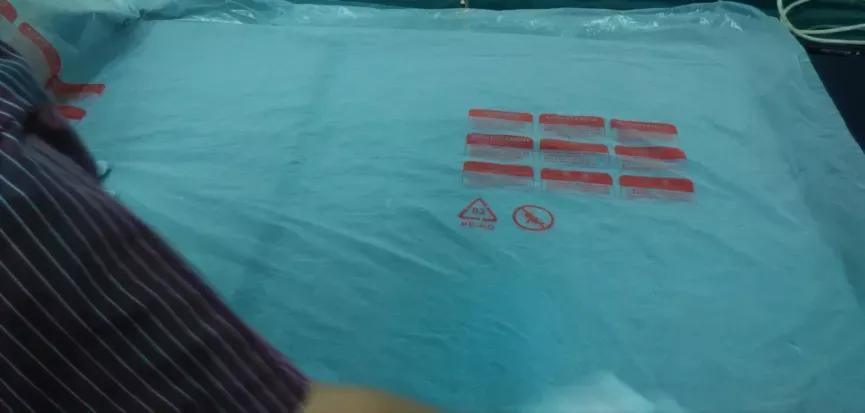
准备好一个台面,清除异物,铺上干净的包装袋。(注意尽量在少灰尘的地方,避免造成异物)
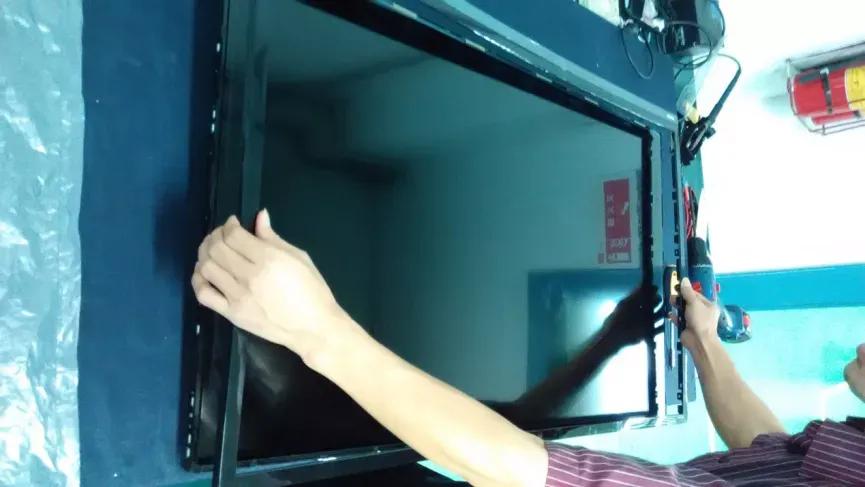
如屏幕四周有纤维胶纸要先撕下,使用吸屏器将屏取下。
以下模组内关于屏及所有膜片的操作时要戴干净的橡胶或防静电手套操作。
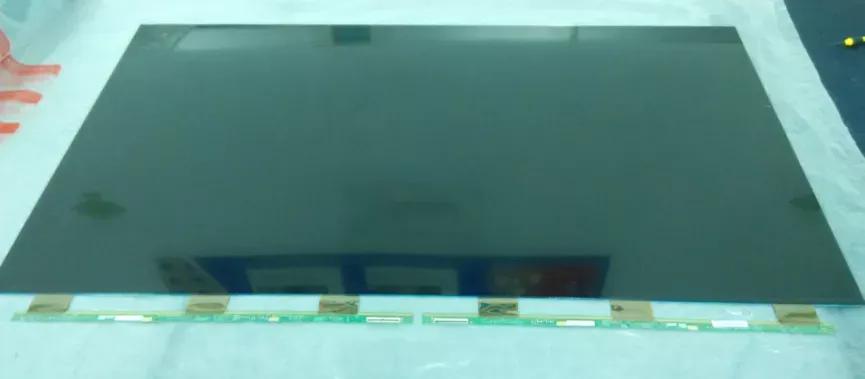
如没有吸屏器,可按下图示将屏取下,注意手指用力要适中,轻抓玻璃边缘取放,取玻璃前要检查SOURCE板处于悬空状态(已取下螺丝及胶纸等)
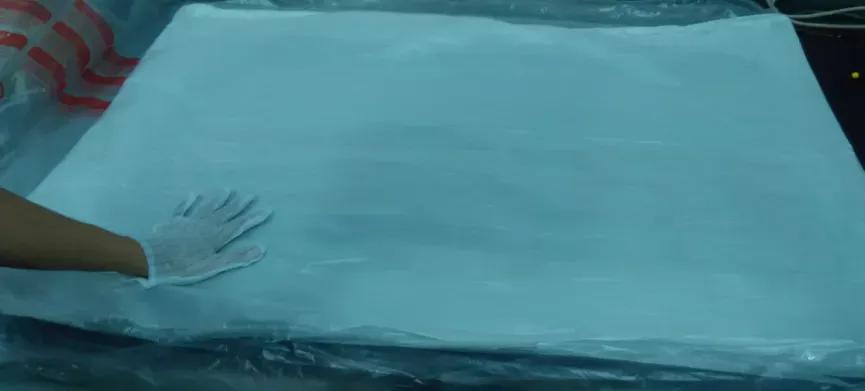
将屏轻放在胶袋上面
在玻璃上面再放一层胶袋
拆下模组两侧边的4颗螺丝

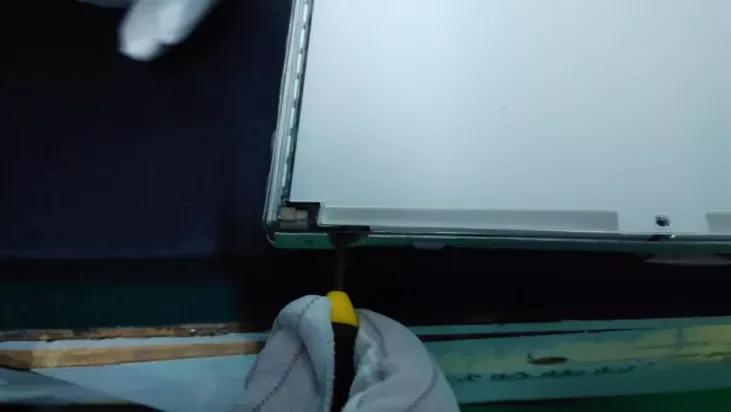
用小一字螺丝刀轻撬两侧边的胶框扣位,取下胶框;再用同样方法取下上下胶框。
用小一字螺丝刀伸入反射片(最底层的一张),轻撬起反射片及其上面的导光板、膜片,
用手托在反射片下,逐渐托起反射片、导光板及光学膜片;
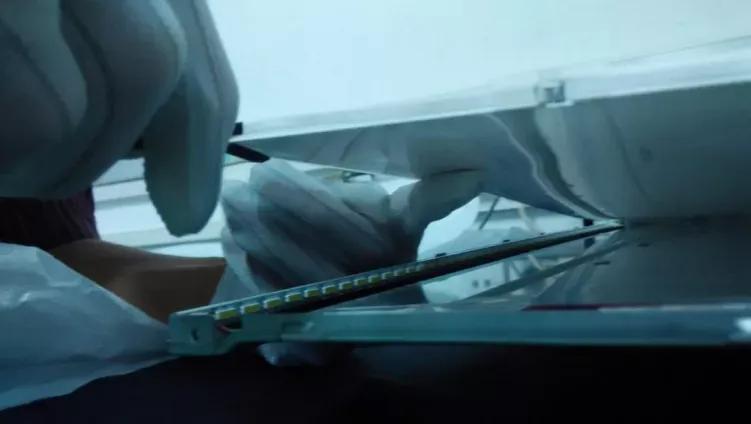
将手伸进反射片底部中间位置,完全托起反射片、导光板及光学膜片.
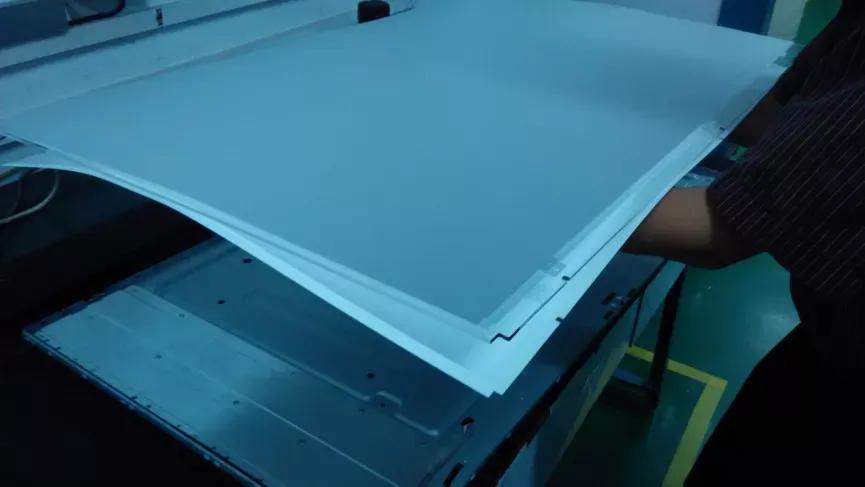
将它们平移后放在已准备好的胶袋面

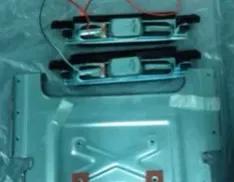
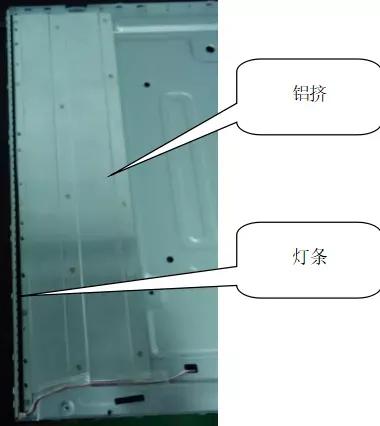
此时灯条及铝挤已展示在你面前
此时可以进行灯条插座引脚处点硅胶操作,也可以更换灯条操作,下面分别介绍。
灯条插座引脚处点硅胶操作方法:
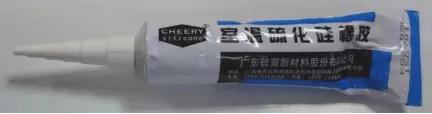
材料:CHEERY牌室温硫化硅橡胶
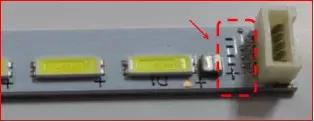
工艺要求:硅胶应完全覆盖插座引脚及焊点
点硅胶方法:
清除铁背板内(灯边旁及周边)金属挡块;
用小螺丝刀取出少量硅胶;
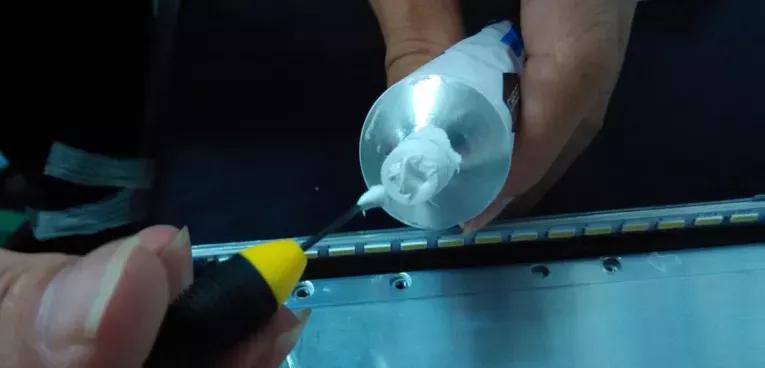
将硅胶涂在灯条插座引脚及旁边测试点上面,并压紧。整形,使其厚度约1mm,并完全覆盖插座引脚及相关焊点。用螺丝刀清除多余的硅胶。(硅胶不能涂到LED灯珠上)。
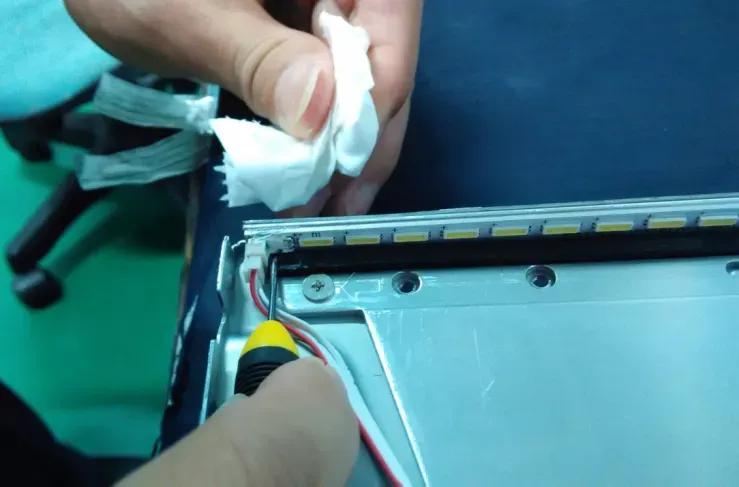
放置10分钟,确保表面固化。
注意事项:
1. 硅胶应完全覆盖插座引脚及相关焊点;
2. 硅胶不能点到LED上,以防影响光学性能
3. 硅胶不能点到插座内部影响插座连接性能
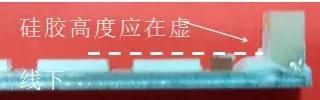
4. 硅胶高度应控制在LED面高度以下,以免结构干涉,如上图示
5. 硅胶常温放置24小时才能完全固化。
6. 使用硅胶时注意不要接触口、眼;
7. 硅胶使用前要清除掉瓶嘴处已凝固的部分,避免影响粘贴效果