


2024.03.05
一、安装前准备工作
1、用网线连接复合机网口到路由器LAN口,电脑网线也连接到路由器LAN口。
2、复合机的网络已设置完毕,如设置的IP地址为192.168.1.150,子网掩码为255.255.255.0,默认网关为192.168.1.1,与局域网相同。
3、复合机的驱动已下载到电脑,并将压缩包解压,如保存在D盘根目录下。2323AM与2823AM的驱动通用,安装后显示为2823AM。
4、在资源管理器左侧栏的“计算机”上点右键,选属性,查看操作系统版本为64位,还是32位。
二、开始安装
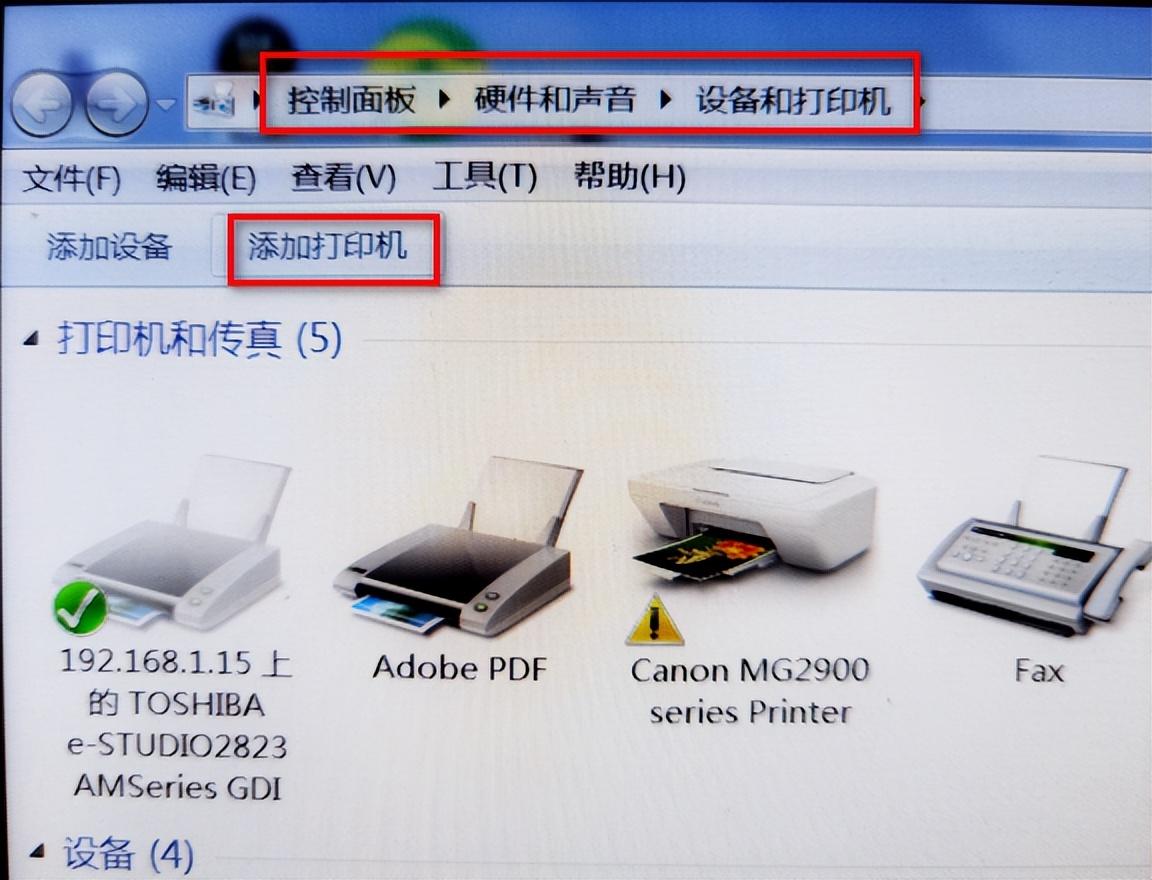
1、以WIN7为例,开始——设备和打印机——添加打印机(以下参考图例操作):

2、添加网络、无线或Bluetooth打印机
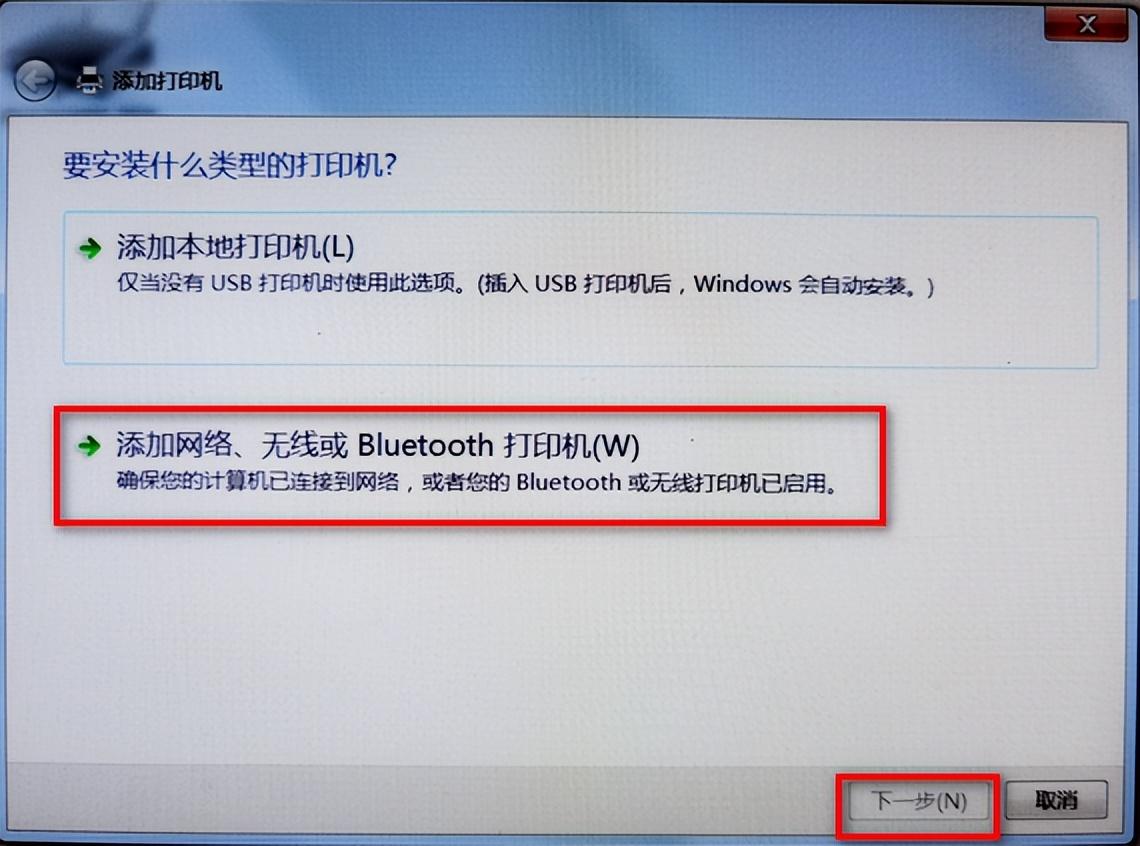
3、我需要的打印机不在列表中

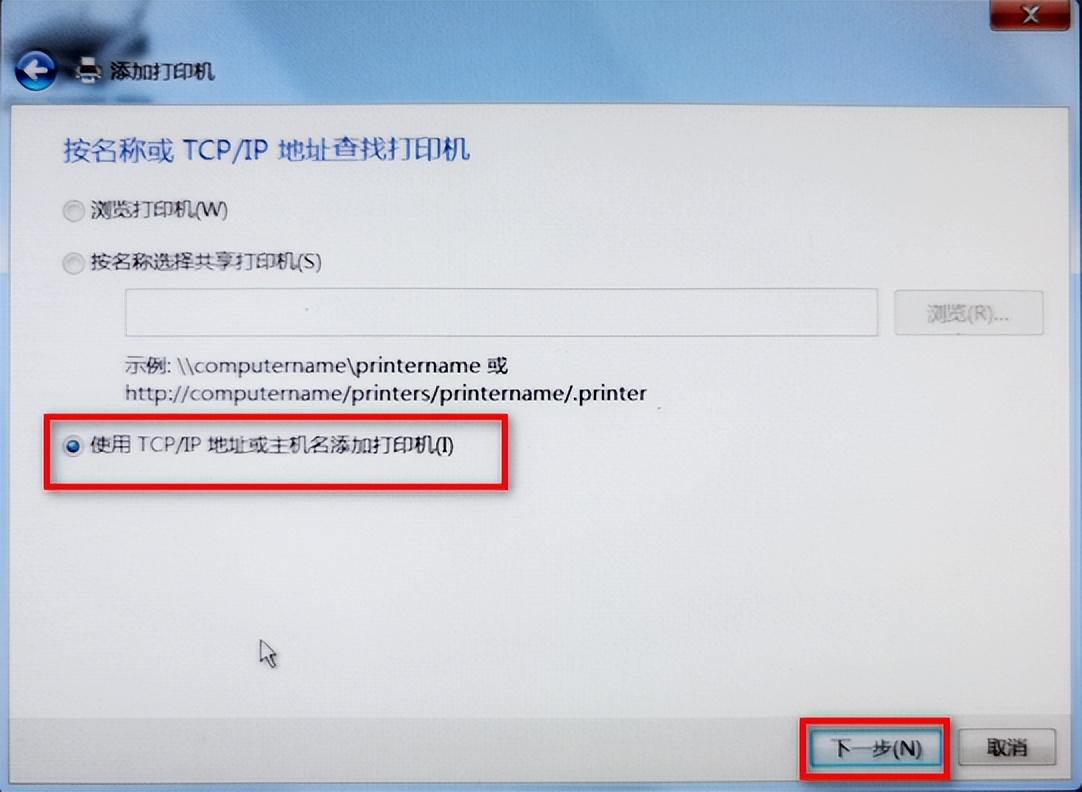
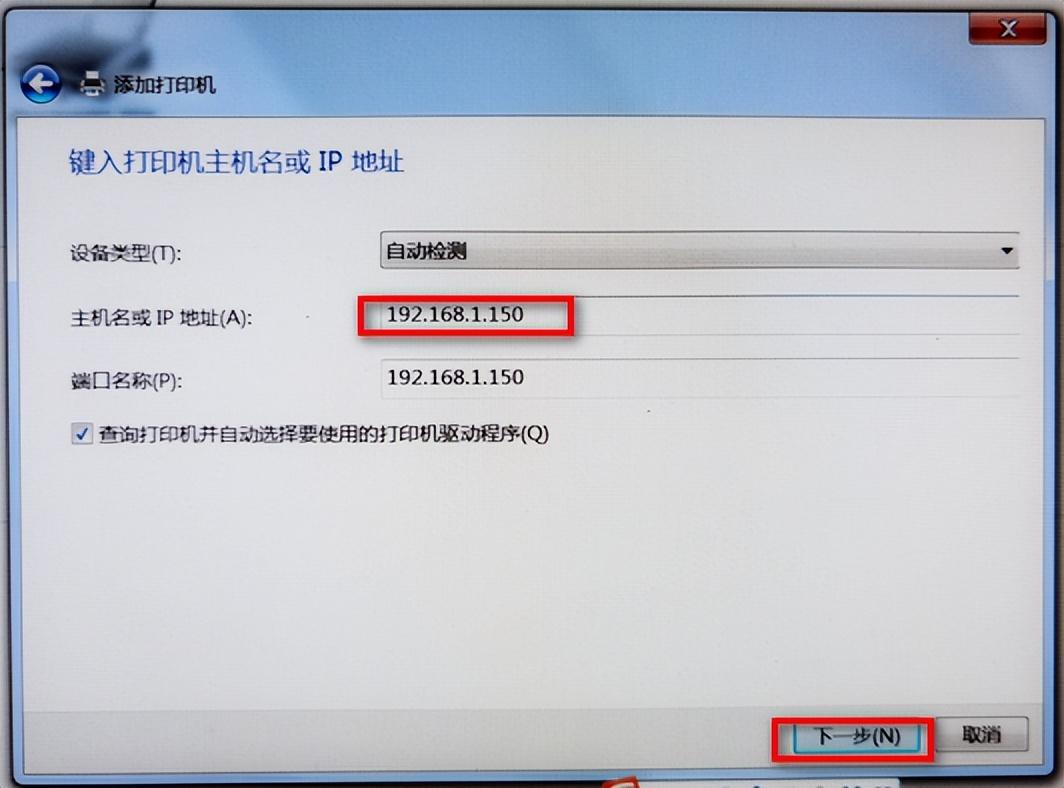
4、使用TCP/IP地址或主机名添加打印机
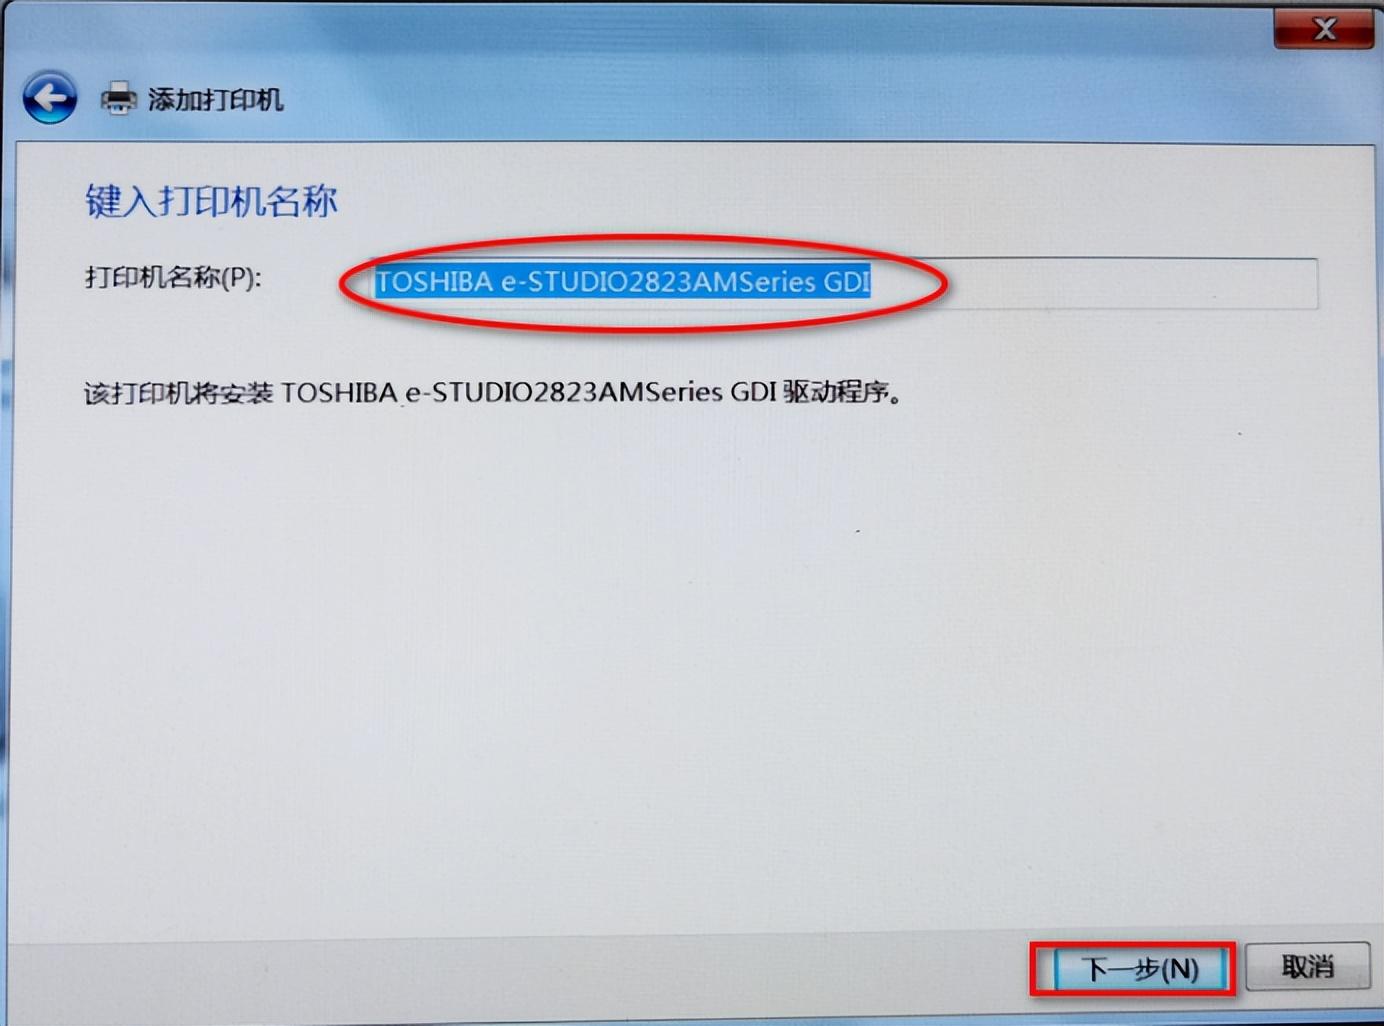
5、输入复合机的IP地址:192.168.1.150,下一步:
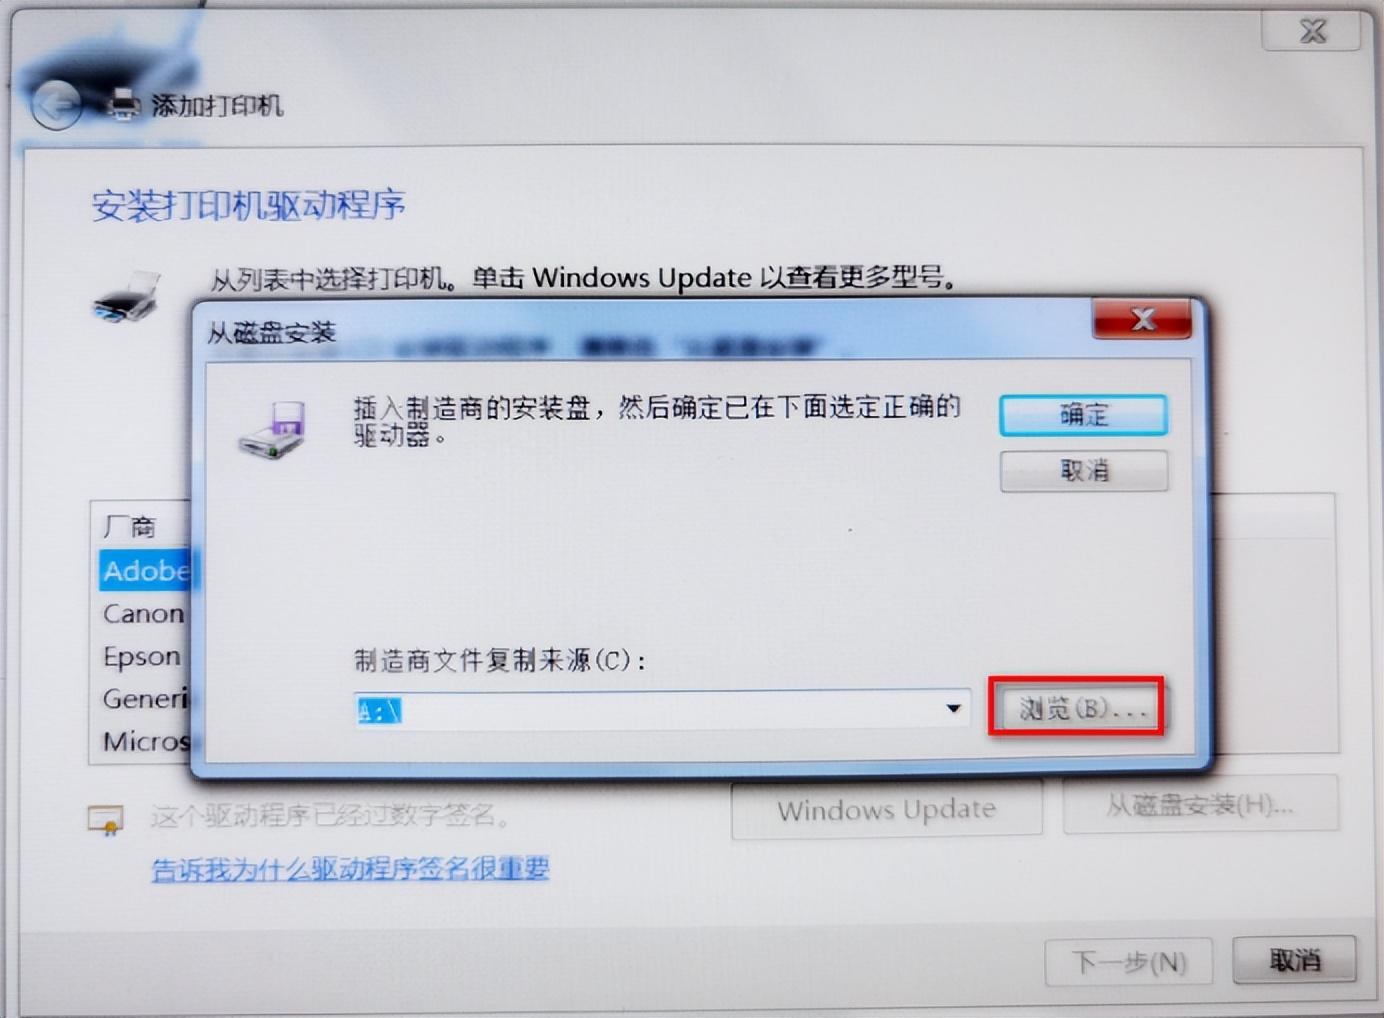
6、从磁盘安装

7、浏览
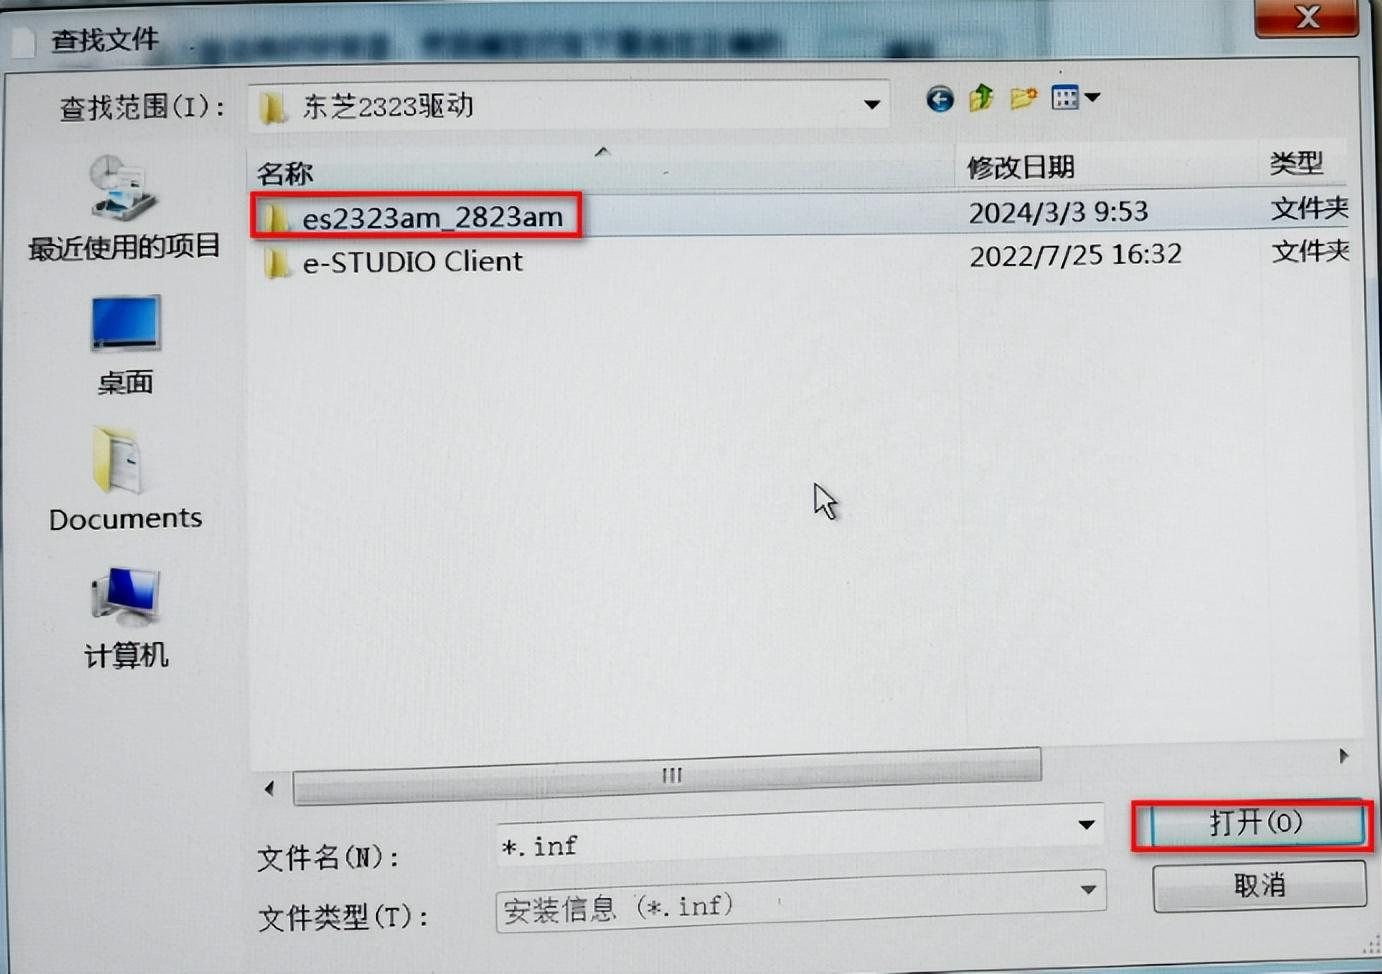
8、浏览计算机,在D盘根目录下找到已解压的驱动文件夹,打开:
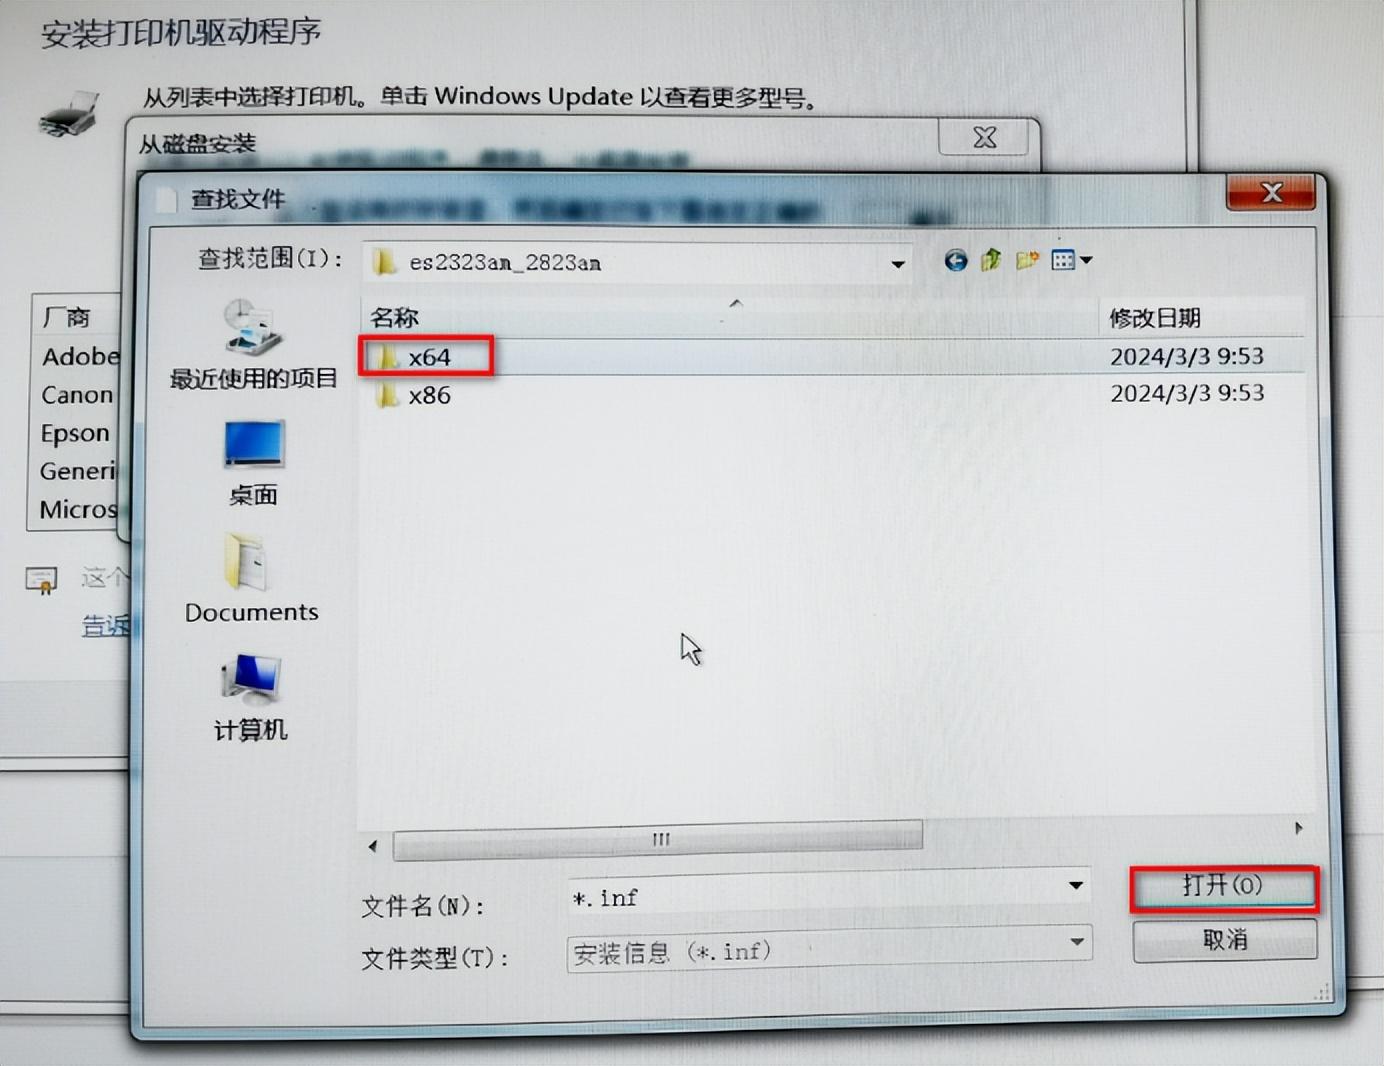
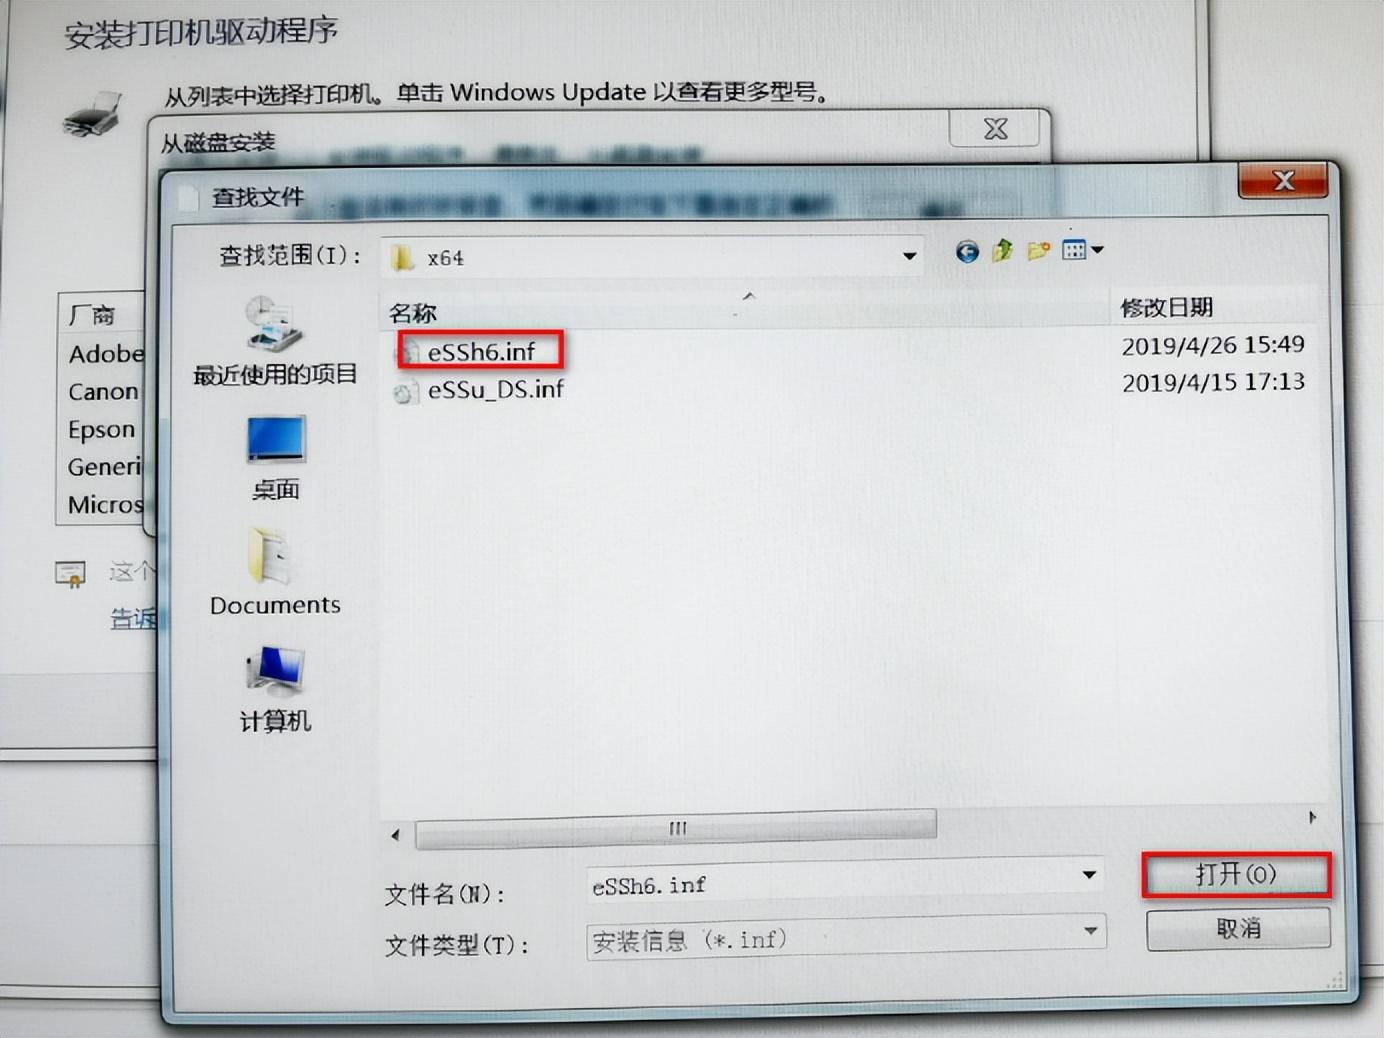
9、64位操作系统选择X64, 32位操作系统选择X86,打开:
10、选择essh6.inf,打开
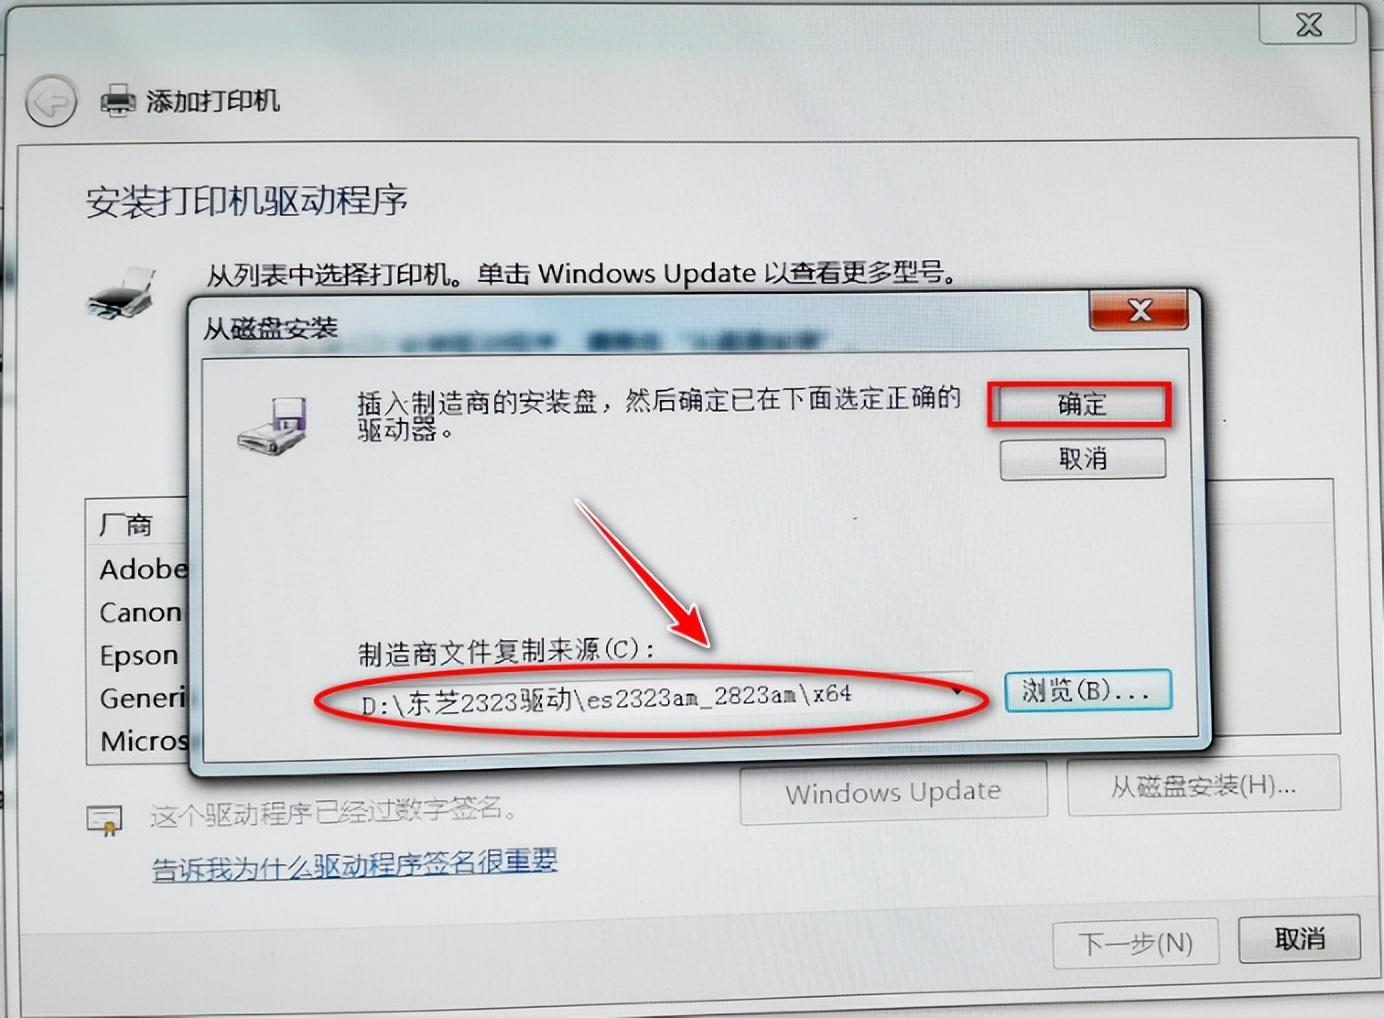
11、确定
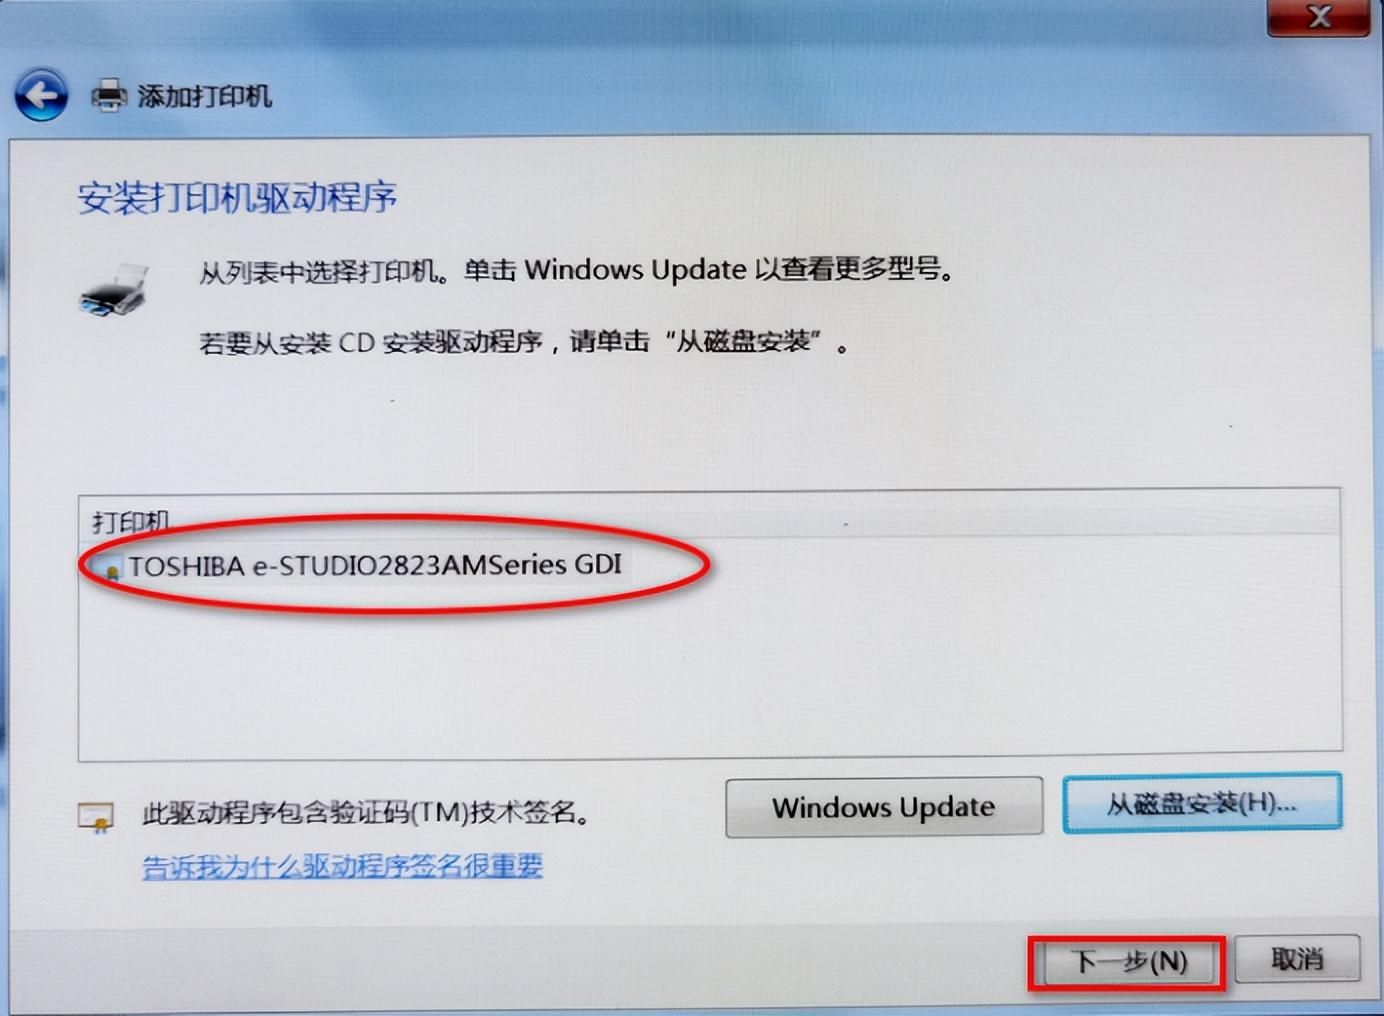
12、下一步
13、替换当前的驱动程序
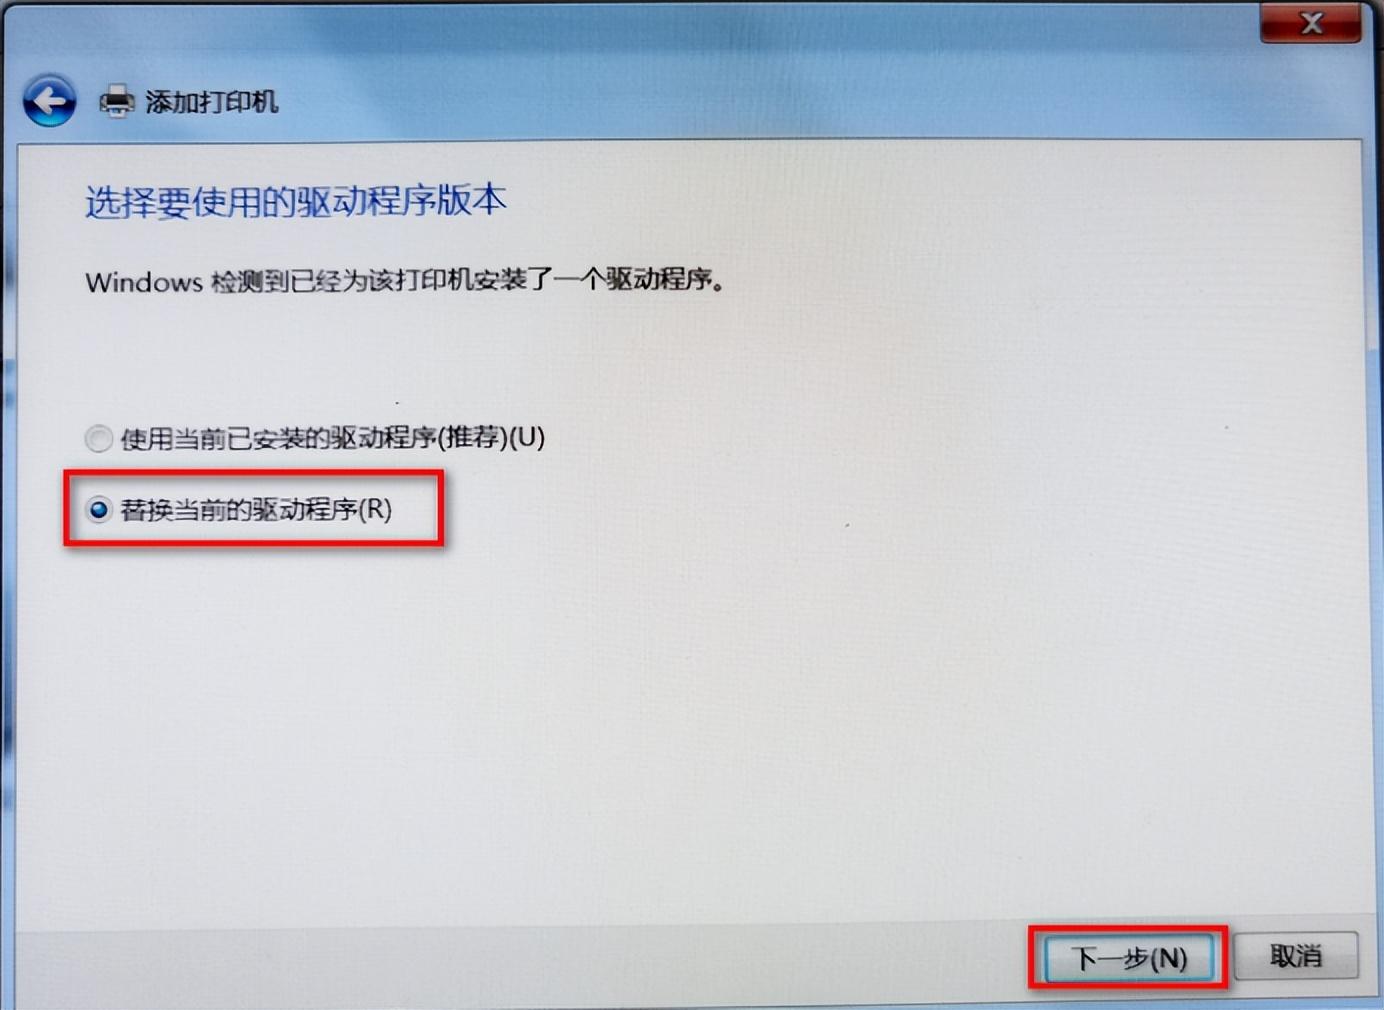
14、下一步
15、不共享这台打印机,下一步

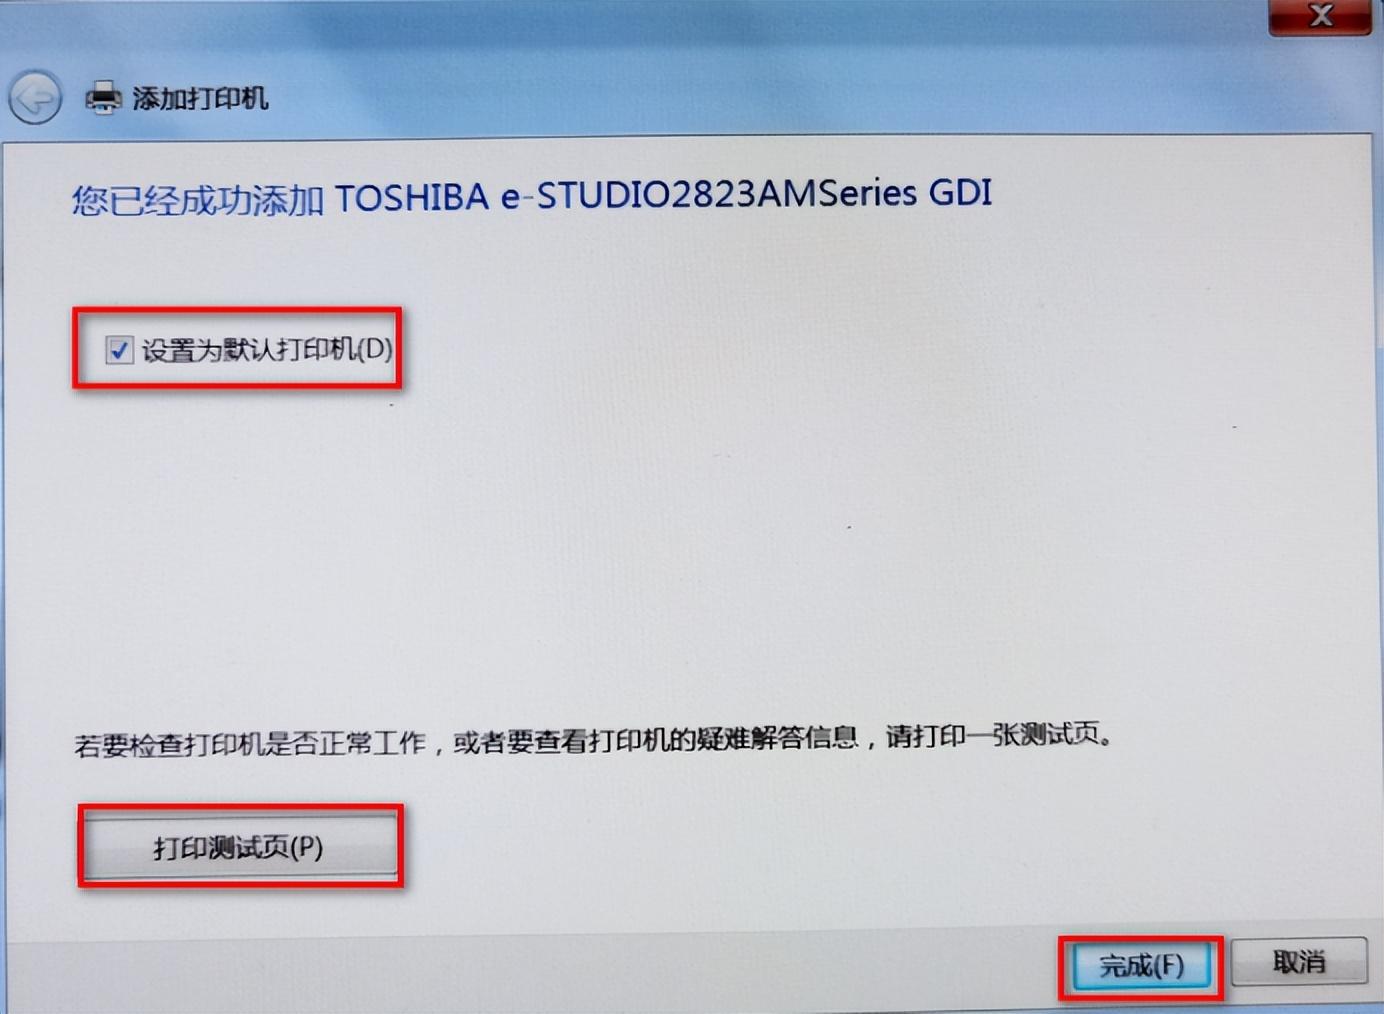
16、设置为默认打印机,打印测试页,完成
17、关闭,完成
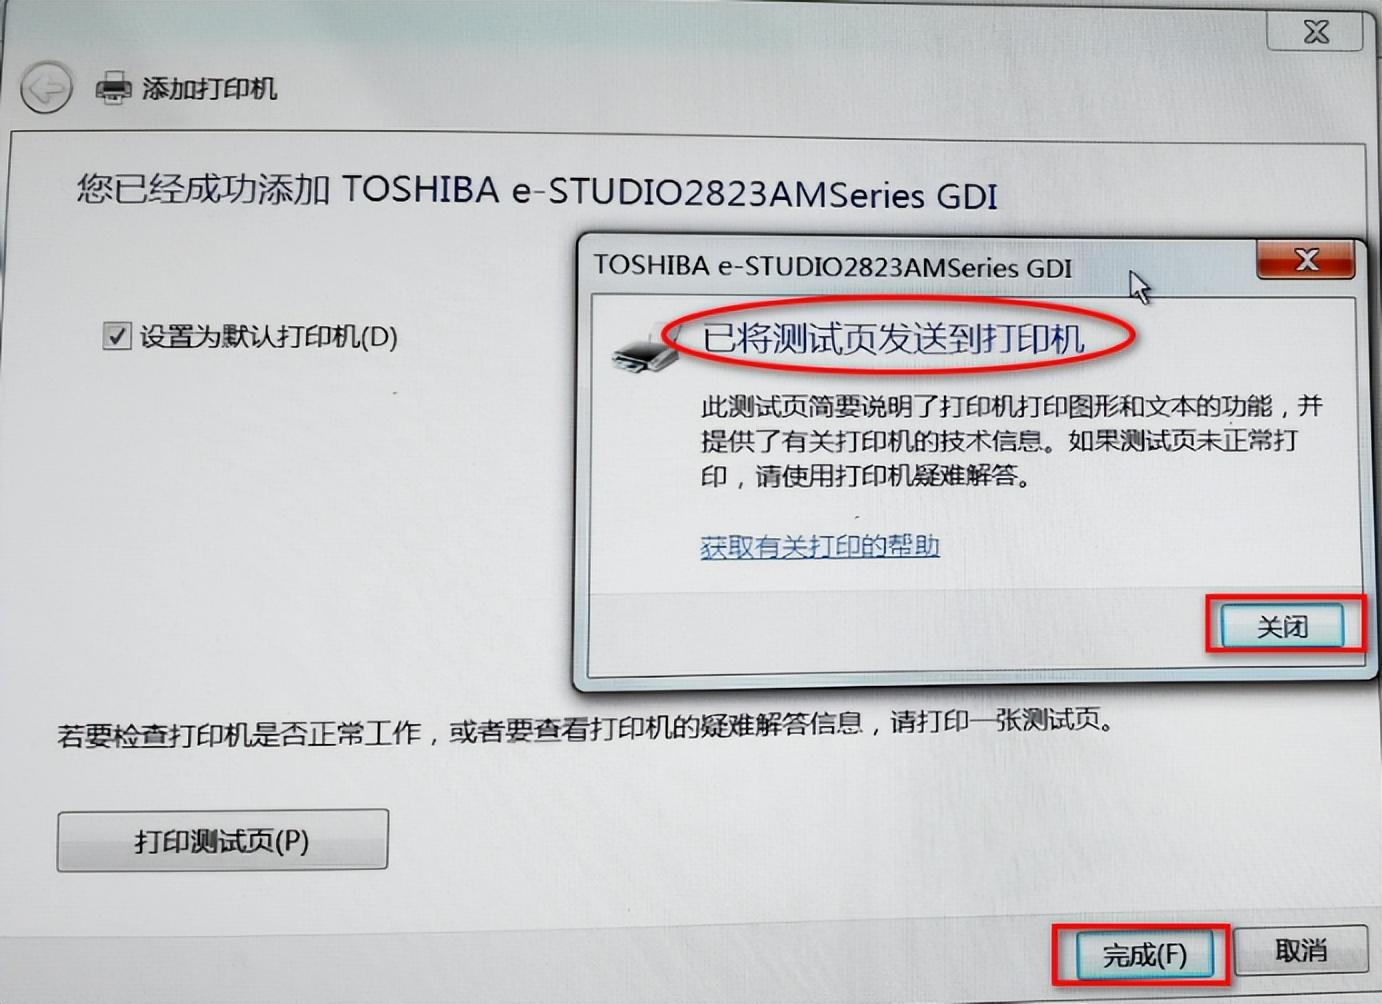
18、如能顺利地打印出测试页,说明驱动安装成功。
三、设置双面打印
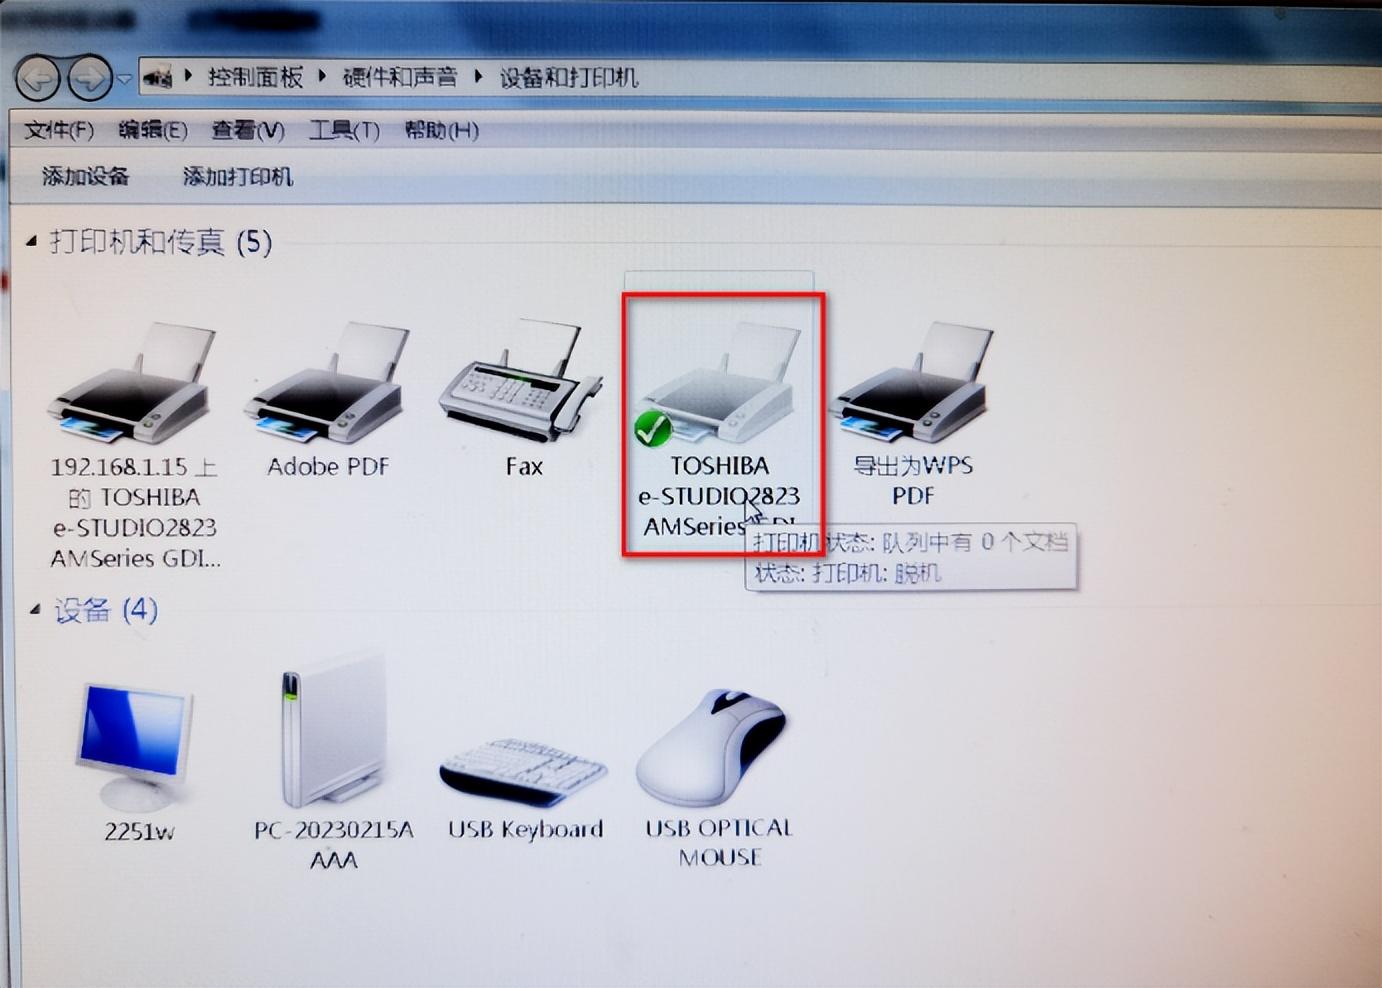
1、开始——设备和打印机

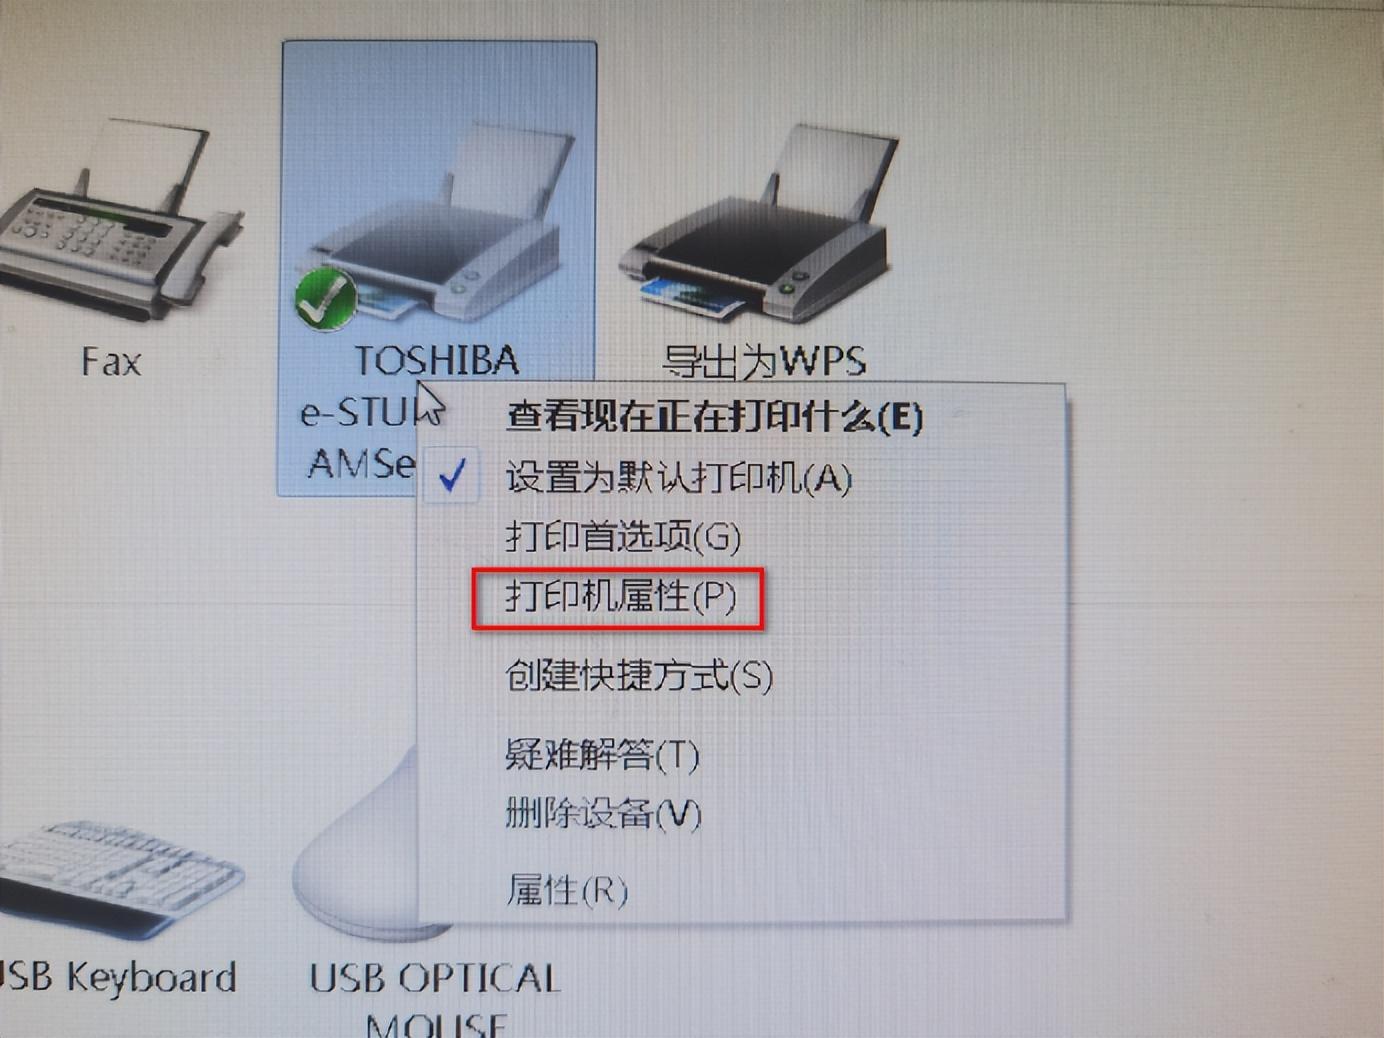
2、在已安装好驱动的打印机图标上点右键
3、在右键菜单中,点“打印机属性”
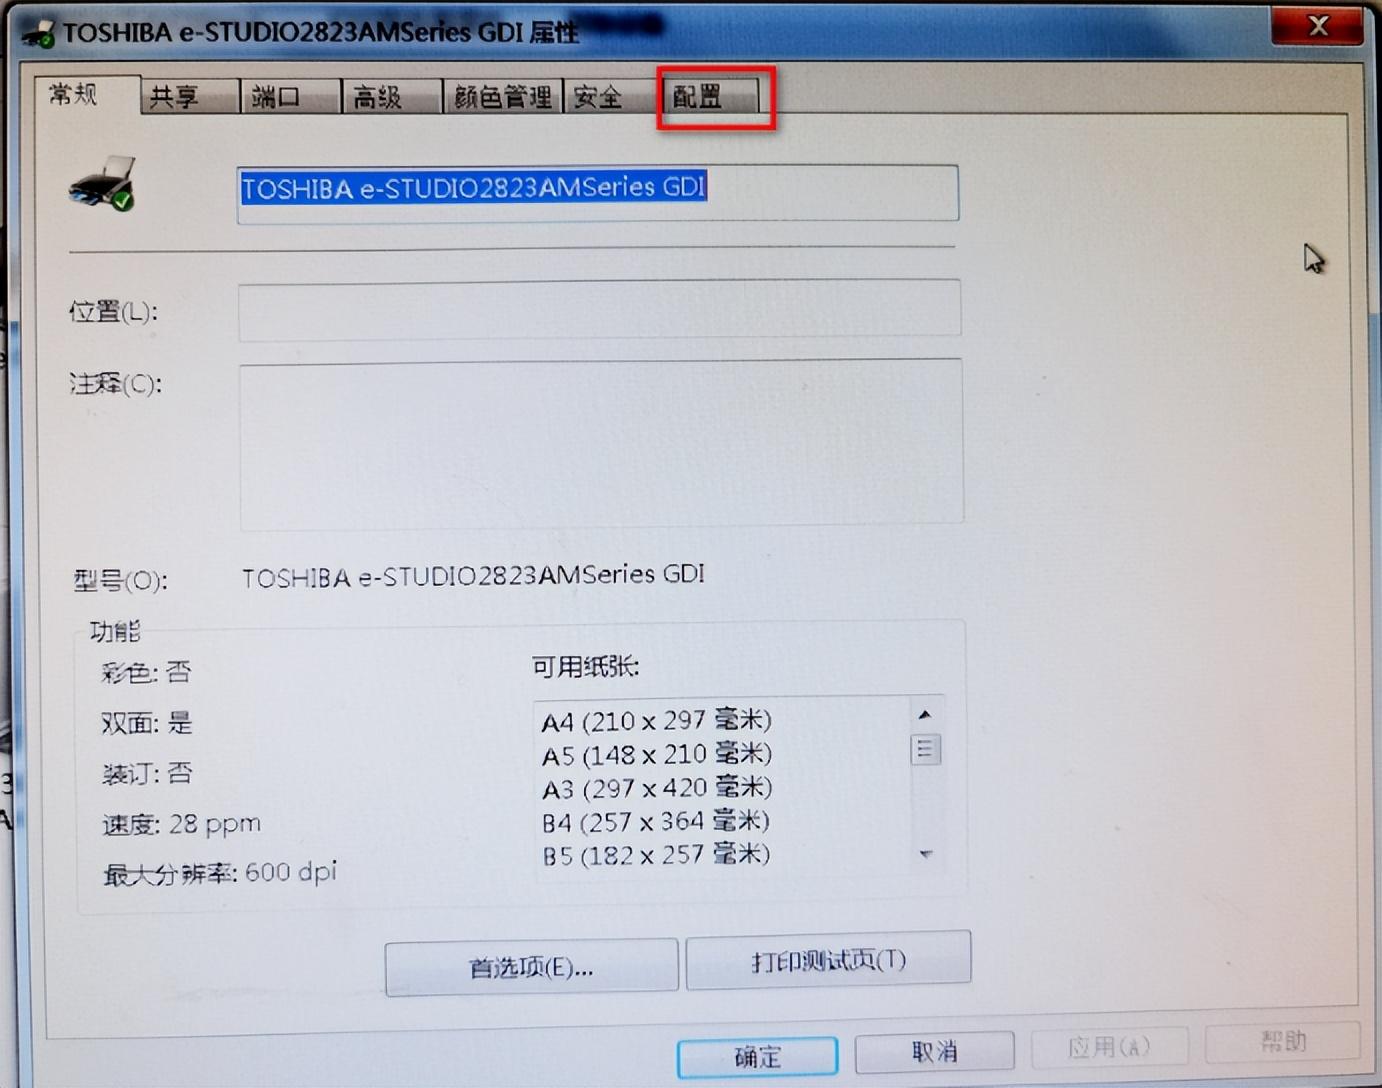
4、点“配置”选项卡
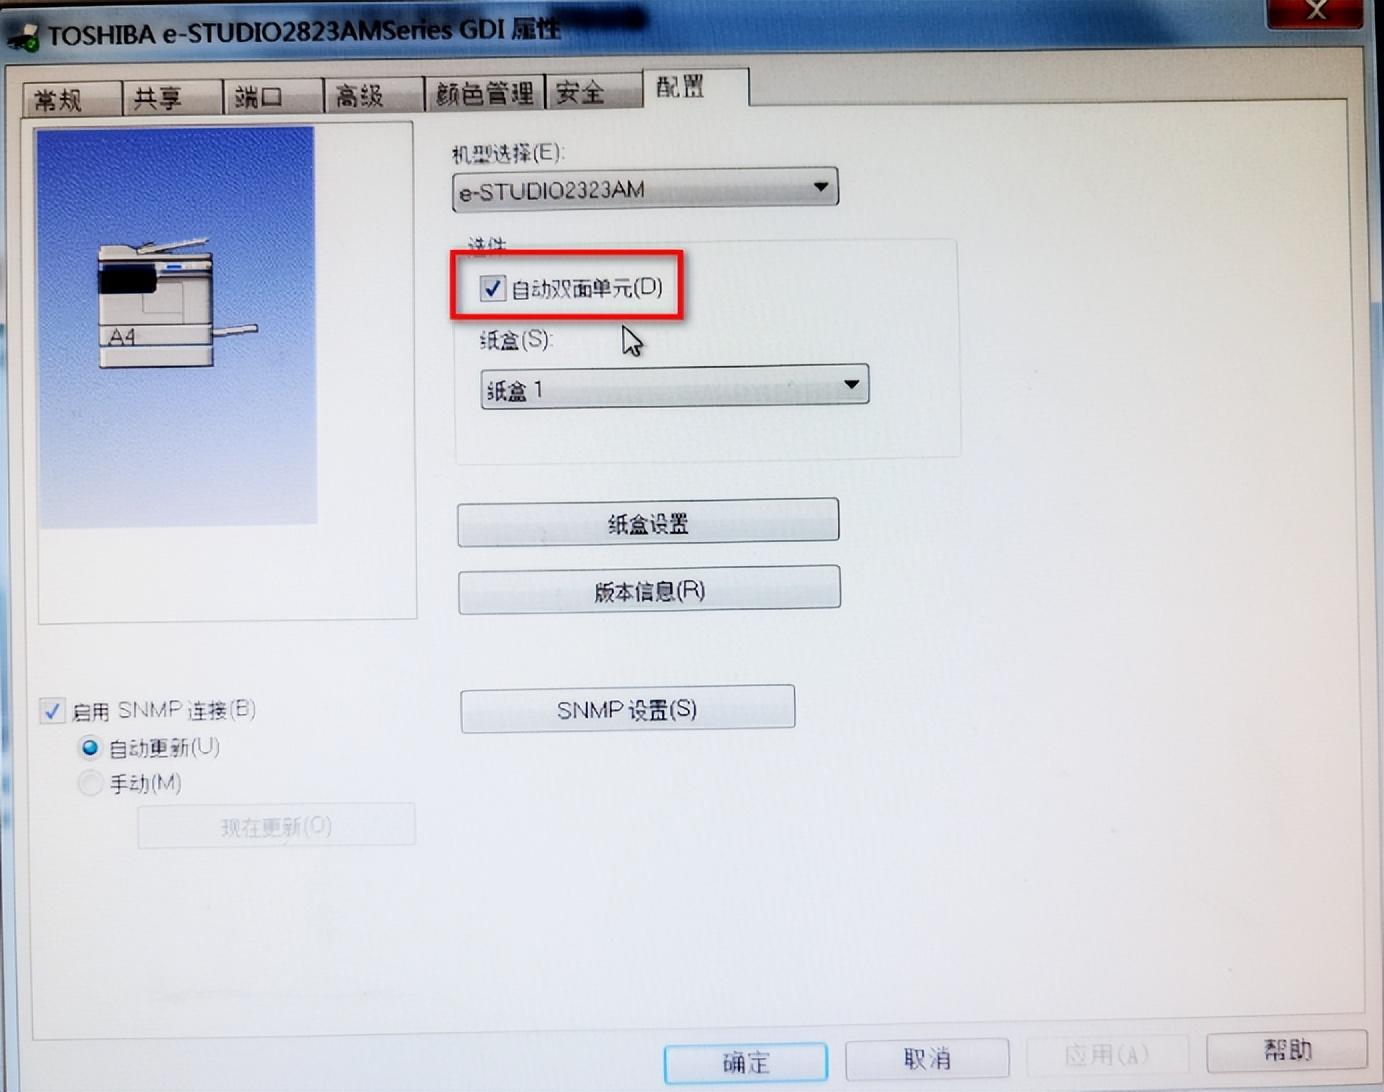
5 勾选“自动双面单元”,点“确定”
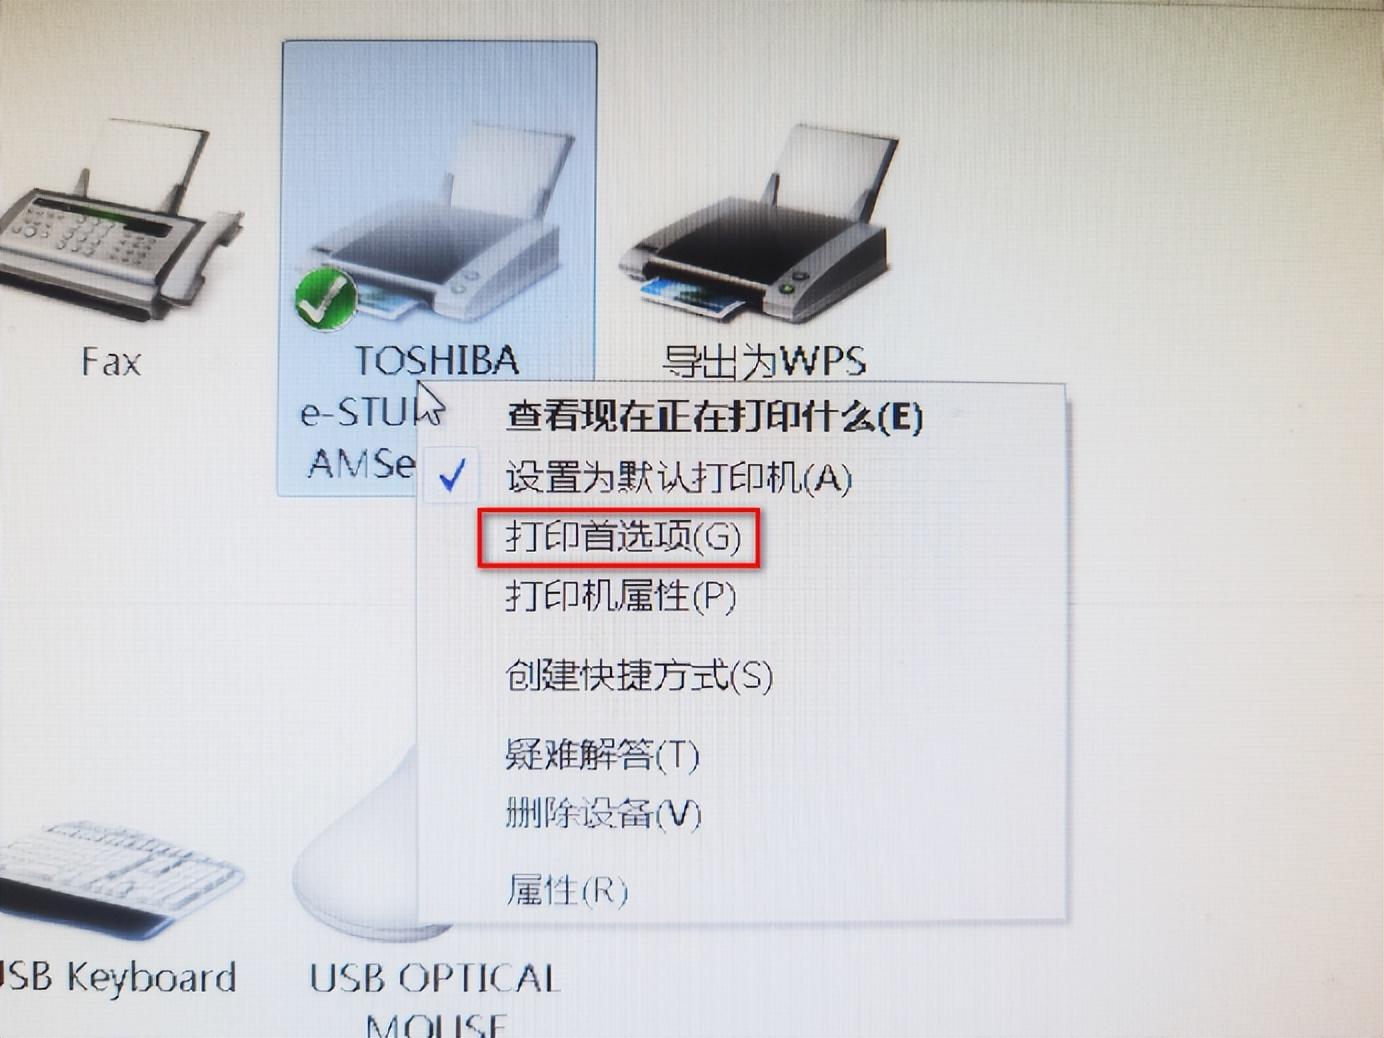
6、返回到已安装好驱动的打印机图标上点右键,在菜单中点“打印首选项”
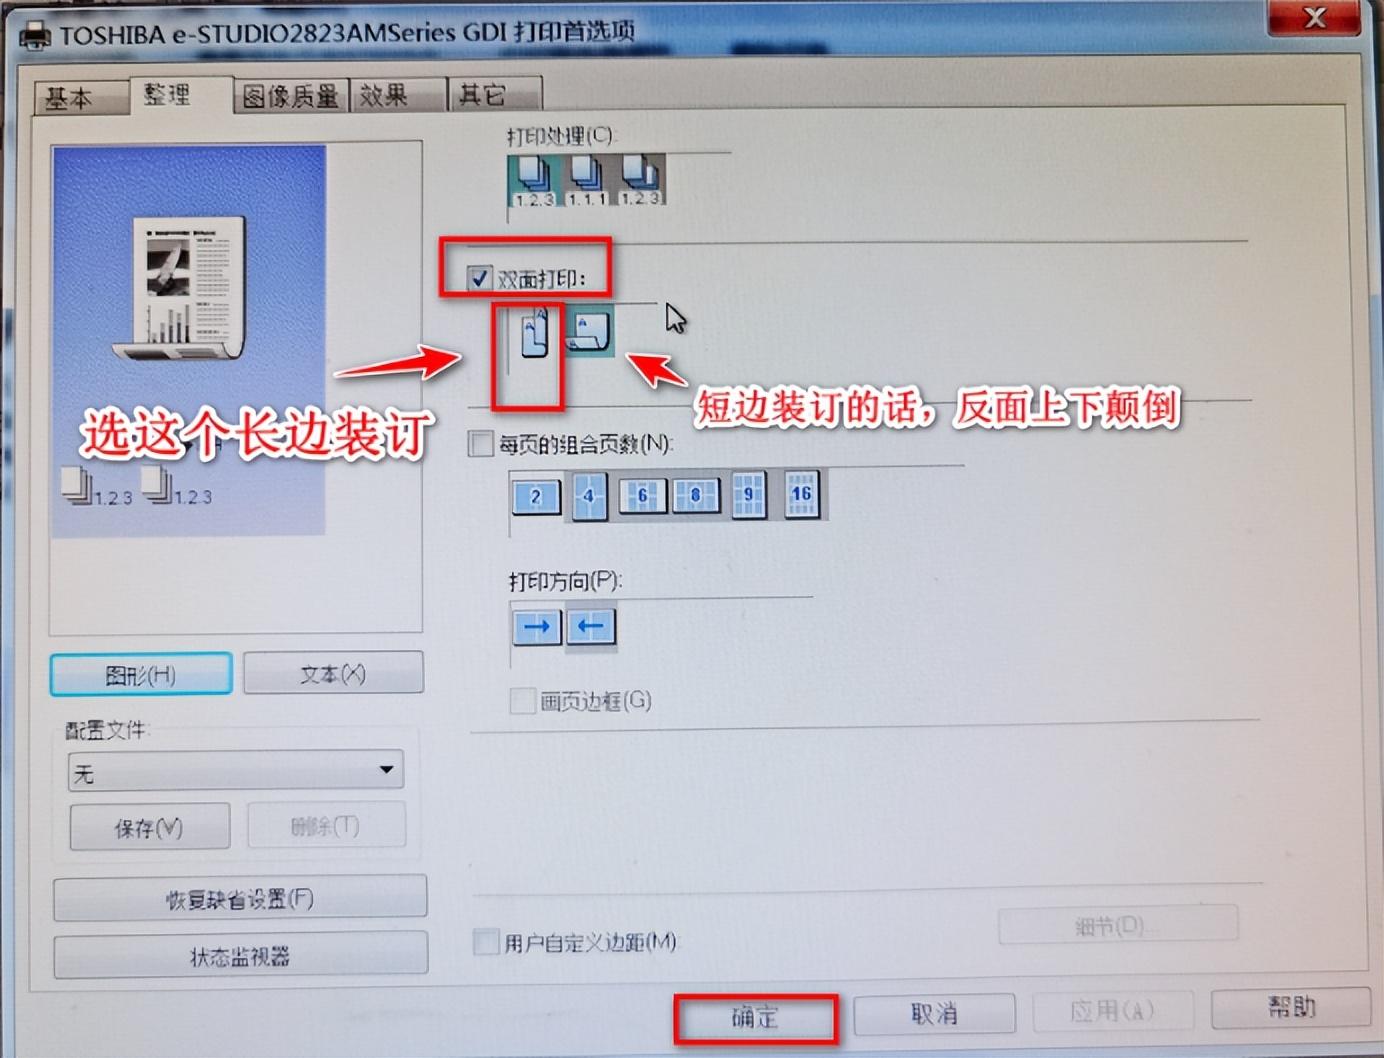
7、点“整理”选项卡
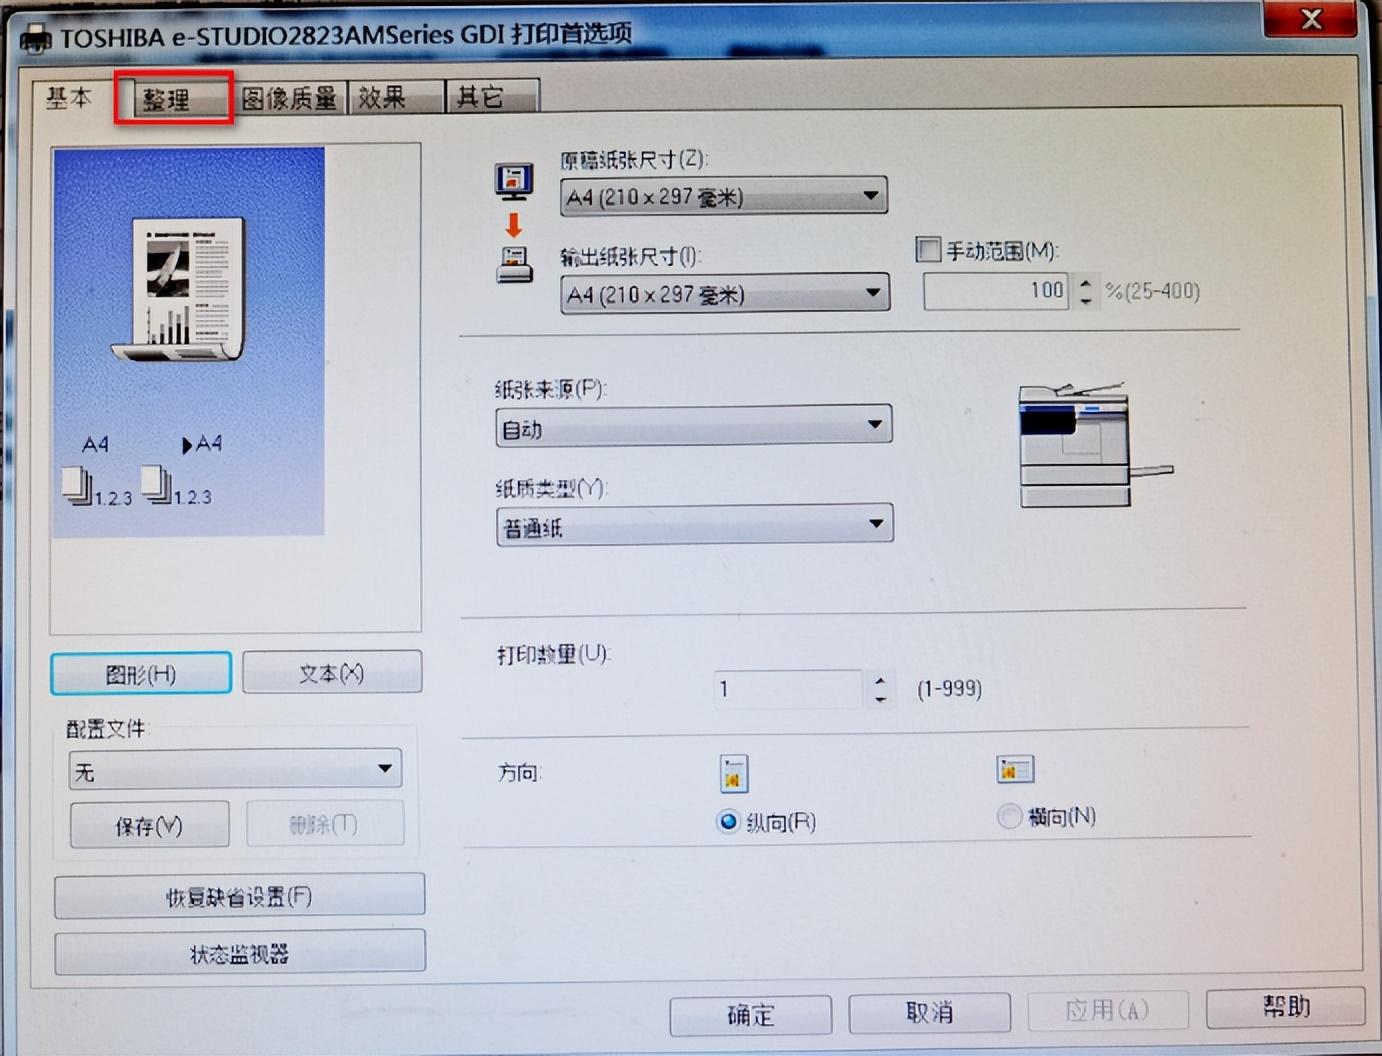
8、勾选“双面打印”、点亮“长边装订”图标,点“确定”
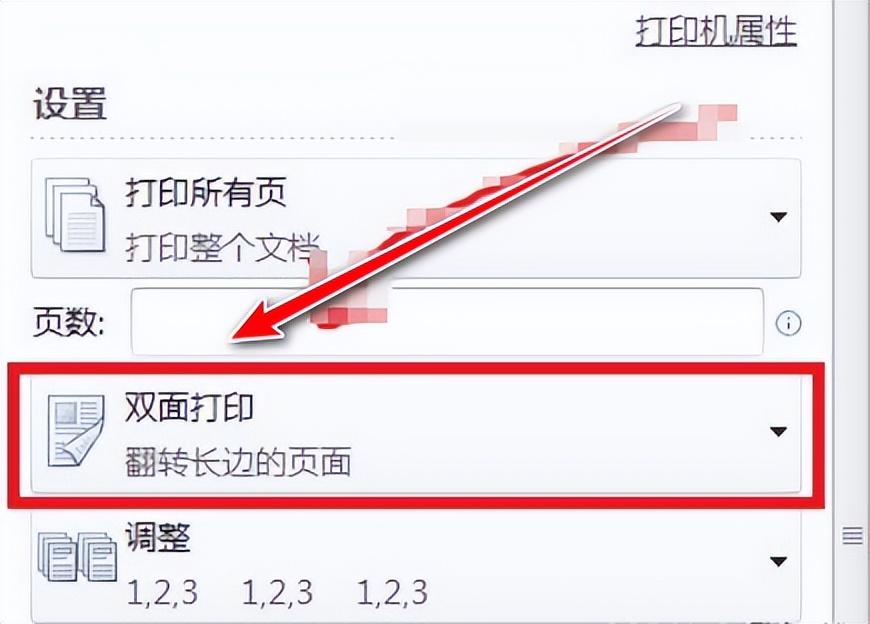
9、在办公软件打印设置界面,选择双面打印,完成。
END