


前言
在系统之家或者其他地方下载的镜像文件怎么装到电脑上?
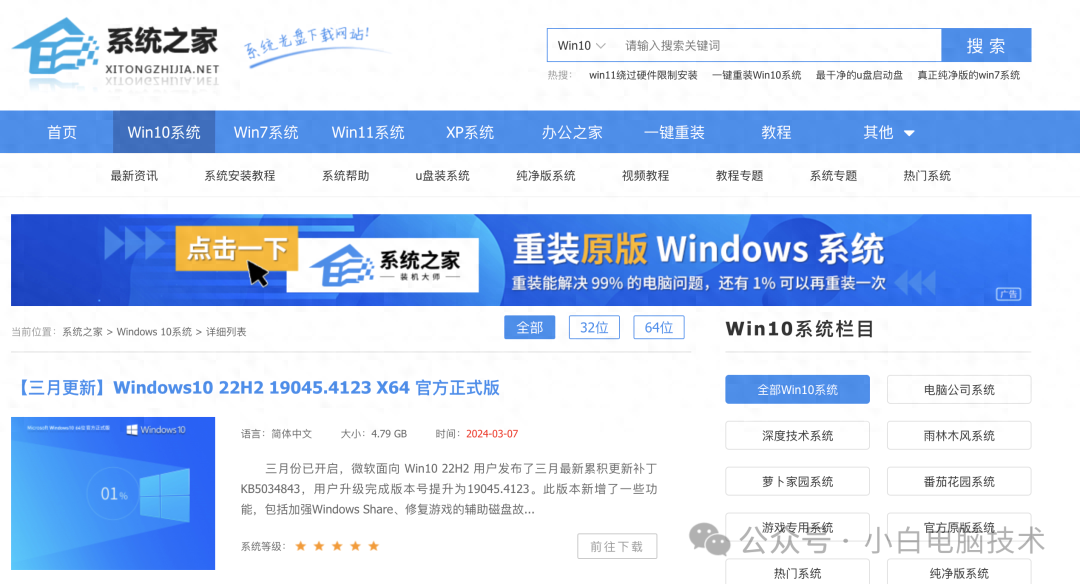
首先要知道系统之家下载的Windows镜像文件基本上都是.iso结尾的,要进入到对应镜像包才能看出系统镜像是什么格式。
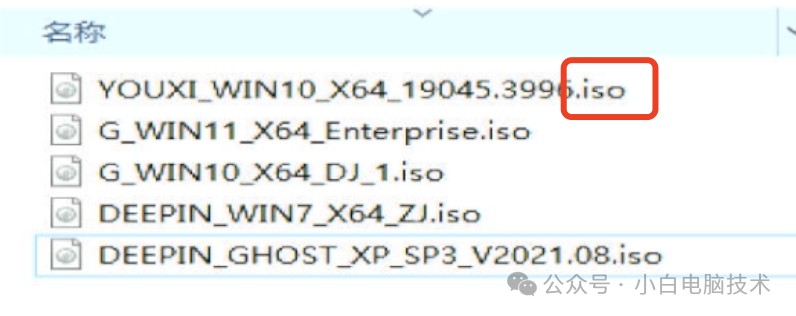
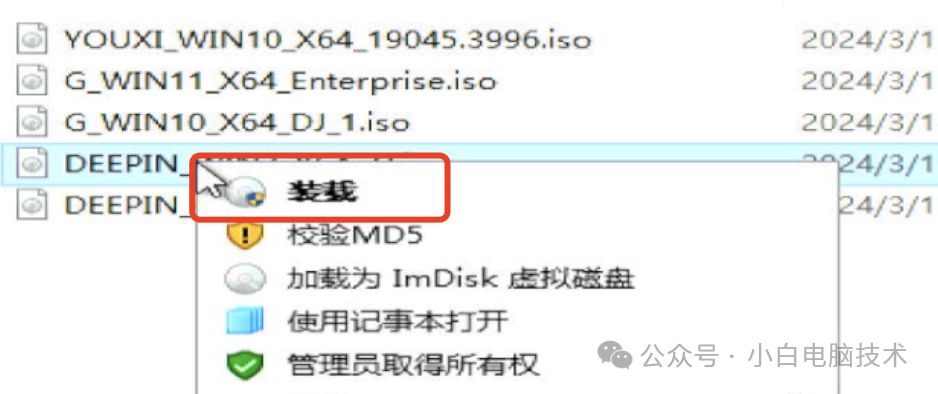
选择对应的.iso镜像,点击【鼠标右键】-【装载】或者【资源管理器】打开就能看到镜像文件的格式
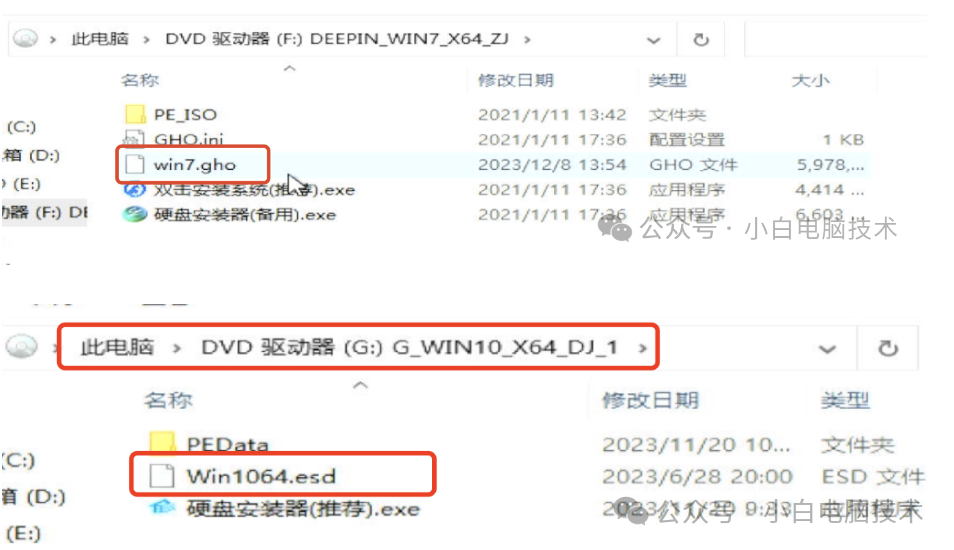
对应的镜像包基本上分为两种:GHO和ESD
本文讲解的是用PE启动盘安装GHO系统镜像的教程。
GHO镜像安装的方法算是很傻瓜的一种,步骤并不多,只要记住顺序,电脑小白也能快速学会重装系统。
安装GHO的建议:
用Legacy引导的方式安装小白本身是不建议小伙伴们安装GHO镜像的,因为GHO的质量本身参差不齐,质量不太好的版本安装完成之后经常会遇到蓝屏等问题。当然,也有一些GHO本身还是不错的,比原版镜像的体验要好。这个得看你自己的决定了~
导航栏
Bios开启CSM兼容支持在PE系统检查硬盘的分区表类型GHO镜像安装正文开始
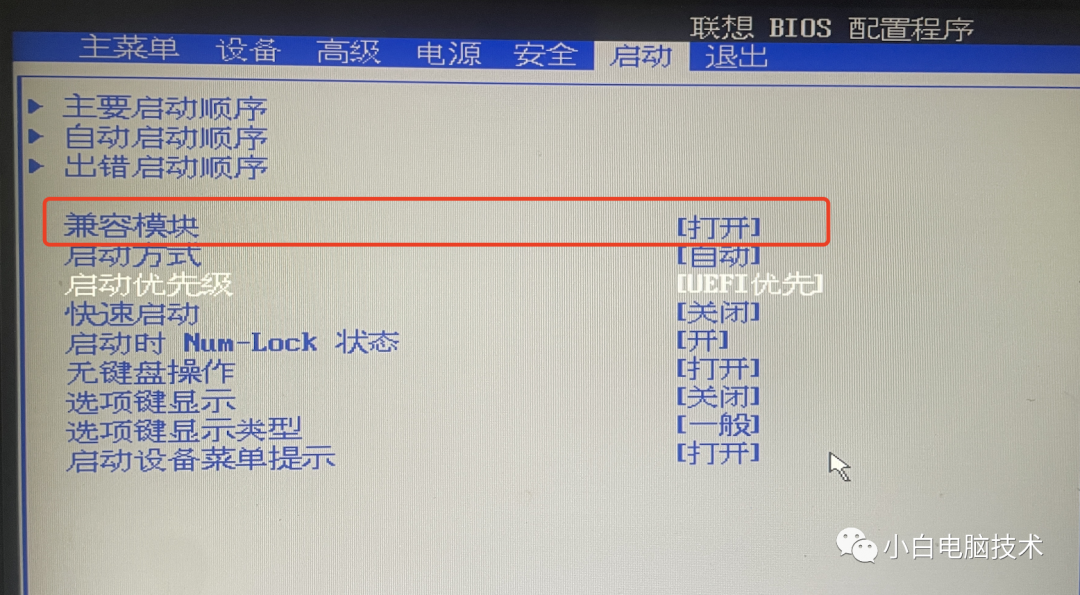
Bios开启CSM兼容支持
CSM兼容模块如果是灰色的,那么请进行以下操作
1、首先进入到Bios
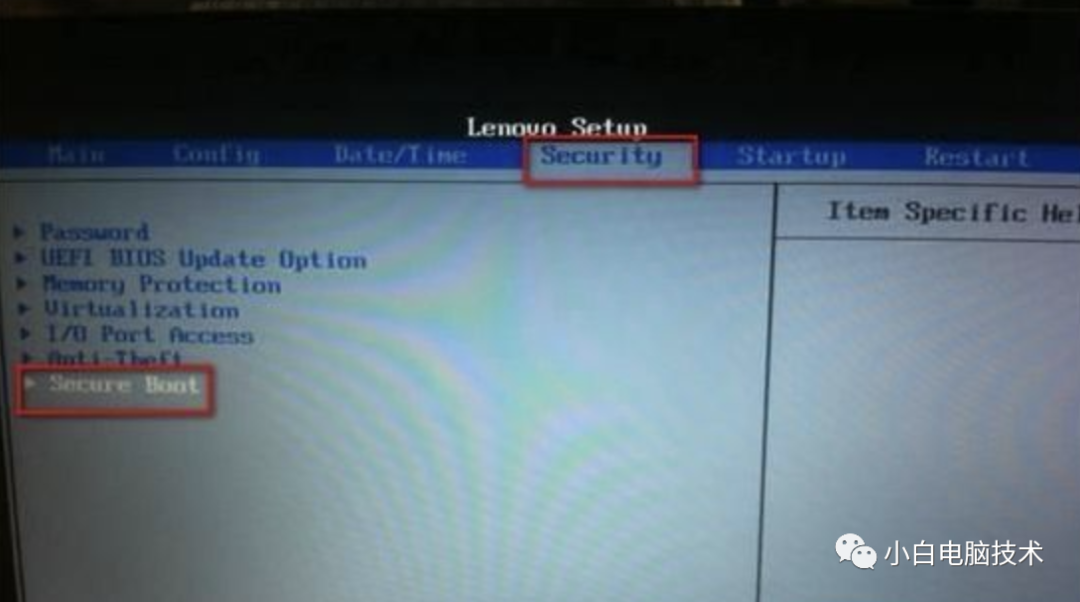
进入不了Bios?进入Bios的方法都在这了,肯定能进!2、找到【Security(安全)】模块,进入到Secure Boot
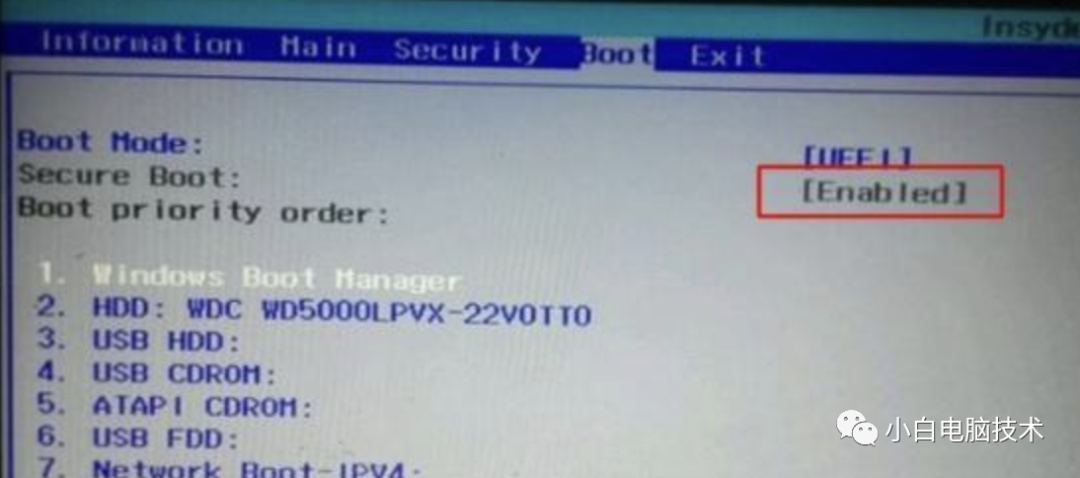
3、把【Secure Boot(安全启动)】状态更改为【Disable(关闭)】
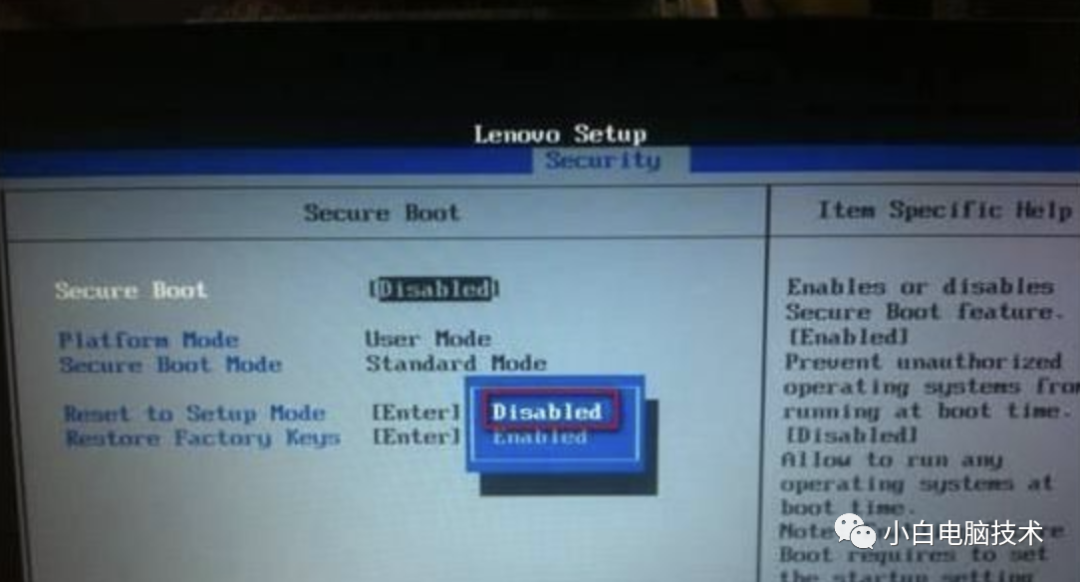
4、你就会发现【CSM兼容模块】可以打开了
注意⚠️:部分品牌电脑需设置BIOS密码才能修改BIOS选项。
进入PE系统
下载好了原版镜像文件后,把文件复制进U盘。
制作好WinPE工具和系统镜像文件之后,插到准备重装系统的电脑,更改硬盘启动顺序。
把带有USB字样,且有接入U盘信息的那个项目移动到第一位

再按【F10】保存并重启即可。(部分机器不支持F10热键,请移步【退出】,选择【保存并退出】

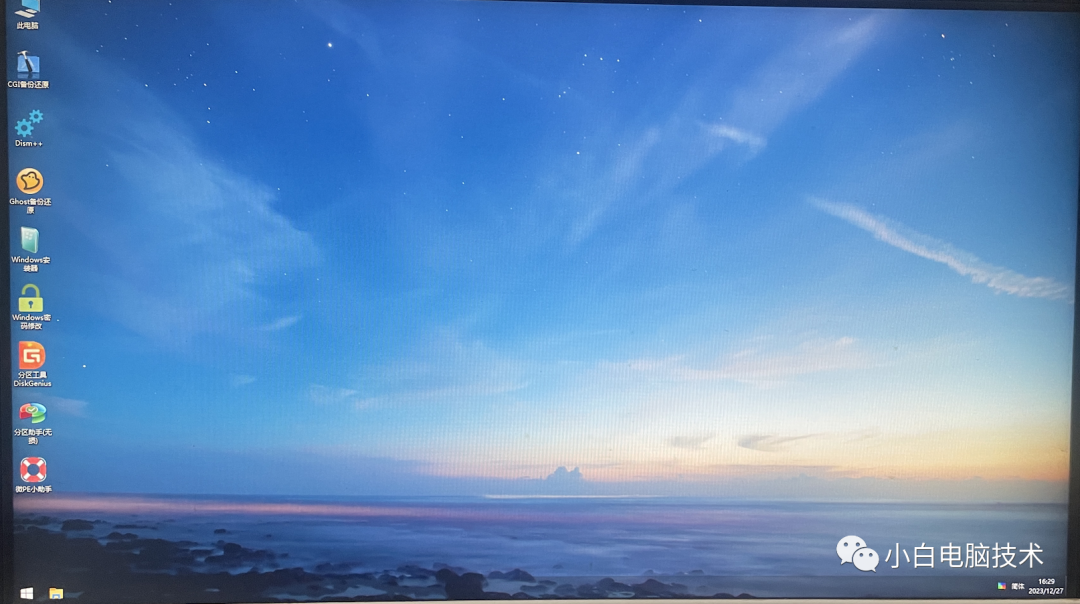
重启之后就进入到了WinPE。
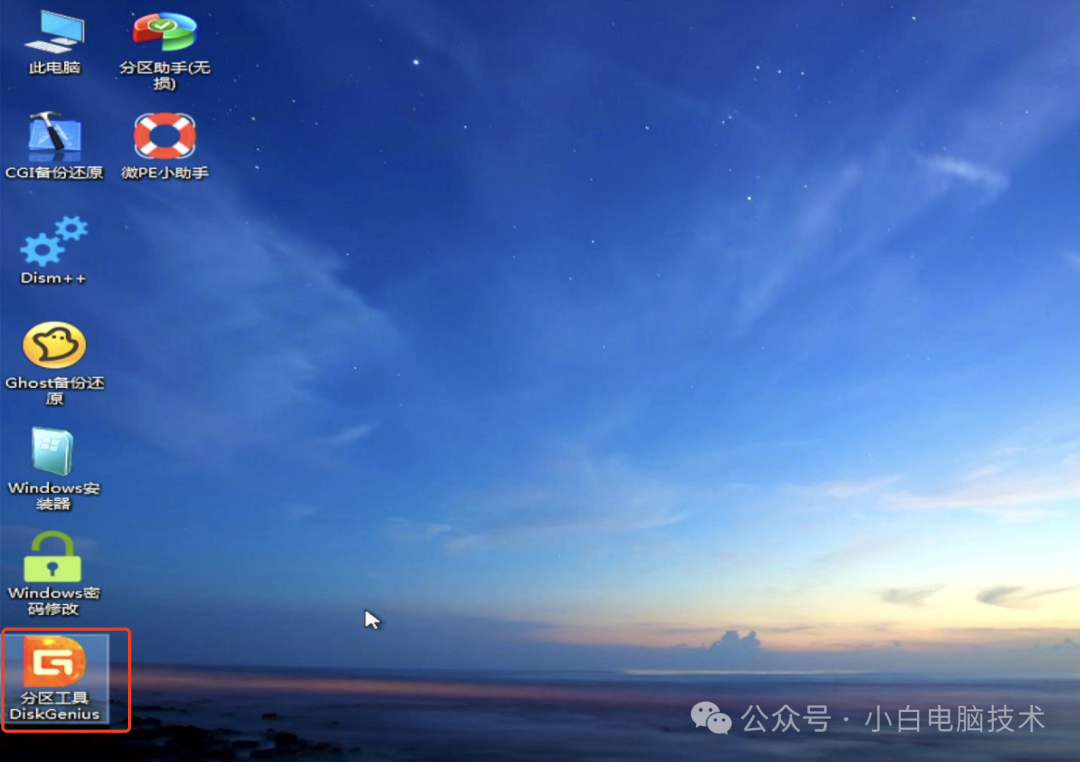
在PE系统检查硬盘的分区表类型
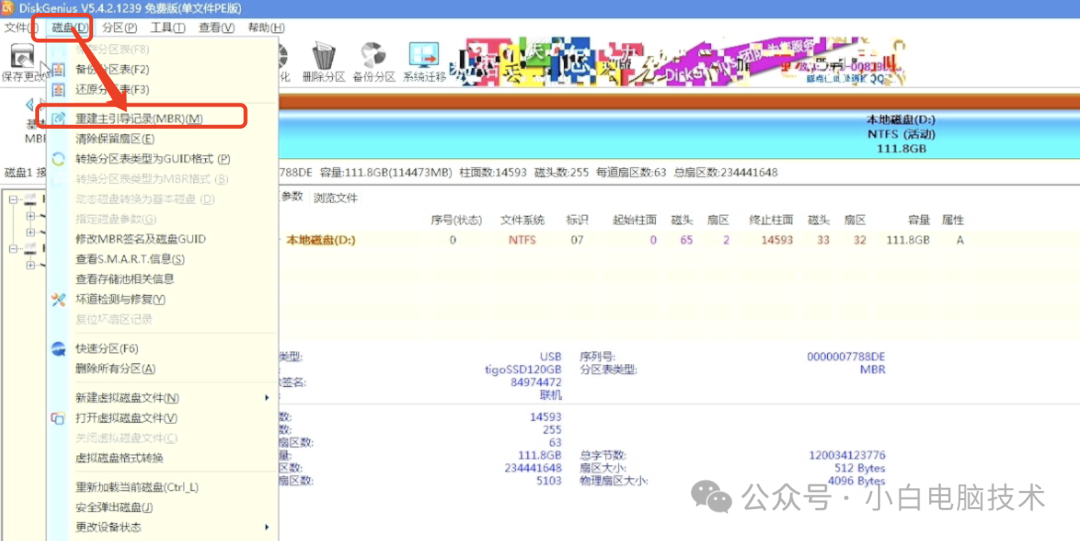
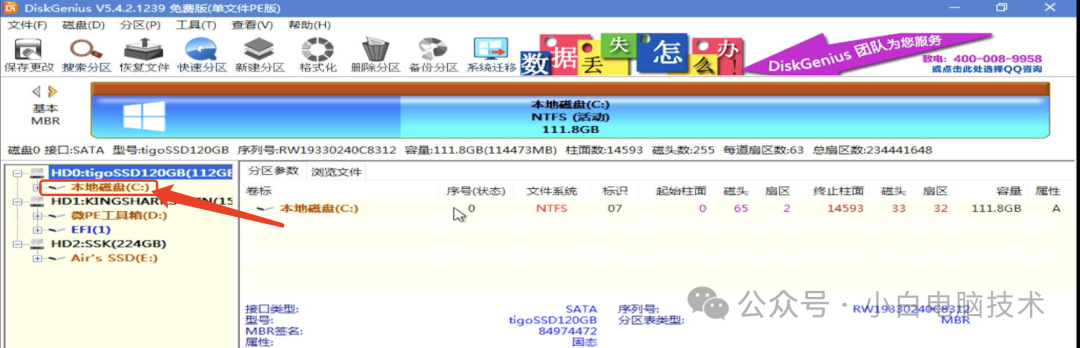
打开【分区工具DiskGenius】
点击准备安装GHO镜像的硬盘,查看【分区表类型】,如果是MBR,则正确。如果是GPT,则需要改为MBR。
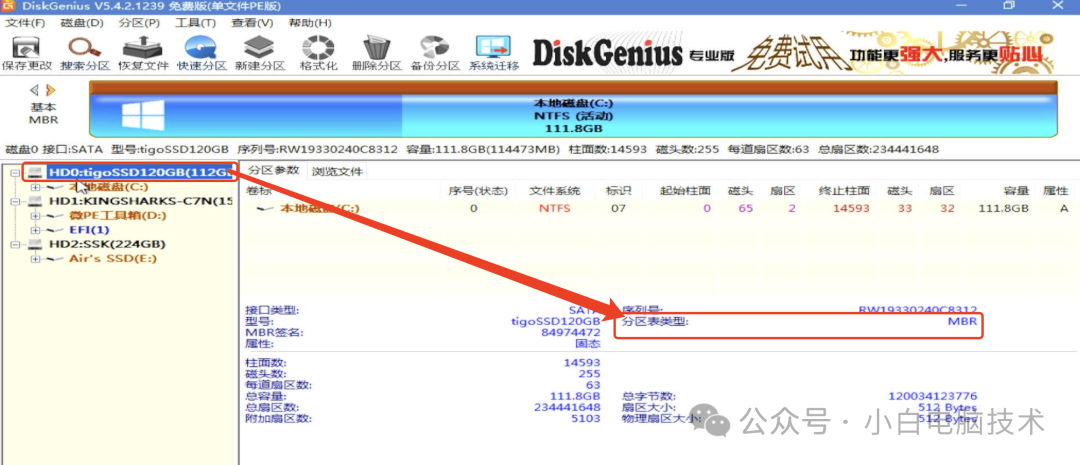
如果显示的是GPT,需要点击【磁盘】-【转换分区表类型为MBR格式】

再点击一下【重建主引导记录MBR】
GHO镜像安装
做完这些之后就可以开始GHO镜像安装了,安装之前并不需要格式化硬盘,因为安装过程中就会清除掉指定安装分区的数据。
在这里我们要准备安装GHO的盘符为C:,有部分电脑可能显示别的盘符,没关系,只要记住对应盘符就好。如果是D:就记得等会选择D:。
安装之前需要把对应的.iso镜像包装载,在对应的.iso文件点击【鼠标右键】-【装载】
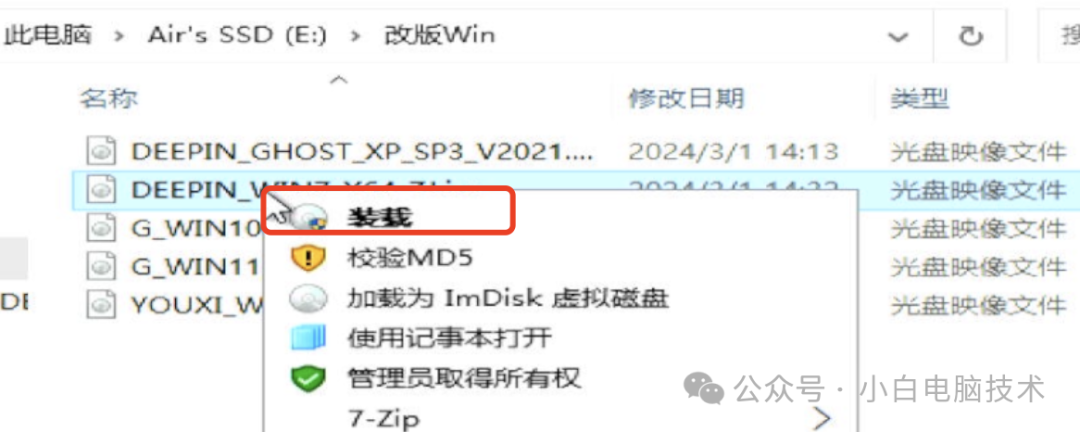
就会看到【此电脑】里有一个【DVD驱动器】后面显示着刚刚装载文件的文件名。

打开桌面上的【CGI备份还原】或者【Ghost备份还原】都可以。
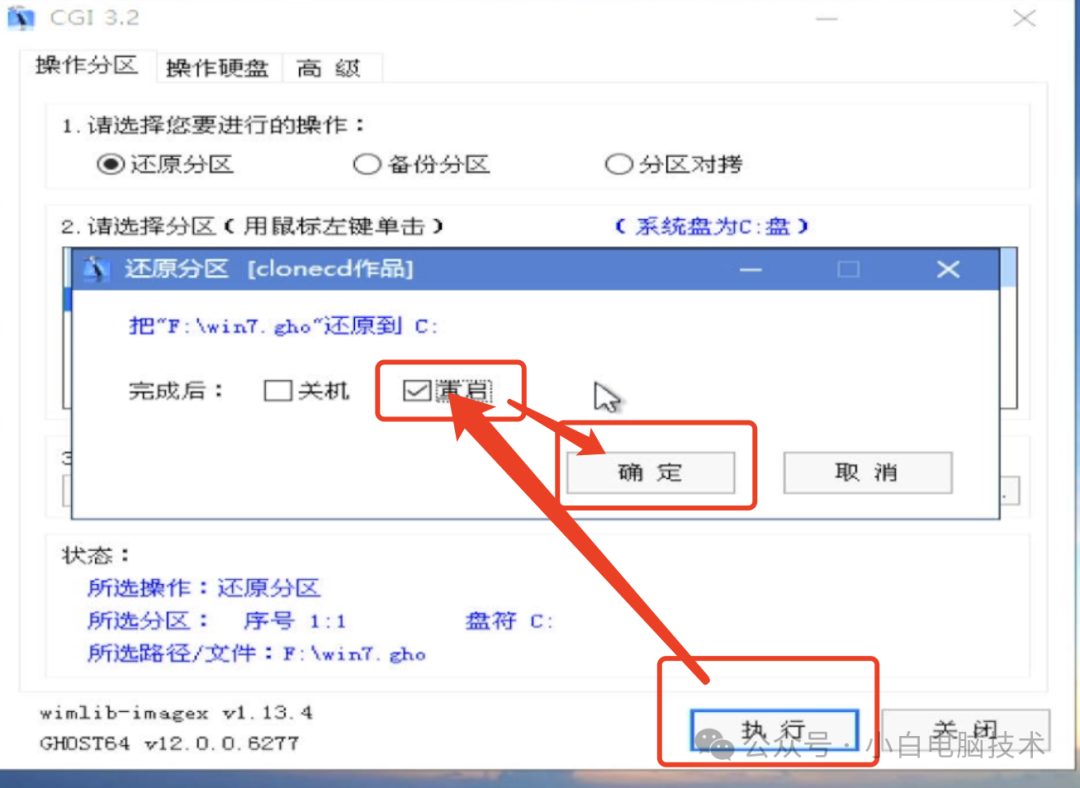
【CGI备份还原】:选择【还原分区】,确认安装的盘符(刚刚显示为C:,那就选择C:),然后确认一下镜像文件选择是否正确。没问题就点击【执行】
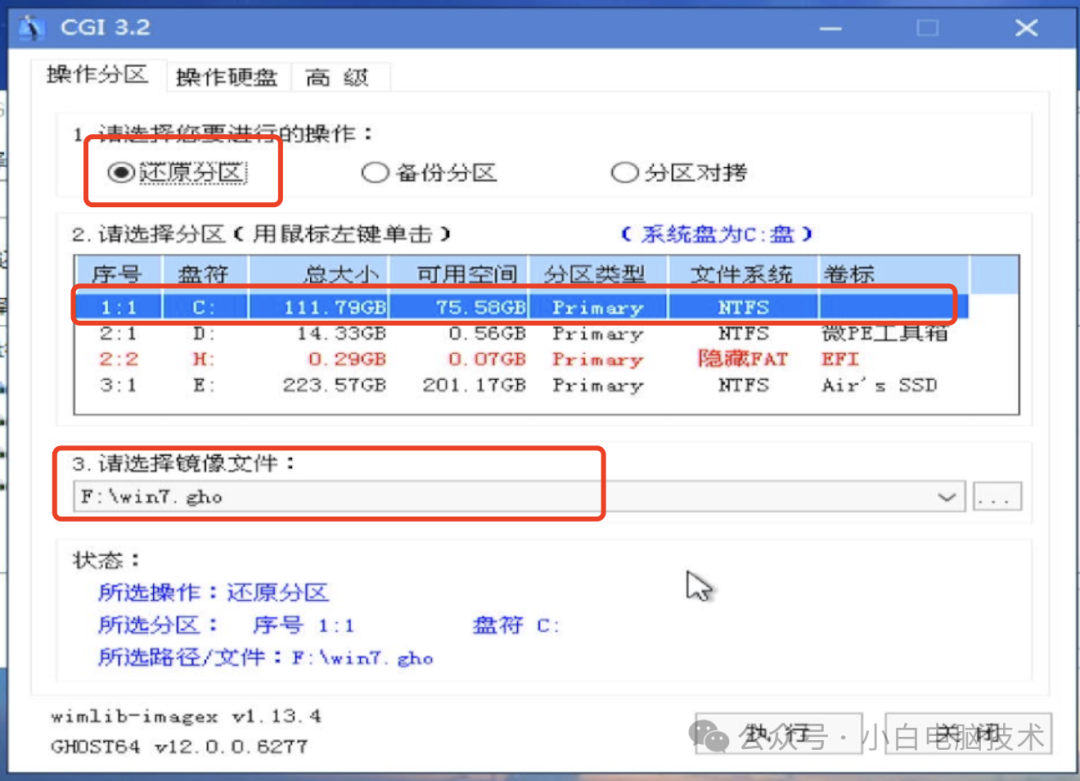
点击【执行】之后,选择【重启】-【确定】
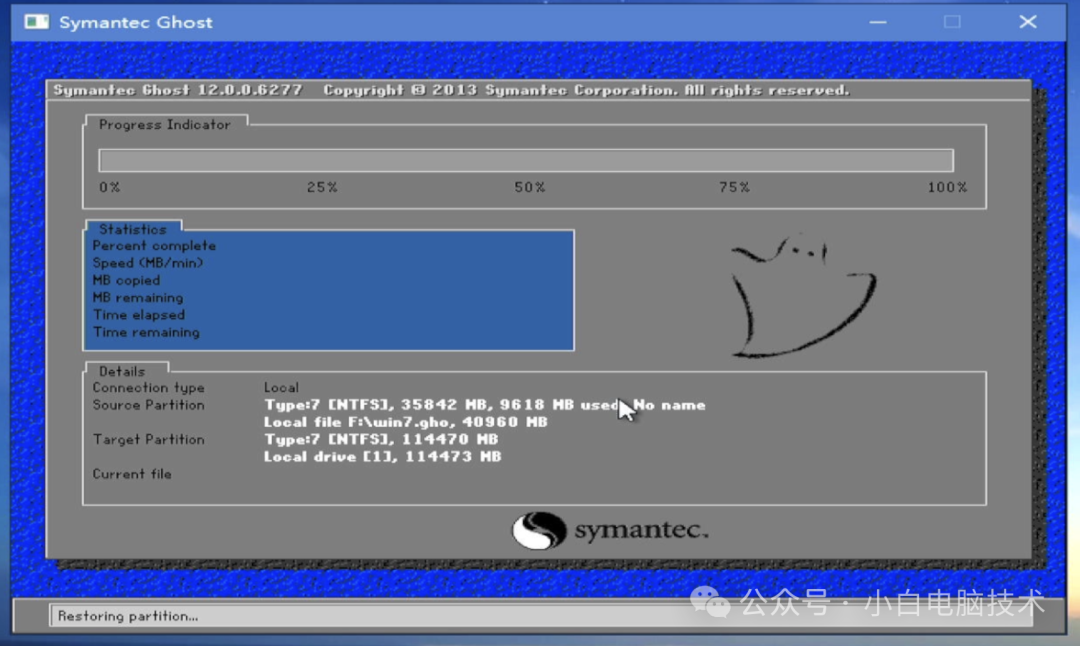
到这个界面就只剩下等待了。。。
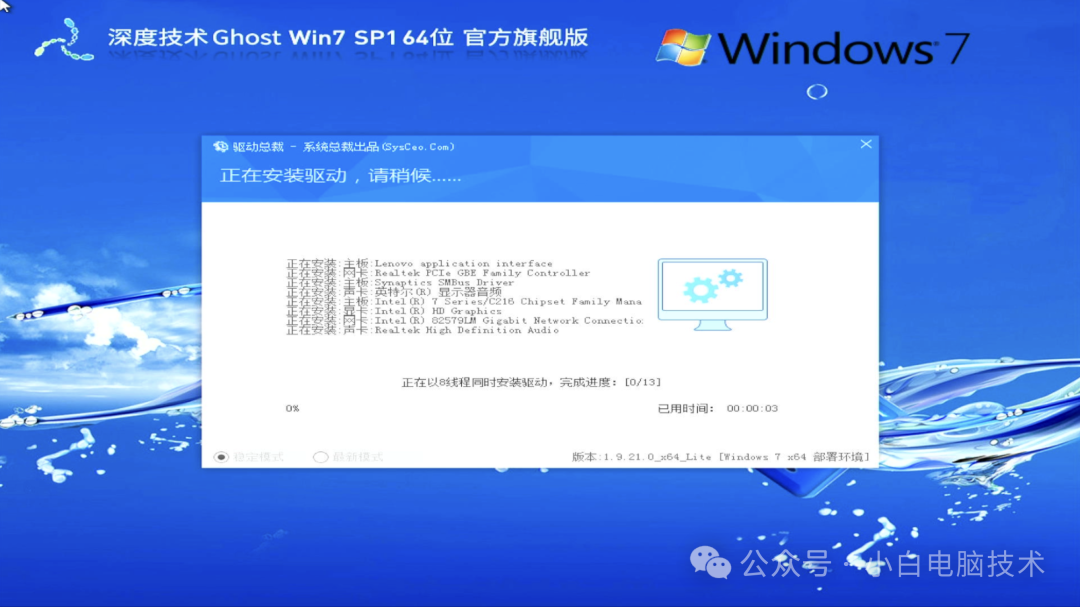
安装完成,电脑准备重启的时候,建议把U盘全部拔掉。这样就进入了自动安装的状态,等待一会就能开始使用了。

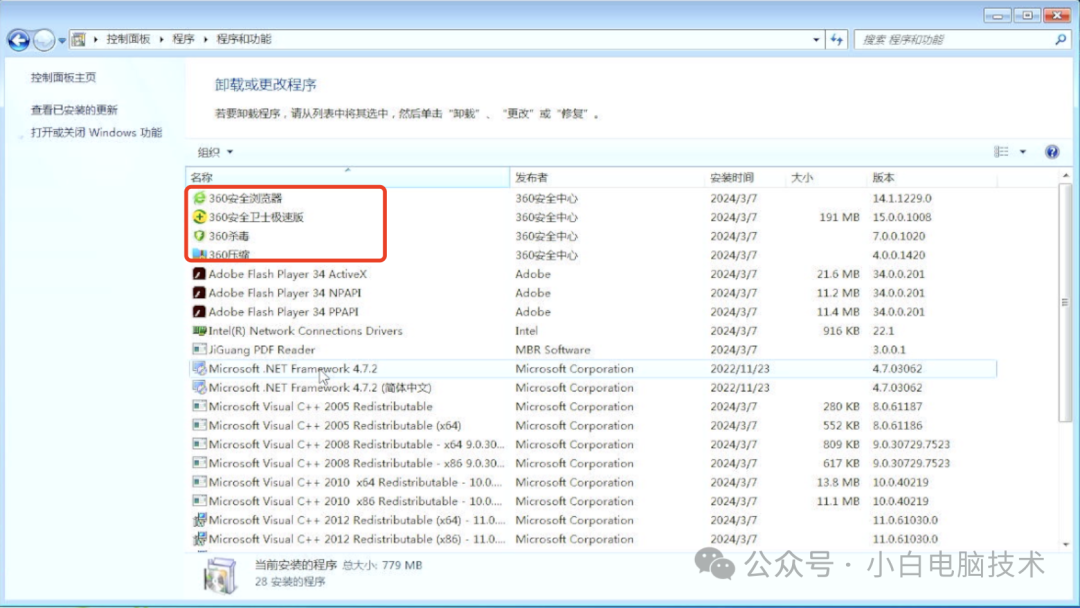
安装完成之后,会看到系统会自带一部分软件,可以进入到
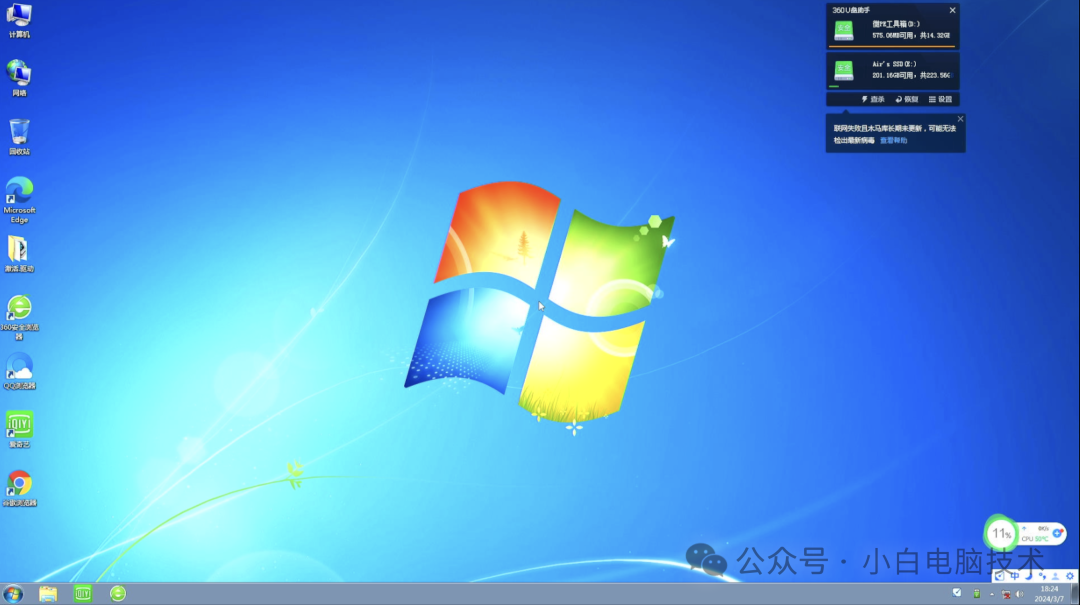
Windows7用户进入到【控制面板】-【程序】-【程序和功能】界面把预装程序卸载即可。
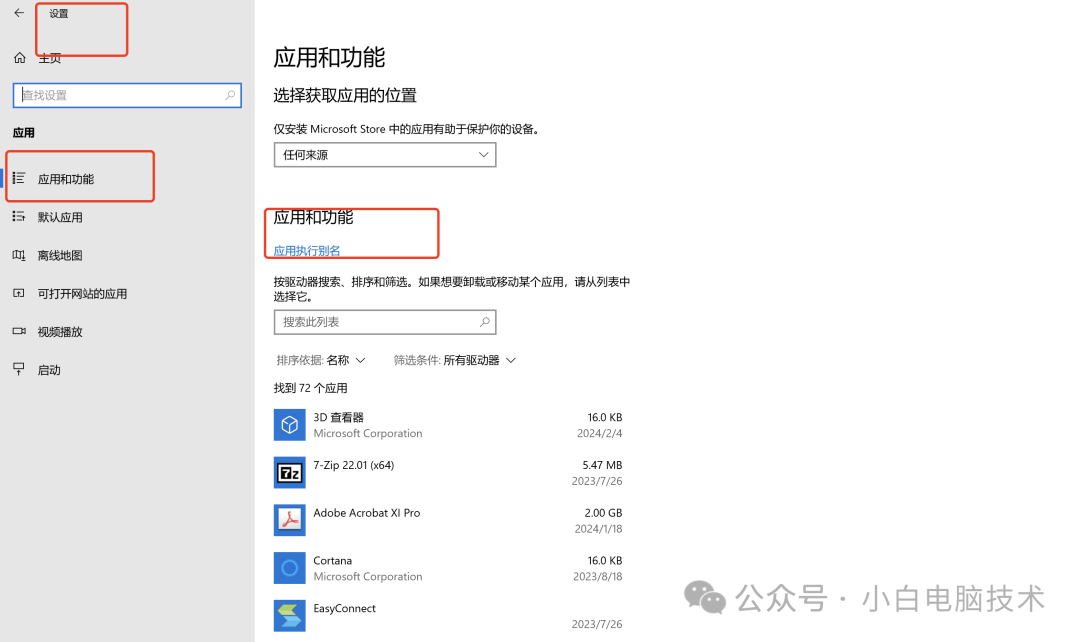
Windows10/11用户进入到【设置】-【应用】-【应用和功能】界面卸载预装程序
--End--
写在最后
在整个GHO镜像安装的过程,可以看到工具上显示的是【恢复分区】之类的说法。所以建议使用Legacy引导的方式安装系统,但也不是不能用UEFI的方式安装。用UEFI方式安装GHO镜像需要再多一个恢复引导的步骤。
安装好的系统基本上是已经激活的了,不需要另外找工具。
驱动啥的基本上也不需要担心,除非一些厂家自行定制的驱动需要额外安装。其他常见的驱动基本上在进入到系统之后就自动安装完成了。
好了,今天就先到这,记得点赞和在看哦~