


点击上方【大水牛测绘】关注我们

在CAD操作使用中,会出现我们的十字光标捕捉不到点的情况,那么这时候我们应该怎么解决呢? 下面我们一起来看看吧!
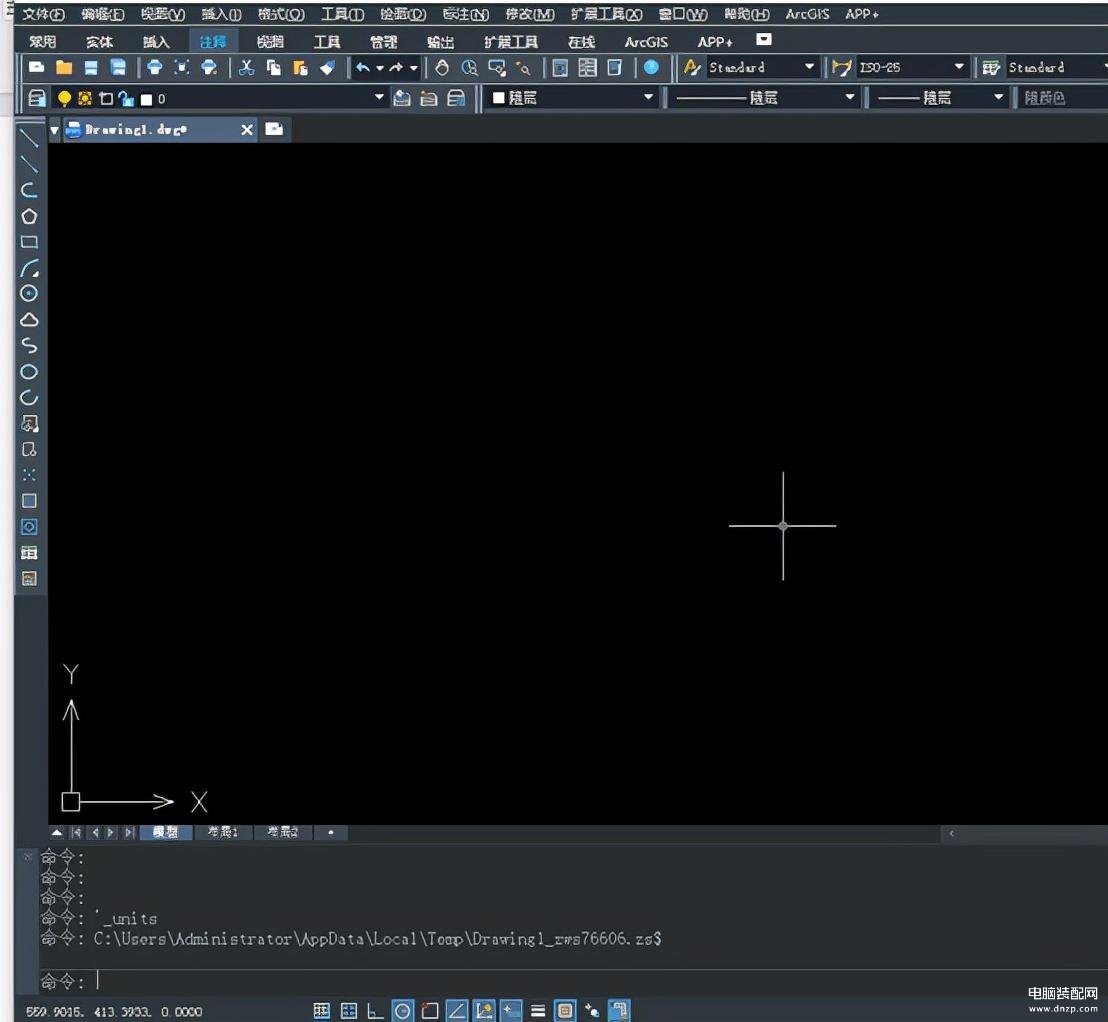
步骤一:如图先打开CAD软件的绘制页面。
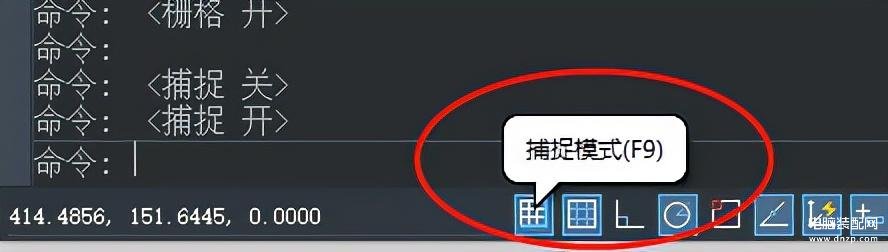
步骤二:在命令行下方这里,如下图所示点解【捕捉和栅格】。
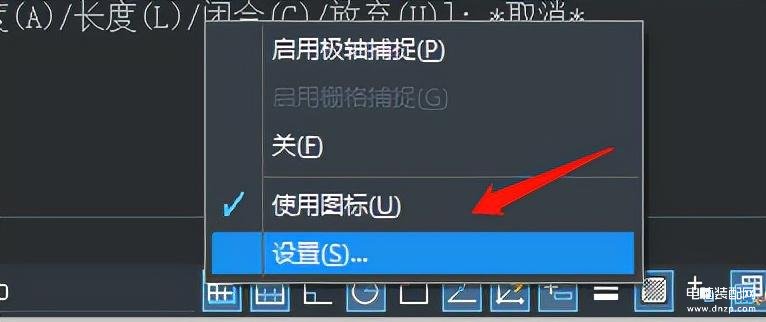
步骤三:单击右键后选择【设置】,如下图所示进入“对象捕捉”选项卡
步骤四:如下图所示我们要在【捕捉设置】(F3)勾选,中心,交点,端点,圆心等
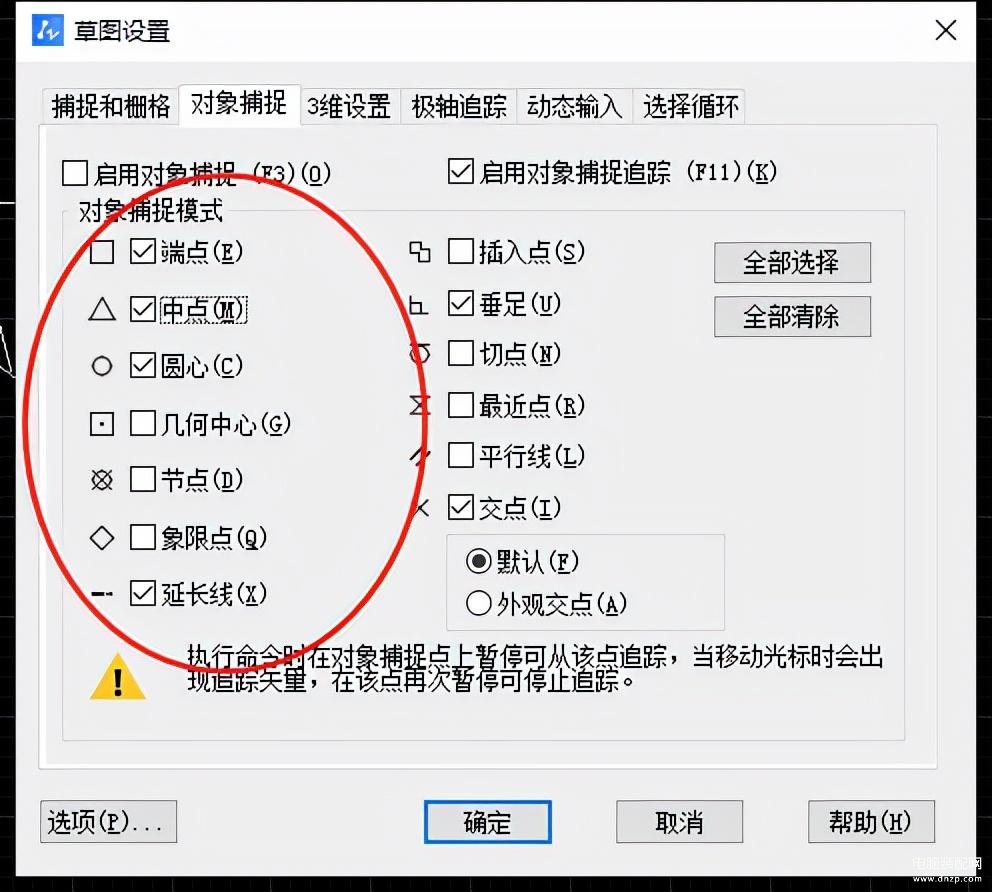
步骤五:完成上述操作后,点击确定完成设置
捕捉指的是我们在绘制过程中,系统能够自动识别我们所需的定点,上述我们就通过勾选了中心,端点,圆心等元素,那么在操作过程中,光标靠近所勾选的设置如圆心,它就会自动出现捕捉的方框表示该点为中心。捕捉其实起的作用就是引导,当绘制时候十字光标靠近该元素它就自动捕捉。