Ventoy 确实是一个非常强大且方便的 U 盘启动工具,它的主要特点包括:
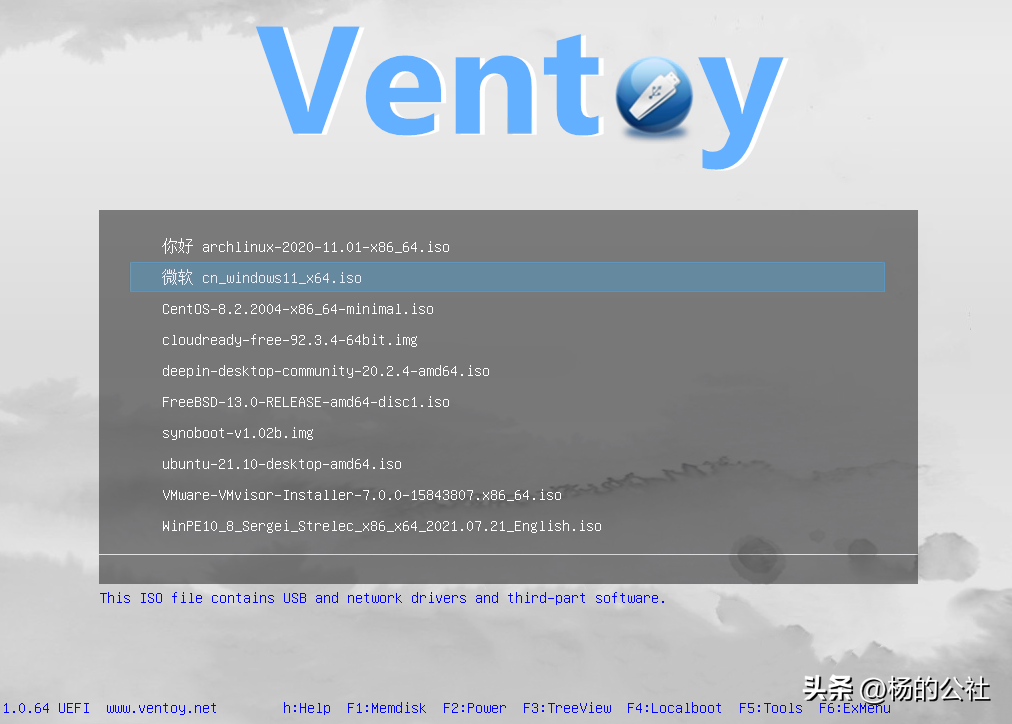
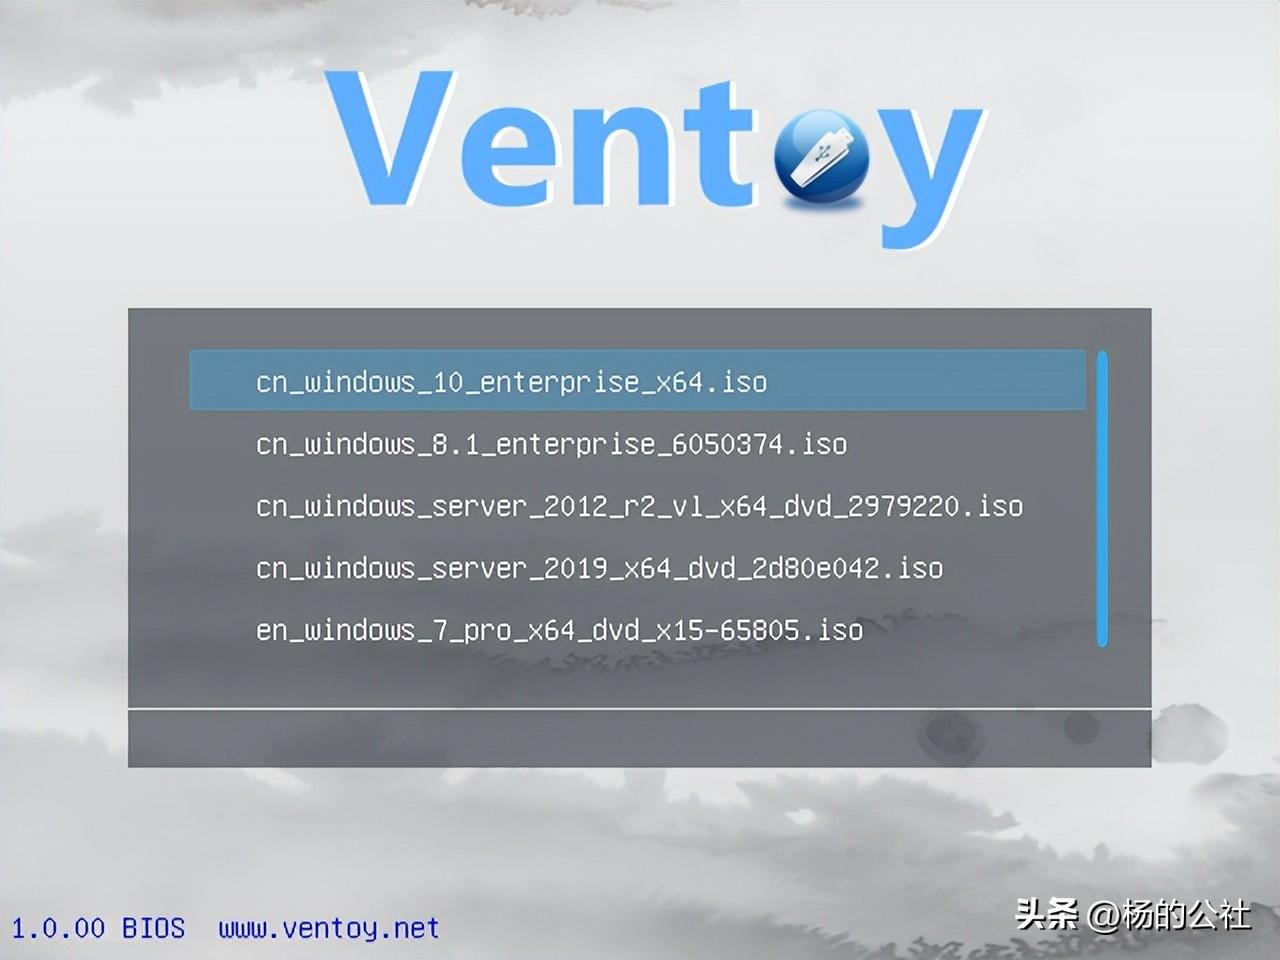
1. **多系统支持:** Ventoy 允许你在同一个 U 盘上安装多个操作系统的安装程序,包括 Windows、Linux、macOS 等。这意味着你可以使用一个 U 盘来安装不同操作系统,而不需要多个 U 盘。
2. **实时更新支持:** 你可以通过简单地将 ISO 文件复制到 U 盘中,而不需要重新格式化 U 盘。这使得你可以随时添加或更新操作系统。
3. **用户友好的界面:** Ventoy 提供了一个易于使用的图形用户界面,使你可以轻松地选择要启动的操作系统,而不需要记住文件路径或命令。
4. **UEFI 和传统 BIOS 支持:** Ventoy 支持同时在 UEFI 和传统 BIOS 上启动操作系统。
5. **高度定制性:** 你可以自定义 Ventoy 的启动菜单,包括添加自定义启动选项和背景图像等。
如果你想使用 Ventoy 来创建一个多操作系统启动 U 盘,下面是一些简单的步骤:
1. 下载 Ventoy 的最新版本:你可以在 Ventoy 的官方网站上找到最新版本的下载链接。
2. 将 U 盘格式化为 FAT32 文件系统:确保 U 盘是干净的,并且已经格式化为 FAT32。
3. 解压 Ventoy 下载文件:将 Ventoy 的下载文件解压到你的计算机上。
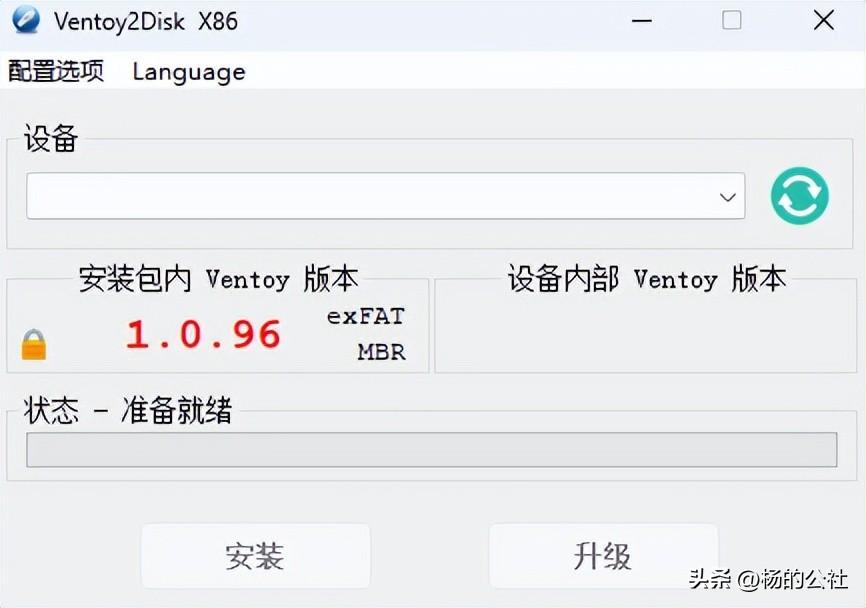
4. 运行 Ventoy2Disk 工具:在解压后的文件夹中,找到 Ventoy2Disk.exe(Windows 版本)或 Ventoy2Disk.sh(Linux 版本),然后运行它。
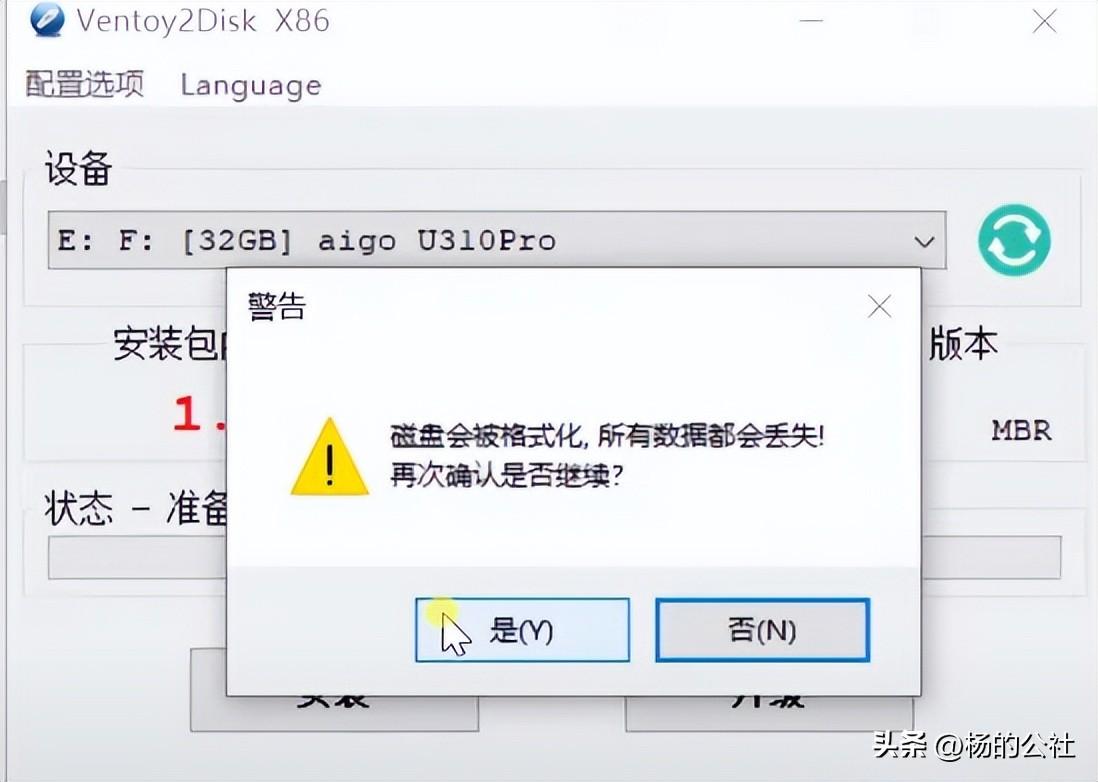
5. 选择你的 U 盘:在 Ventoy2Disk 工具中,选择你的 U 盘,确保不要选错设备,因为该操作将擦除 U 盘上的所有数据。
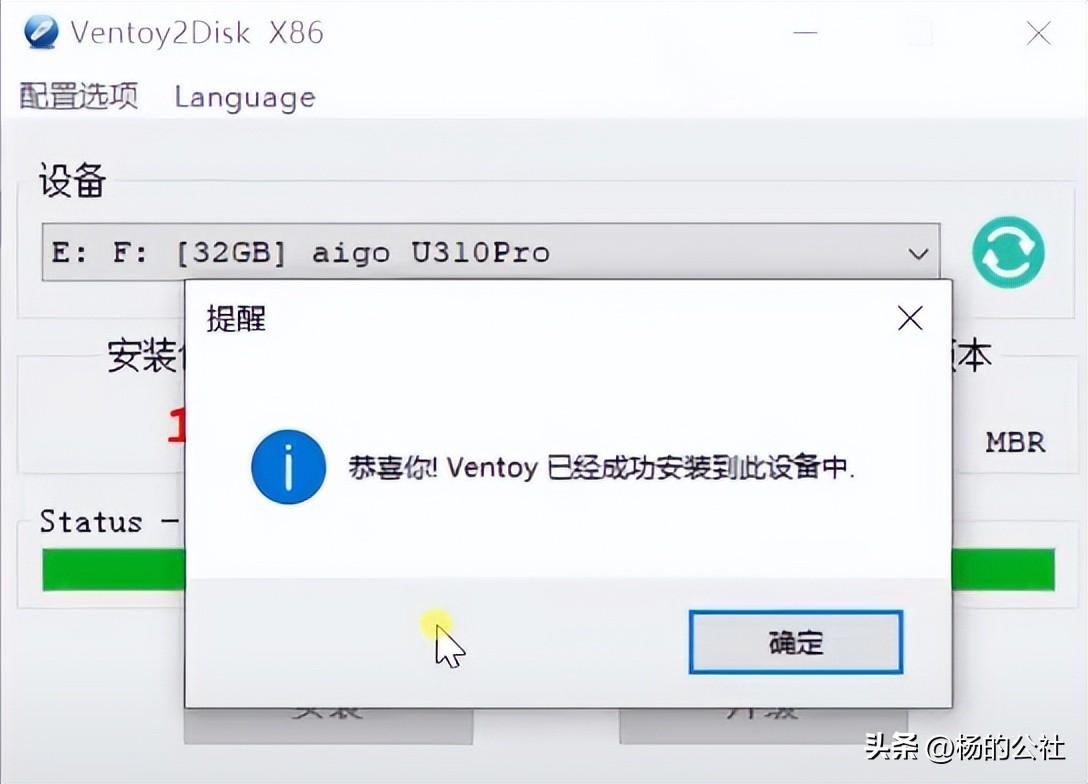
6. 点击“安装”按钮:一旦选择了正确的 U 盘,点击“安装”按钮来将 Ventoy 安装到 U 盘上。
7. 将 ISO 文件复制到 U 盘:将你想要安装的操作系统的 ISO 文件复制到 U 盘的根目录。
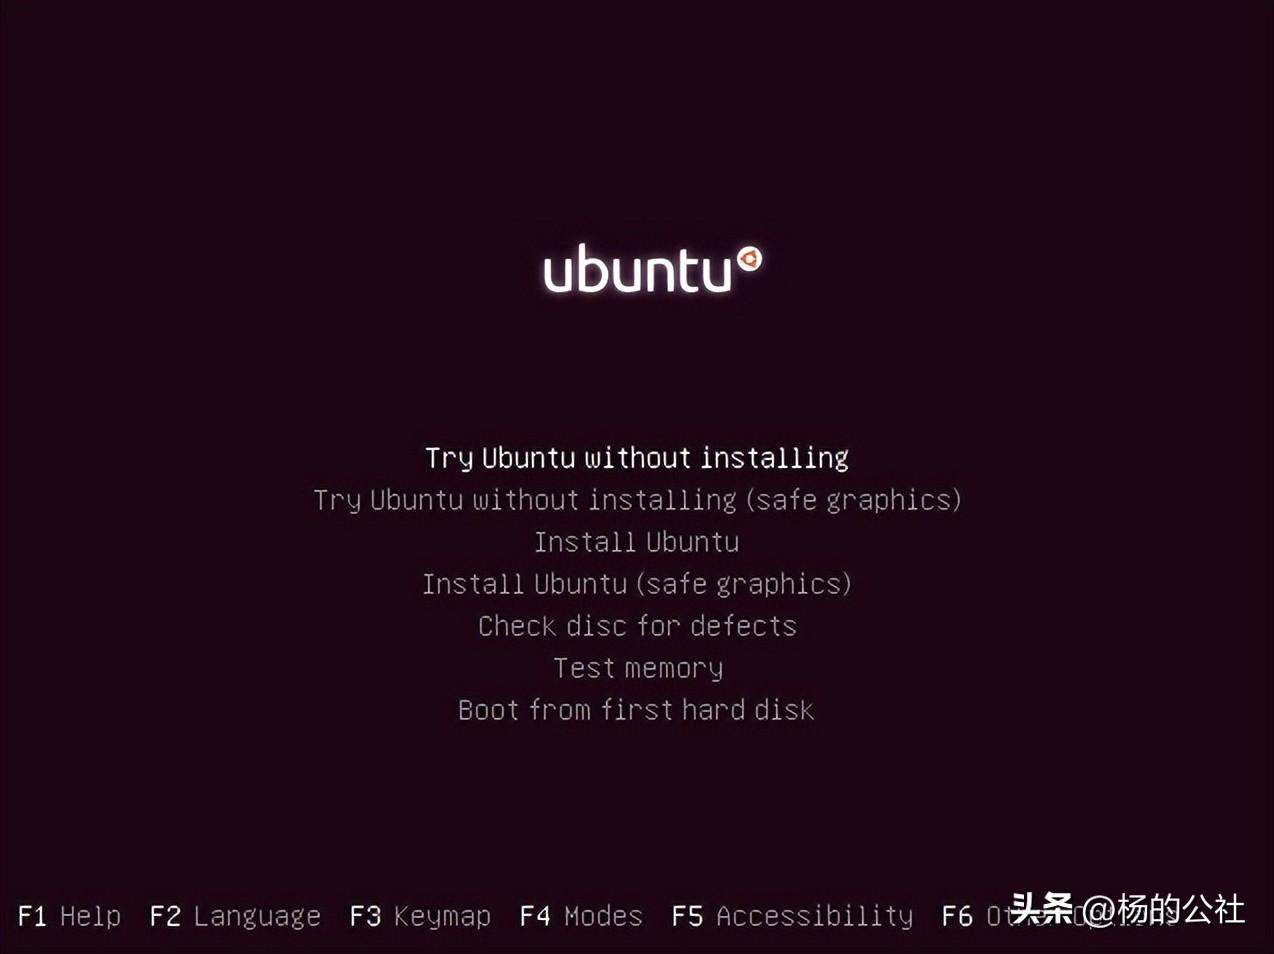
8. 启动计算机:将 U 盘插入计算机,重启计算机,然后从 U 盘启动。你将看到 Ventoy 的启动菜单,选择你要安装的操作系统。
Ventoy 是一个非常方便的工具,特别适用于需要经常安装和测试不同操作系统的用户。它使创建和维护多操作系统启动 U 盘变得非常简单。